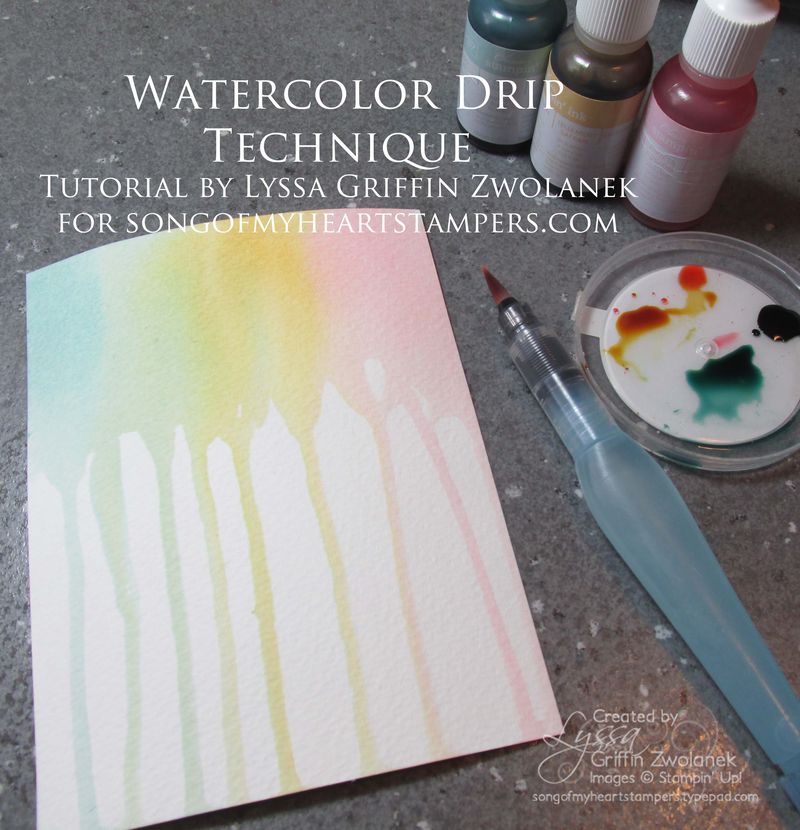
Happy New Year, everybody! Thank you for visiting Song of My Heart today. What better way to start off a new year than with a fresh, fun photo tutorial? Today I attempted my first watercolor drip technique card, and I loved it. It's a bit messy, so have paper towels or baby wipes handy, but I hope you will try it because it was loads of fun. I made enough backgrounds for ten cards in less than fifteen minutes.
It does use a couple of specialized tools, especially the watercolor paper. You can try to substitute other products but the results will not be the same. Here's the supplies list, with links to the products in my online store, if you need to purchase them.
- 6 X 9 Watercolor Paper (no substitute for this)
- Aqua Painter (could substitute a paintbrush and water dish)
- So Saffron Classic Ink Refill
- Pool Party Classic Stampin Ink Refill
- Pink Pirouette Classic Ink Refill
- Wild Wasabi Classic Stampin' Ink Refill
PREP: You'll need something to protect your table surface, and something to squirt little puddles of ink onto. I stamp on a 12×12 polished stone floor tile, which is super handy for times like these. I used a lid off an embellishment container for my ink colors. Make sure your surface is level or has an raised edge, or you'll be mopping up streams of inky water with those paper towels I told you to keep on hand!
Fill your Aquapainter with water. I had to refill it twice during the course of making ten card fronts, because you'll be using quite a lot of water.
Squirt three to four colors of ink into little puddles for quick access. You'll be working quickly to get the color on the paper before it becomes saturated or dries out.
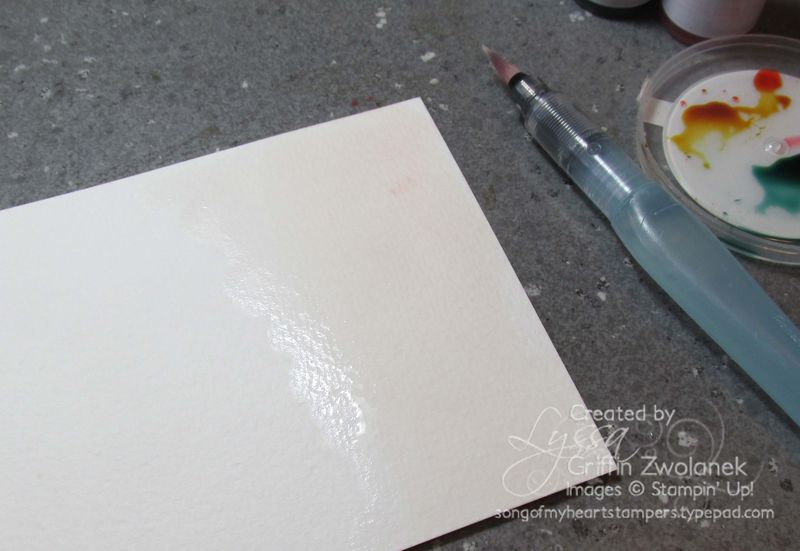
Start with a piece of watercolor paper cut to the size you want. I used 4×5.25, to fit on a cardfront. Squeeze the Aquapainter gently to release water from the reservoir and coat the upper one-fourth of your paper with an even layer of water. This will help your initial ink application go on smoothly.
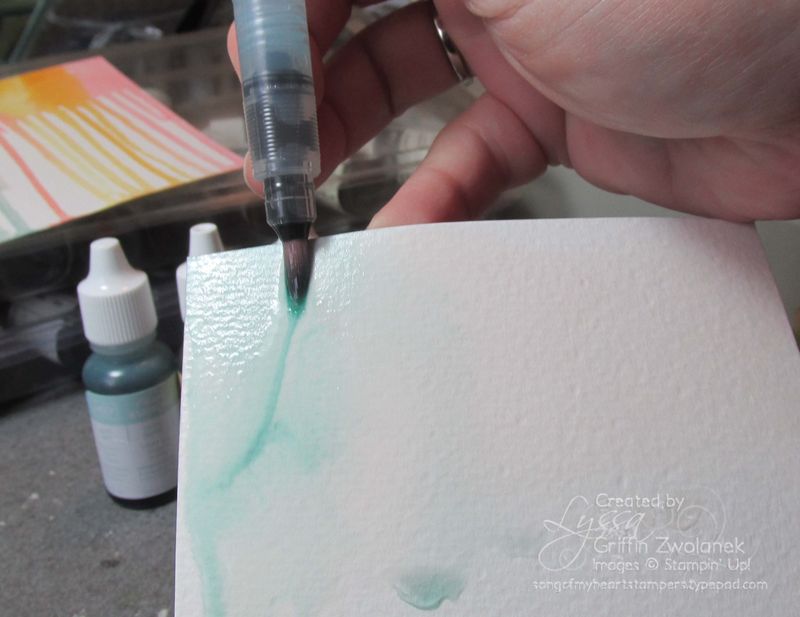
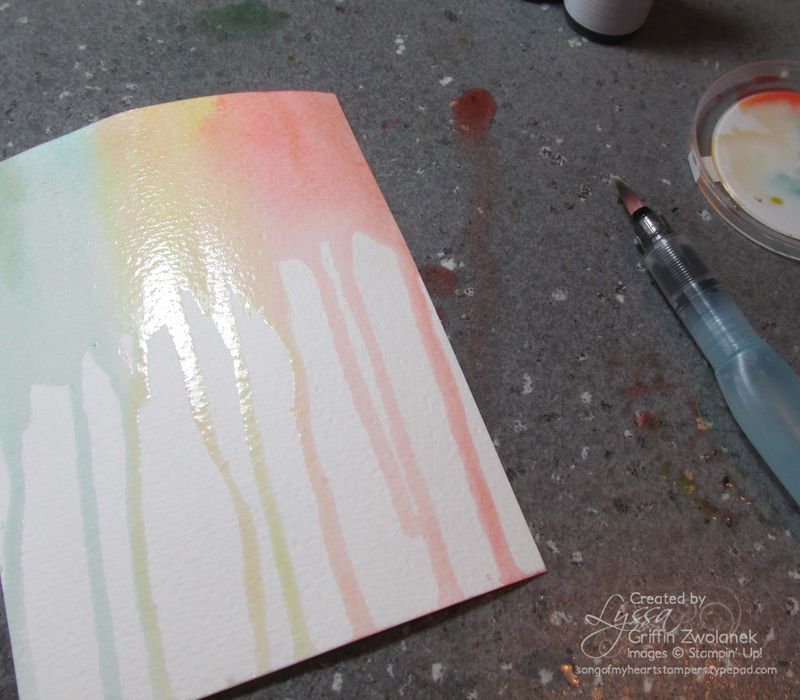
This next step was hard to photograph with my left hand! Guess I should have had Mike come in a take the picture for me. Anyway, holding the paper with the wetted part at the top, begin to pick up ink with your Aquapainter and drip it along with more water down the length of the paper. The ink and water will run in rivulets, which you can guide with the Aquapainter (if they aren't running in an aesthetically-pleasing manner.)
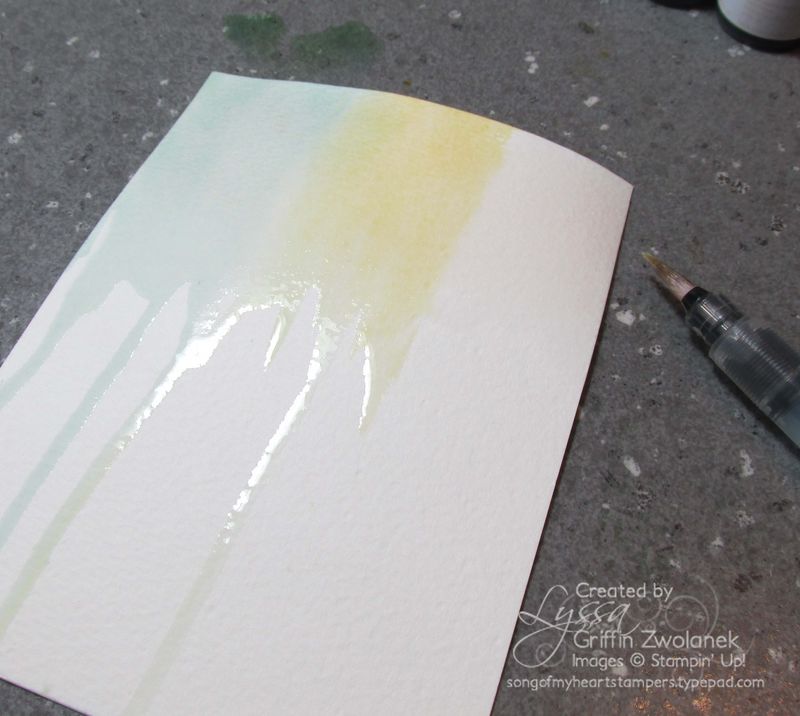
The photo below shows the paper mid-process, after I have gotten two colors on. See the inky water pooling on my tile? Hope you got your paper towels handy like I said!
Keep adding colors as desired, or adding more ink to areas you want to be darker. The Aquapainter makes it super easy and fast to do this as there's no need to keep dipping a paintbrush into water, which will increasingly get muddy anyway.
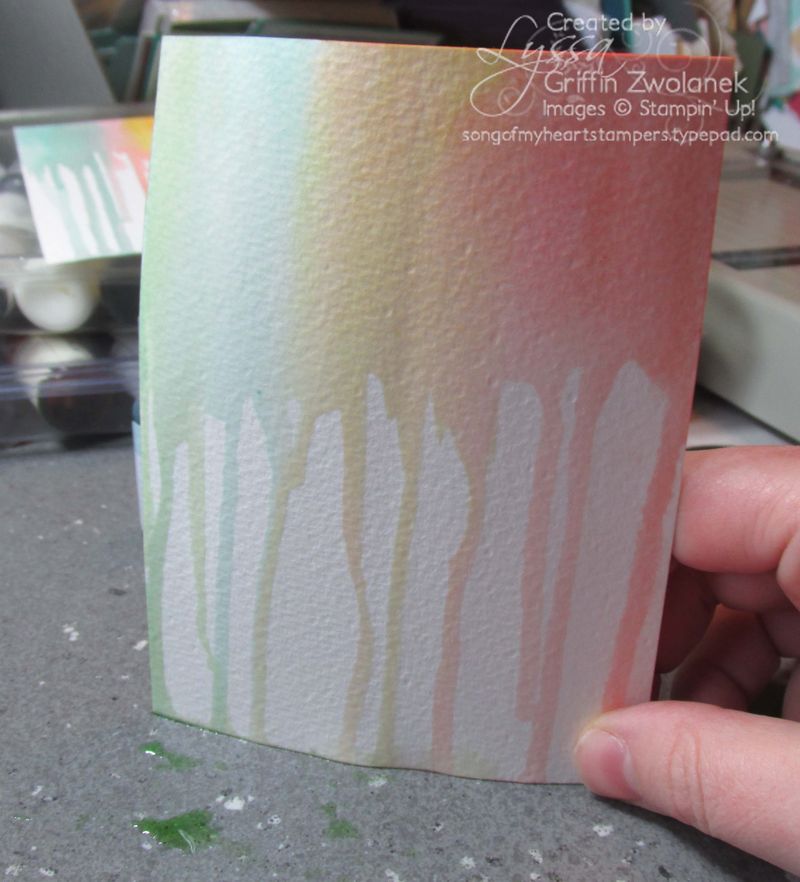
Once you have all the color on like you want it, hold the paper upright and tap it on your surface a couple of times to shake off the last of the drips. It will need to dry for about ten minutes before it's ready to go on a card.
Don't worry about it if the paper starts to curl. It will even out and dry relatively flat in no time. Just use a good strong adhesive to attach it to the card and it won't look warped at all.
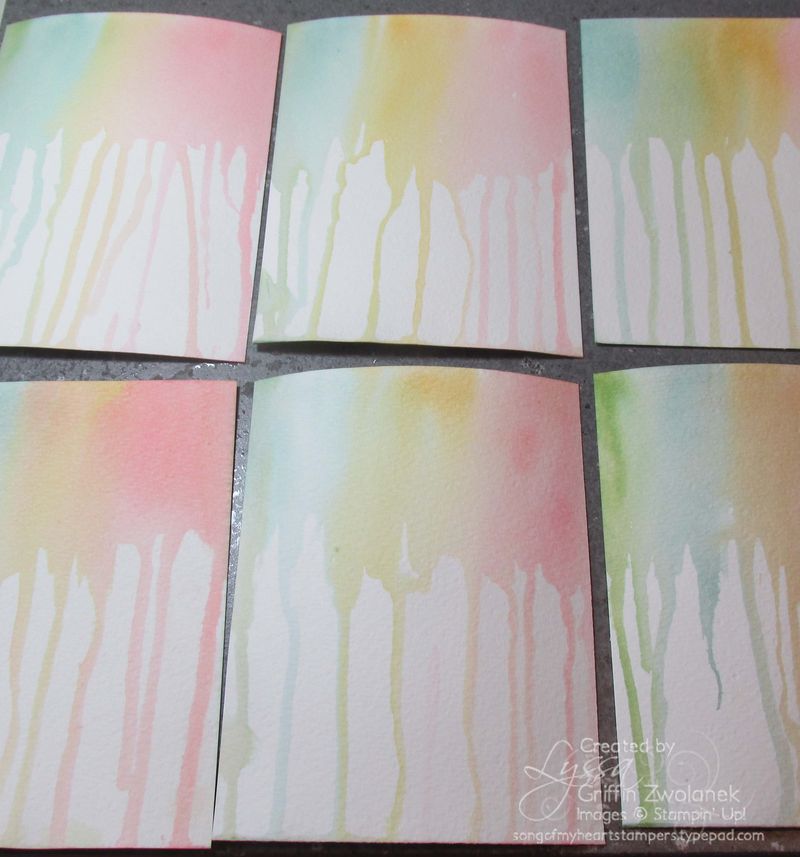
Look at all the pretty rainbows! As you can see, every single one is different. The water flows in different courses each time, so no two are alike.
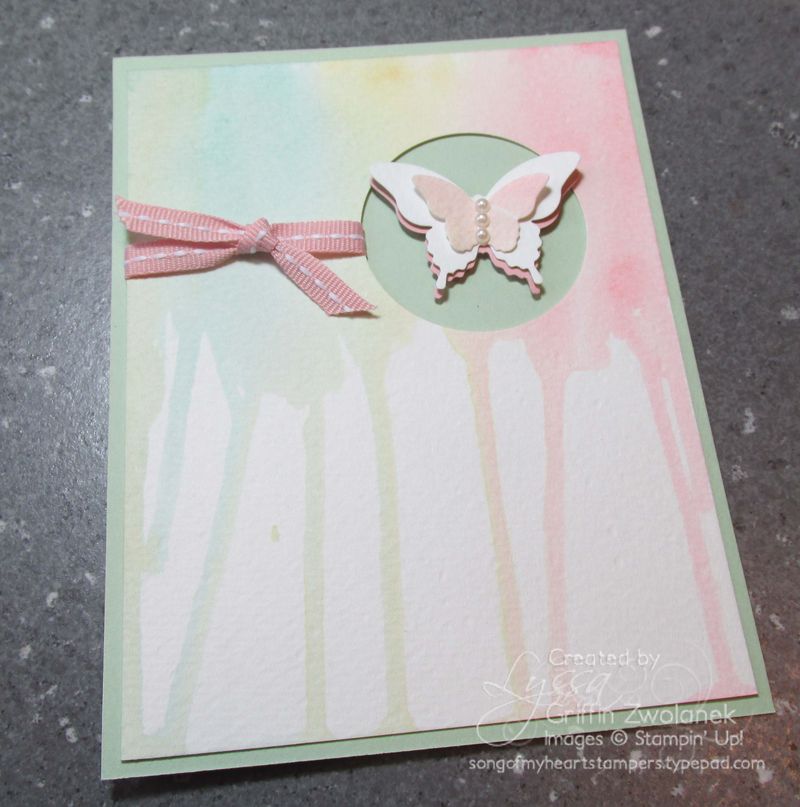
Can't wait to play with them all! I threw one card together quickly just to give you an idea of how it might look. Watercolor paper is so rough that it didn't work at all to try to stamp any words on it, so the sentiment on this card will have to be on the inside.
There! Something new to try in 2014. I hope you've enjoyed this photo tutorial, free like ALL of the tutorials at Song of My Heart. The only payment I ask for my efforts is that you leave me a comment–and if you don't have a Stampin' Up demonstrator, please consider me yours. Everything I use on my blog can be purchased online at www.lyssa.stampinup.net.
If you're local, please check out my upcoming events link or contact me to join one of my four area stampin' and scrappin' clubs that meet each month. I also hold classes and stamp camps, and I love to do private classes right in your home, too. I am a FULL-SERVICE demonstrator, so don't hesitate to ask if I can help you with any papercrafting needs. Happy stampin' in 2014!


Beautiful! Great instructions! Thanks so much for sharing, I’m sure my stampers will enjoy making these at class!
So easy and very pretty. Thanks, Lyssa!
Wonderful tutorial, Lyssa! You’ve pushed me to do this one..lovely colors here!
Beautiful!! Thanks for sharing
Great tutorial, Lyssa! Thanks for sharing how easy this technique is to create. Love the watercolor effect.
Thanks for the tutorial! Will be trying it soon 🙂
Thanks for the tutorial Lyssa! This is one technique I will be teaching my club ladies this month! Beautiful card, by the way!
Great technique, Lyssa. It’s beautiful! Can’t wait to try it!
You always simplify things in a way that makes me feel like I can do it in just a few minutes (which is usually how I squeeze my crafting in). I LOVE this and cannot wait to try it out! THANK YOU!!
Interesting affect. Thanks for sharing. I love the pastel look.
Thank you for sharing this technique! I am making birthday cards this month and this will make so many fun and colorful ones. I love the card you made at the end. My mom has those butterfly punches and I will show her what you did with them.
Thanks for the tutorial. It looks easier than I thought it would be! I’m going to try it now- with an entire roll of paper towel on hand!!
Very nice job on the tutorial – thank you so much for sharing it with us!
The cards are simply stunning–but the technique is ever so messy (as you’ve stated). I’m not a messy person. I really hate mess. It reminds me of the time when my twins were in the infant room at daycare. The teachers had taped kraft paper to the floor and had jars of water and tempera paint and big brushes for the babies. The babies who could sit up, but who weren’t quite mobile, were sitting on the floor in just their diapers painting the floor, painting each other, painting themselves (eating the paint). It was an awesome sight–and it made me cry….because it was so messy! I told the teachers that I was glad they did activities like that because I’d NEVER do that at home!!!
Thanks for the tutorial Lyssa. I’ll have time to try it tomorrow with my family returning to school/work, and no car!
THank you for sharing your tutorials. This will be a great background for springtime cards.
Hello Lyssa, and, Happy New Year!
What a great background. Thanks so much for sharing with us.
Thanks so much for sharing this technique Lyssa! It looks fun and easy. Can’t wait to give this one a try!
Many, many thanks for this timely technique and tutorial, Lyssa. I used it on a card I’m teaching my group tonight. I’ve paired it with Pleasant Poppies (stamped, first, in StazOn ink before running the reinker colours), and I’m using Naturals White as an alternative to watercolor paper. I have a feeling the technique will be a huge hit. Thanks, again!!
Thank you so much for the tutorial. What a beautiful technique.