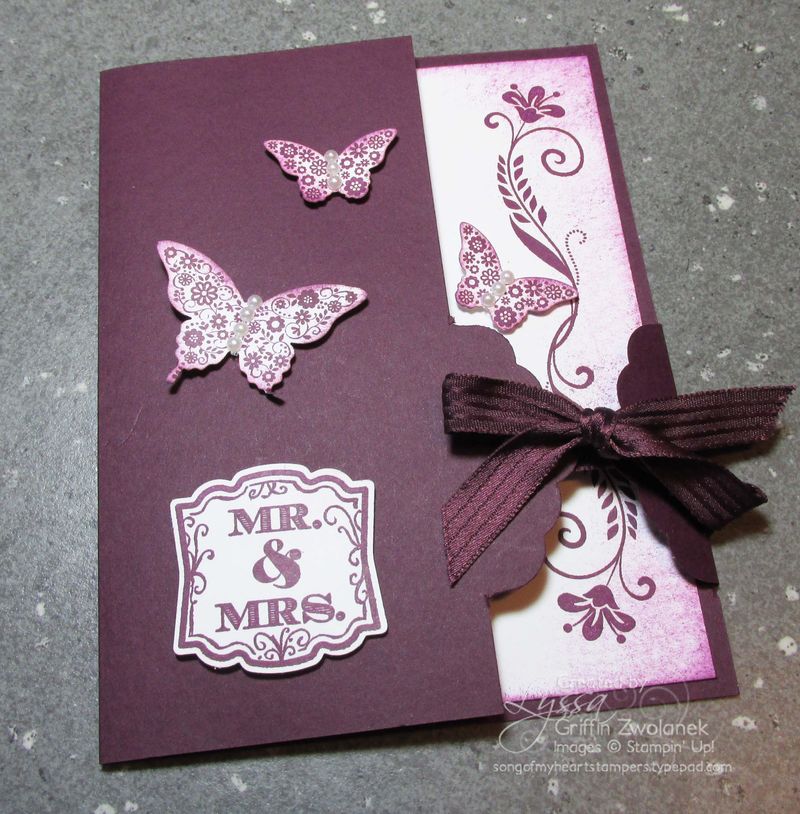
FINALLY got my camera fixed (well actually, replaced, when all was said and done!) and I can share some fun things I've been sitting on for quite some time now! This easy photo tutorial will walk you through a cute, unique way to close your cards, using either the new Scalloped Tag Topper Punch or the new Angled Tag Topper Punch.
Here's what the card looks like when it is untied and opened: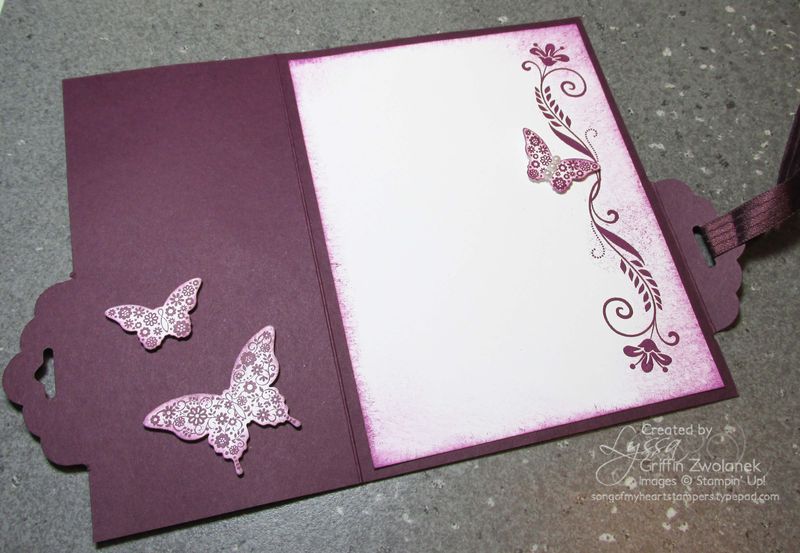 Super cool, huh? Don't let the number of photos in this tutorial fool you–this is one of the simplest fancy-folds cards you will ever make. Once you've made one, you will never forget how to do it.
Ready to start? Here's what you'll need to do this project:
- Either the Scalloped Tag Topper Punch [133324]
- or the Angled Tag Topper Punch [133323]
- Stampin' Trimmer [126889] or other scoring/cutting tools
- Blackberry Bliss 8-1/2" X 11" Cardstock [133675] or other cardstock
- Blackberry Bliss 3/8" Satin Stitched Ribbon [133668] or other ribbon
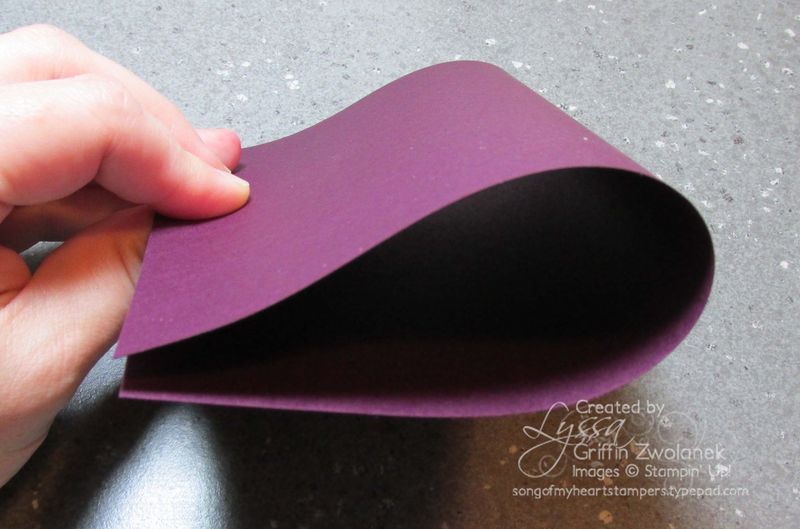
Start by cutting your cardstock to the size of an ordinary card (5.5×8.5 inches), but DON'T make the mistake of folding it in half! While we will be "holding" it with the edges together AS IF we were preparing to fold it, we won't make that crease and actually fold it, because that's not where our fold is eventually going to wind up. 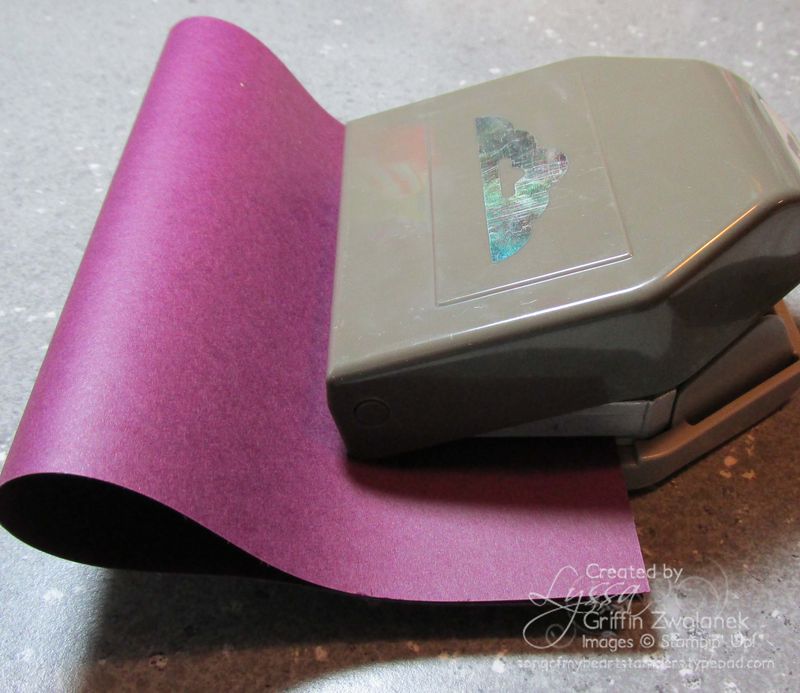
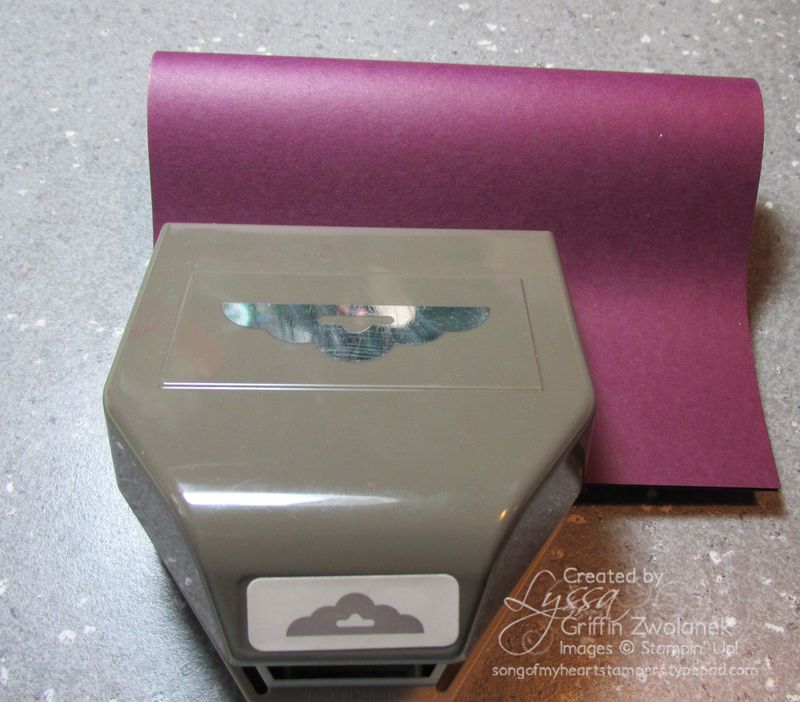
Next, you're going to insert the edge of the "holded-not-folded" card base into the punch, with the bent side poking out as shown below, and the edges held together and inserted all the way into the tag topper punch.
To get the tied closure lower on the card, I slid my cardstock in all the way to the left. You can punch it in the middle or on the right, too, though, for different looks. Here's another view of the cardstock in the punch that might help you visualize.
You will probably need to stand up and press down with both hands on the punch, as it's going through two thick layers of Stampin' Up quality cardstock!
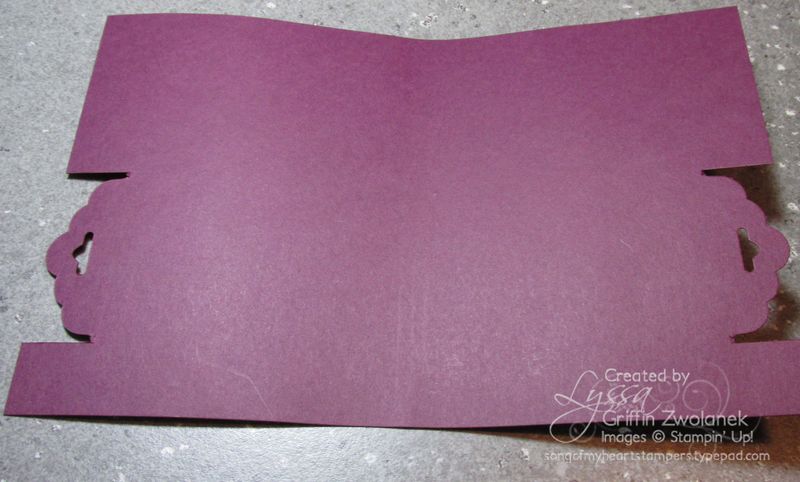
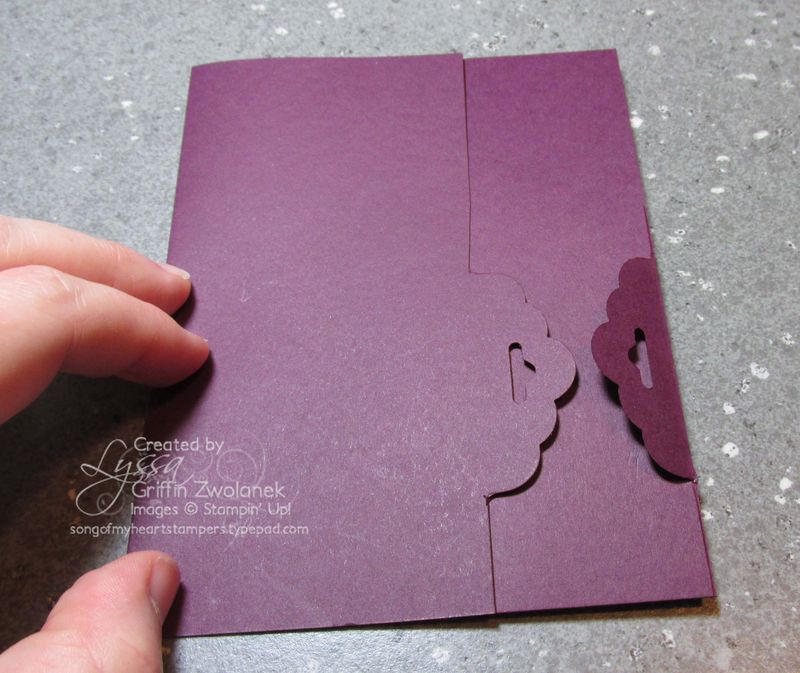
When you slide it back out of the tag topper punch, being careful not to accidentally crease that fold, it should look like this:
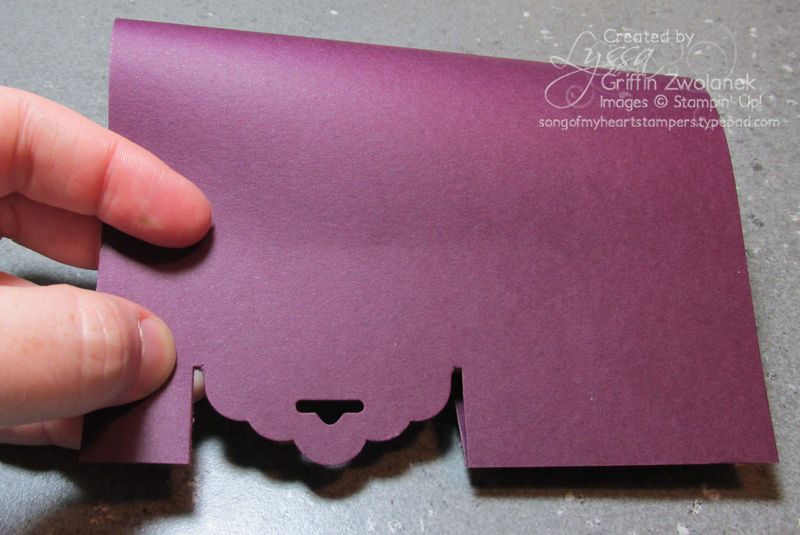
And when you let it fall open, it will look like the photo below. See how the middle is a little curved but not creased? The curve will relax as you continue to work with the card.
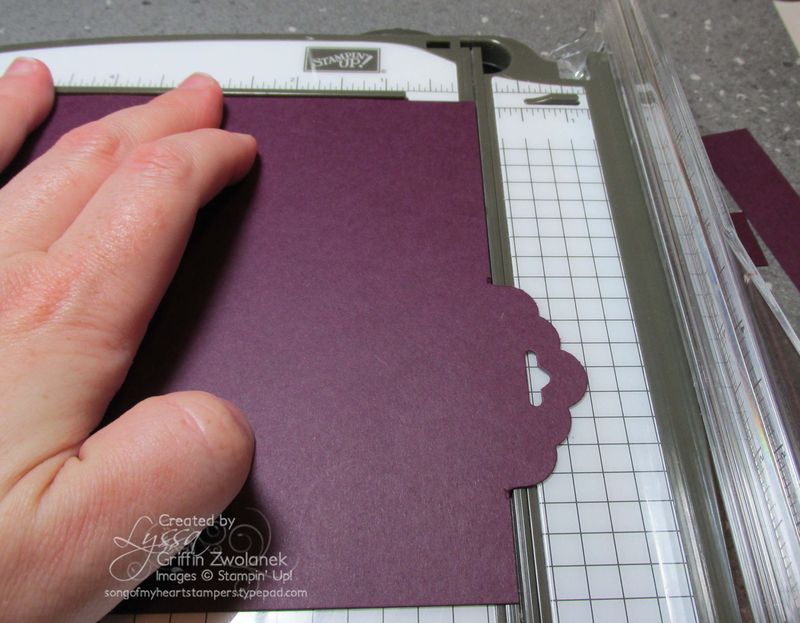
Now we're going to use our Stampin' Trimmer to remove those flappy parts next to our two tag punched areas (I know, flappy parts is a pretty technical term; stick with me and all will be clear shortly).
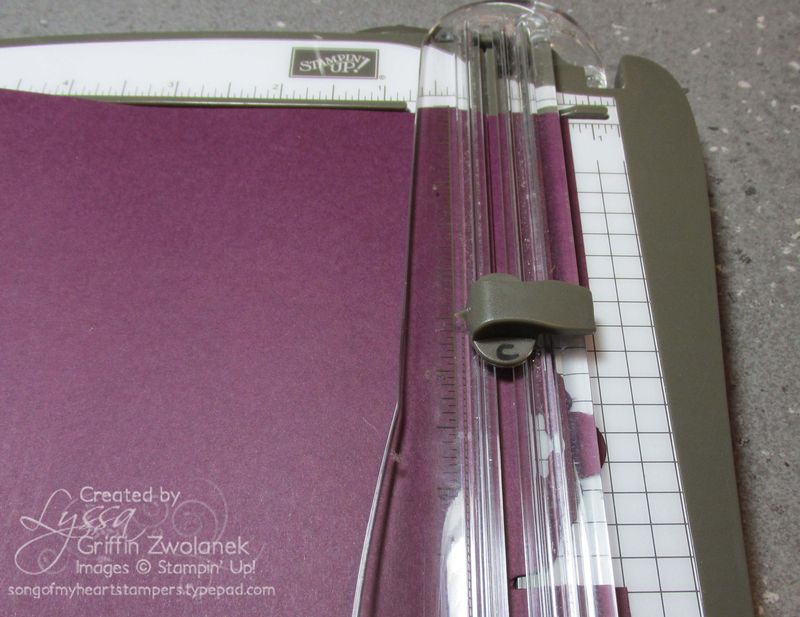
TIP: I took a Sharpie and marked the cutting and scoring blades on my trimmer with a "c" and an "s." It has drastically cut down on accidentally doing one when I meant to do the other!
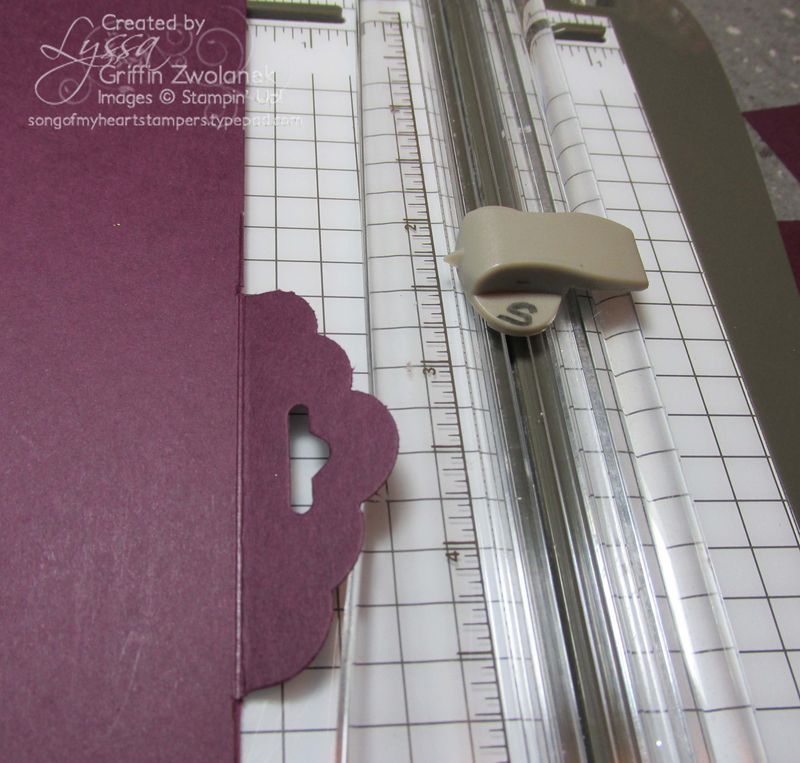
This part makes everyone nervous, but it's really very simple. Just line up the bottom edge of the tag-punched area with the central groove on the paper cutter, and slide the blade just far enough until it cuts off the flaps but not the tag (see below).
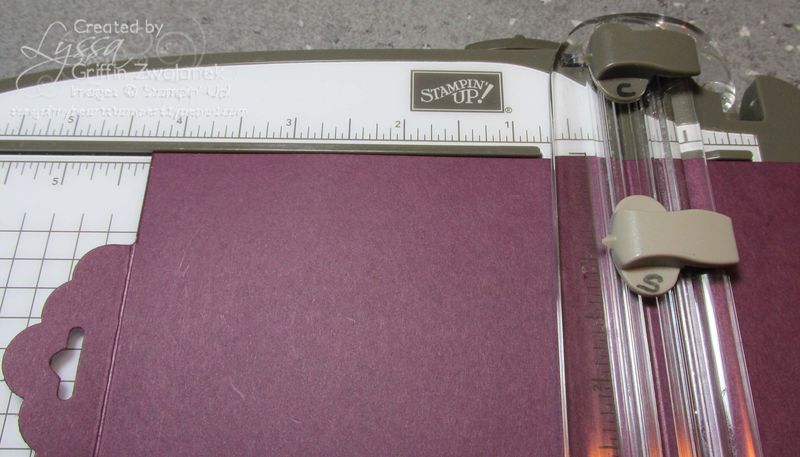
Once the flaps are removed via the cutting blade, you'll use the scoring blade to score right across that little tag-punched tab that now sticks out there by itself.
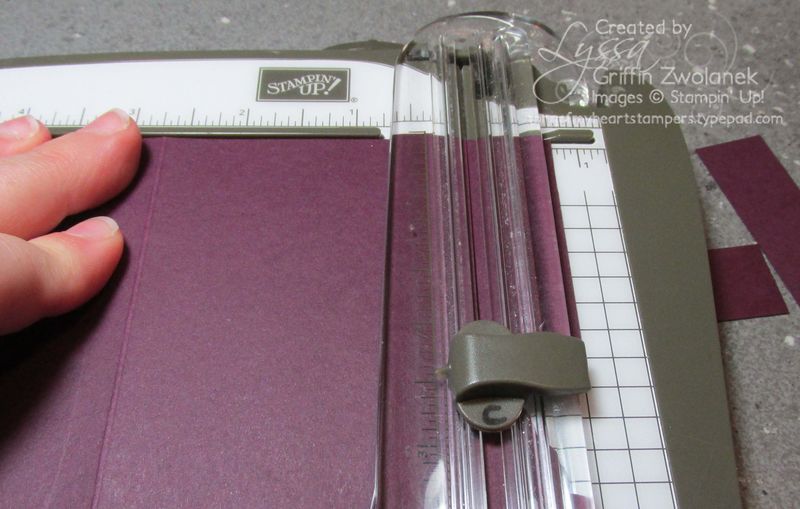
Now, here's the only measurement you'll need to remember when you're making this card. We're going to turn the finished edge that we just made so that it is sticking out to the left, and lined up with the 4.25 inch mark on your trimmer. Make a score, and that will put the fold of the card where it needs to be to make it fit in a regular-size envelope.
Then position the card so you can trim the flappy parts off the other side, just like you did on the first side.
Whoo hooo!!! Pat yourself on the back, because you did it! Here's what the finished card base should look like. I used 12 inches of ribbon to close my card, and the Papillion Potpurri, Flowering Flourishes, and Label Love stamp sets, with the new Blackberry Bliss ink, and some rhinestones to finish off mine.
I hope you do try this amazingly simple, yet very WOW, card idea and my "always free" photo tutorials. If you need to purchase the Tag Topper punch(es) or the Stampin' Trimmer, I would be happy to help you get those on their way to your craft room! Thanks for stopping by!
Product List


Your tutorial/technique for this card fold & closure is MUCH easier to understand and follow than some others I’ve seen & tried. Thanks for sharing!!