
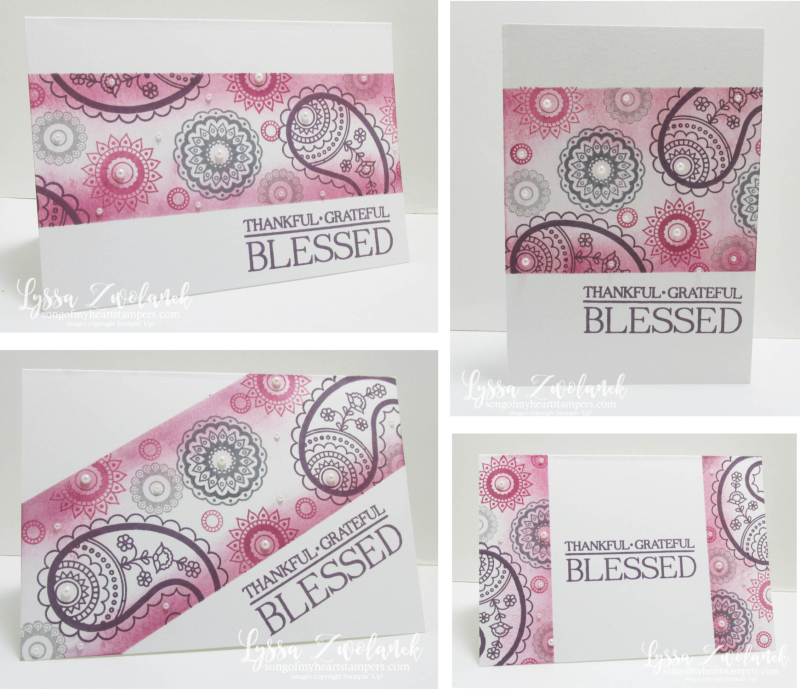
Don't you just love it?? I have been playing around with the basic masking technique this week and had to share with you guys. I came up with four different cards all using the same basic materials but with their own unique "slant" on the technique. Here they are!!
Sweet color scheme, too, huh? This is the easiest technique EVER and it's going to make your homemade cards look AMAZING! Today I'm going to run through how to make the diagonal one. Here's what you'll need to gather to do it:
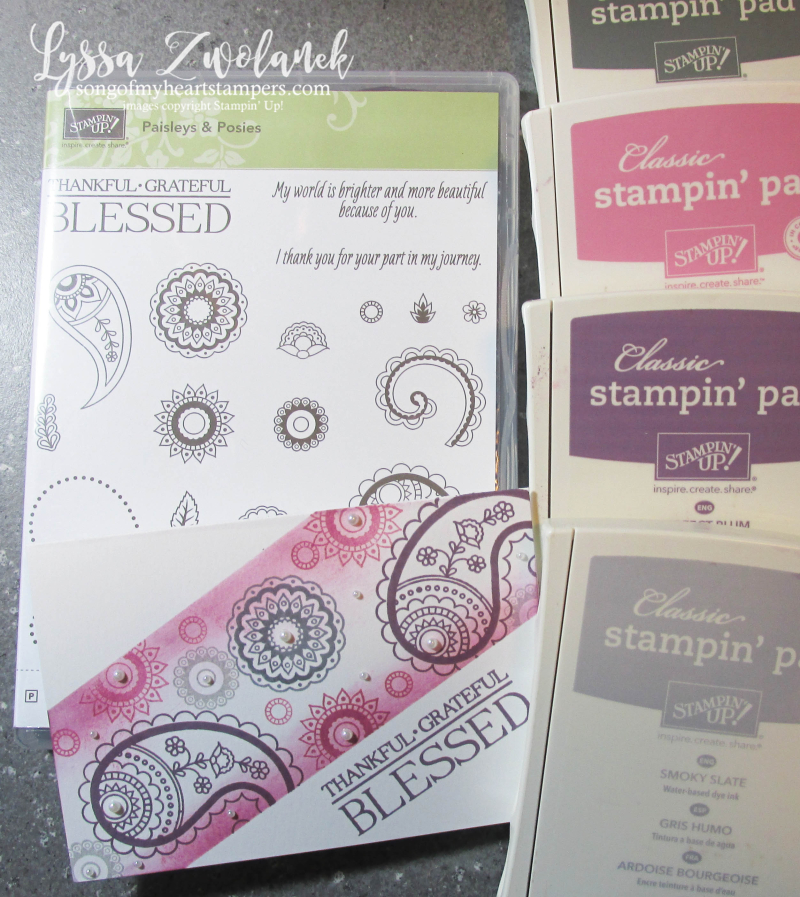
Supply List:
- Whisper White Note Cards & Envelopes (or plain colored card bases)
- Paisleys & Posies Photopolymer Stamp Set (or other multi-sized floral-inspired set)
- Sweet Sugarplum Classic Stampin' Pad
- Basic Gray Archival Stampin’ Pad
- Smoky Slate Classic Stampin' Pad
- Perfect Plum Classic Stampin' Pad
- Stamping Sponges
- and Post It Notes (the larger the better)
Got your chocolate at hand? Ready to start? Let's go!
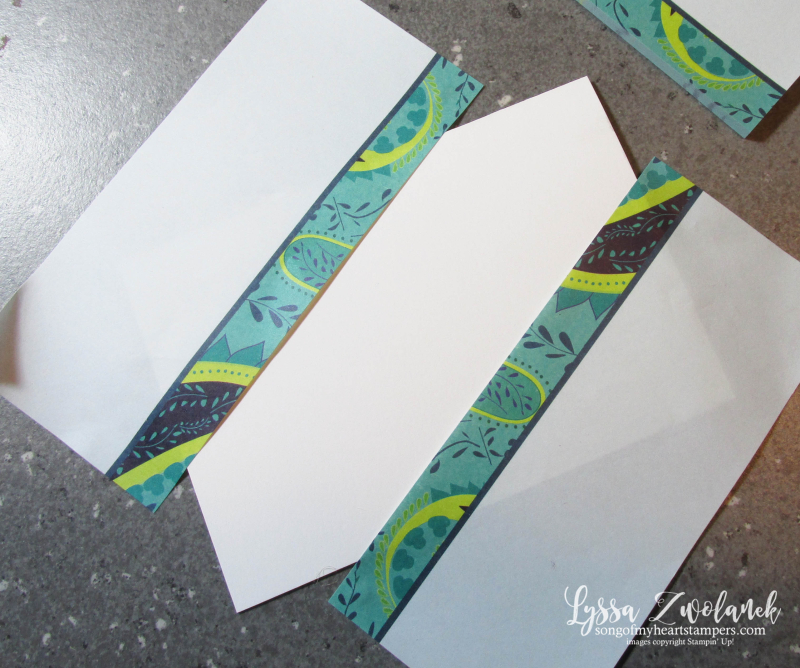
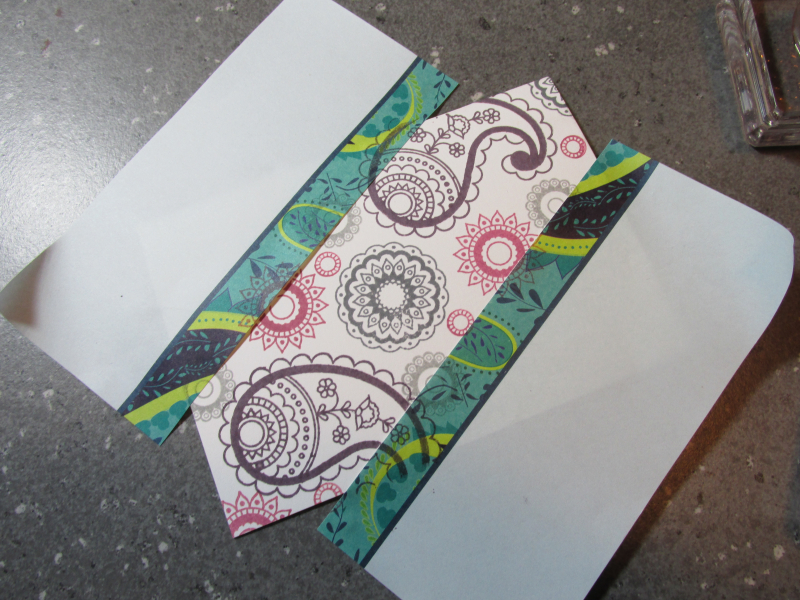
First, you'll want to lay your Post It Notes, sticky side down, on the card to mask off an area that you want to create your pattern in. The Post it Notes will keep everything else pristine and white, so that ink only gets on the area that you want it to. We're using sticky notes because they easily peel off when we're done, and won't tear the cardstock or leave any residue on our card. Good cheap fun!
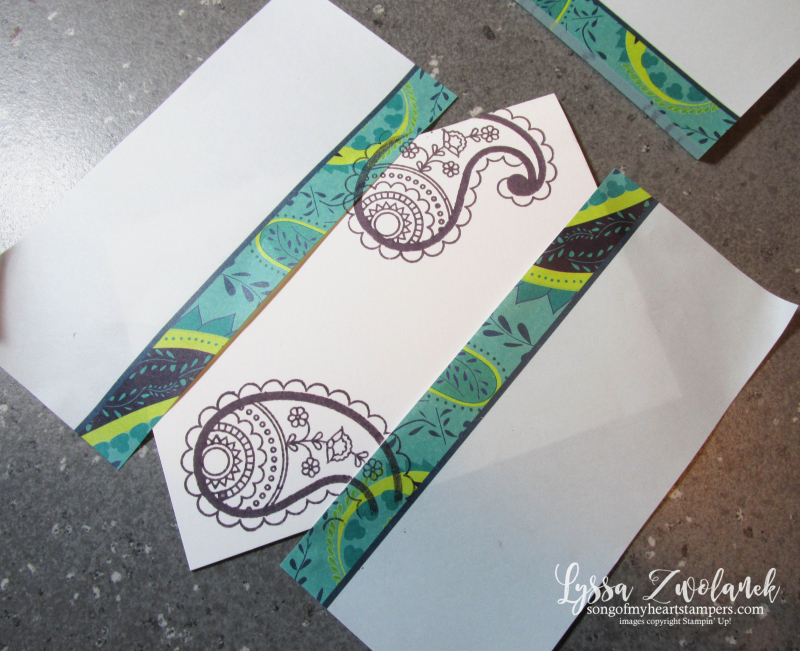
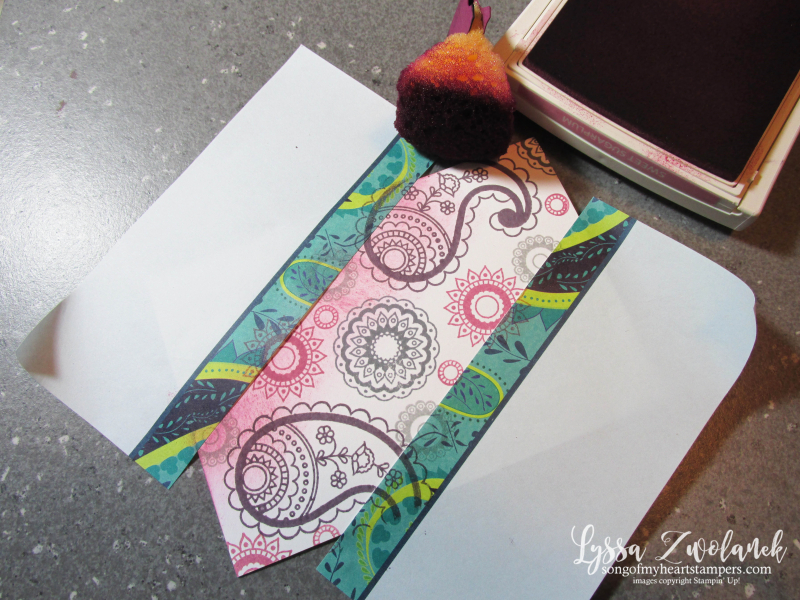
Start stamping! Stamp your darkest ink colors and largest images first, then fill in with the smaller stamps and lighter colors. I used a gorgeous color combo of Sweet Sugarplum, Smoky Slate, Perfect Plum and Basic Gray for my card.
Love those clear photopolymer stamps–I can see exactly where I'm placing them, and they never EVER fall off the block!
Keep stamping until the area is totally filled with your images. This could take a while. Better eat some more chocolate to keep your strength up!
Once the area is all filled in, without moving the Post It Notes, use one of your lighter colors to sponge along the top and bottom edge. I chose Sweet Sugarplum for mine. I adore Sweet Sugarplum. And to think I thought I didn't like "mauve!"
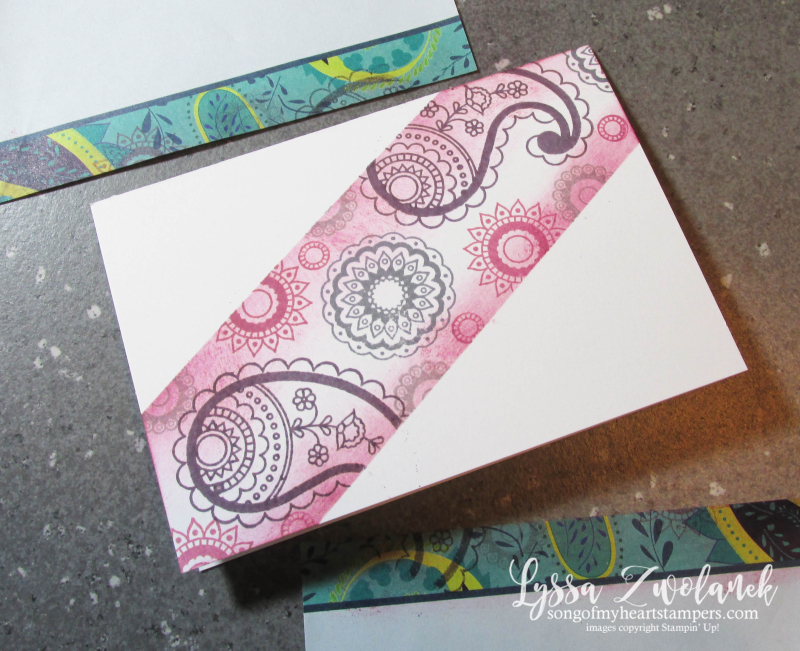
The moment of truth… peel off the Post It Notes! You should have a clean white card with a beautifully patterned "strip" of design running across it. With photopolymer stamps, it's super easy to line up a saying to stamp above or below the pattern line, too.
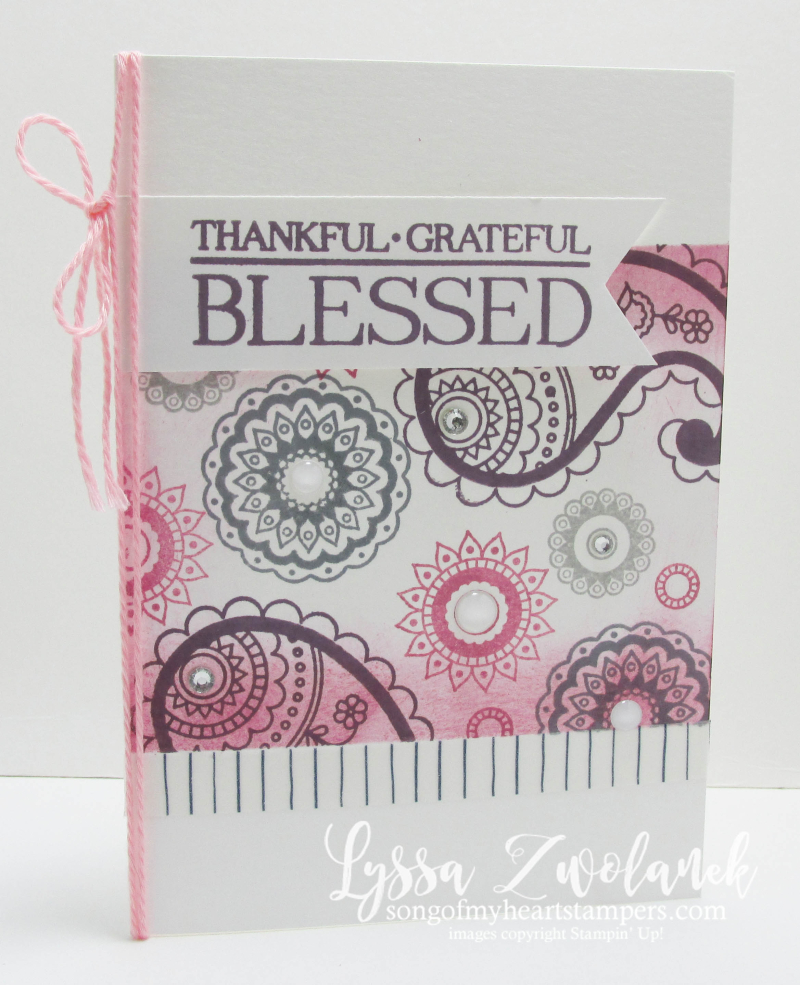
That's all there is to it! Make the other three variations of this card by changing up the placement of your Post it Notes. They can run horizontally, vertically, diagonally, in a box– the only limit is the width of your sticky notes! I found huge ones at the Dollar Tree. You can reuse the same notes for several cards' worth, too. Here's one I spiced up a little bit with some washi tape and some pink baker's twine:
I hope you're enjoyed learning this technique, or having a refresher course on it, and thank you very much for visiting me here at Song of My Heart today! Please leave a comment and let me know you're going to try this technique. Have fun!



Love the look! Going to try this!
Absolutely lovely!
Ooh! LOVE this Lyssa. Must try this. Love the colours. Thanks for sharing. 🙂
Love this idea. I sure will be trying it. I really enjoy all of your ideas. Thanks so much for sharing.
Mary Ann W,
Thank you for the tutorial. I am going to try this tomorrow! 😀
Love the colors you chose, and the technique is perfect for creating one-layer cards! I’m going to try this over the weekend 🙂
Yes, will surely try this tecnique. Your cards look beautiful. They look hard to make, but after seeing your tutorial, I changed my mind.
Thank you for sharing.
Been stampin’ forever but sometimes forget these simple but effective techniques. Thanks for reminding me.
Will be playing soon.
Lynn