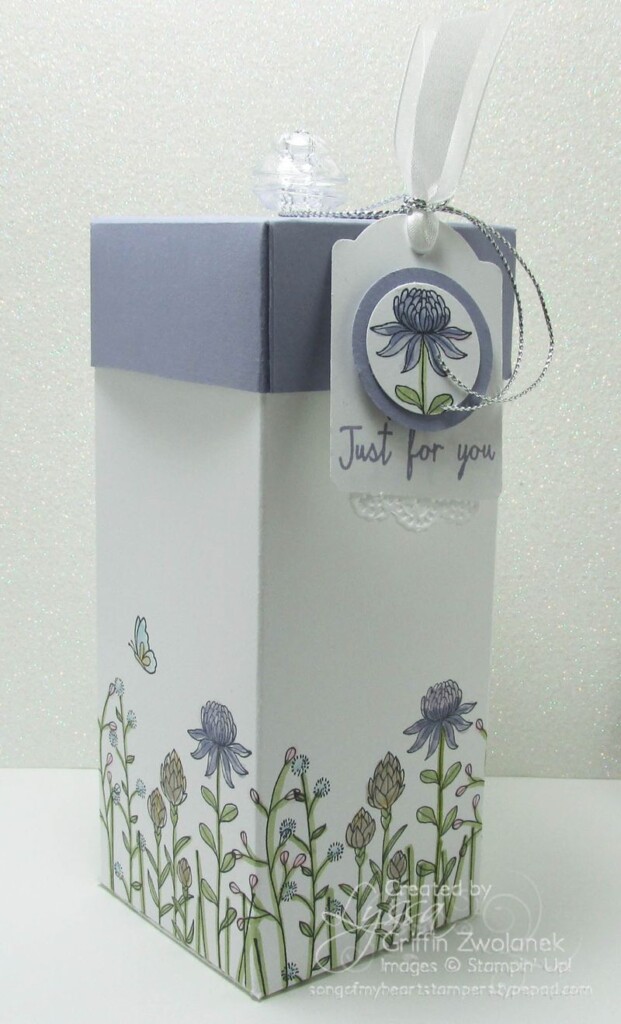
Welcome back to our celebration of Sale-A-Bration 2016! This week's featured stamp set, Flowering Fields, comes in wood mount or cling-mount and would make a delightful addition to your crafting supplies. It's so sweet and fun to color! I used it to make a wildflower border around the base of this tall box using Archival Black ink and the Subtles Collection markers.
if you'd like to make the box, take a piece of 8.5×11 cardstock and score at 2.5, 5, 7.5 and ten inches on the long side, and 2.5 on the short side. Create your flaps and fold box together, adhering with Tear & Tape. The lid starts with a 5-inch square piece scored at 1.25 and 3.75 inches, turned 90 degrees and scored again at 1.25 and 3.75. Before you adhere the lid flaps, make sure you try it on your box and make it looser or tighter as needed. I like a box lid that won't come off too easily, myself. The finished box is 6 inches tall.
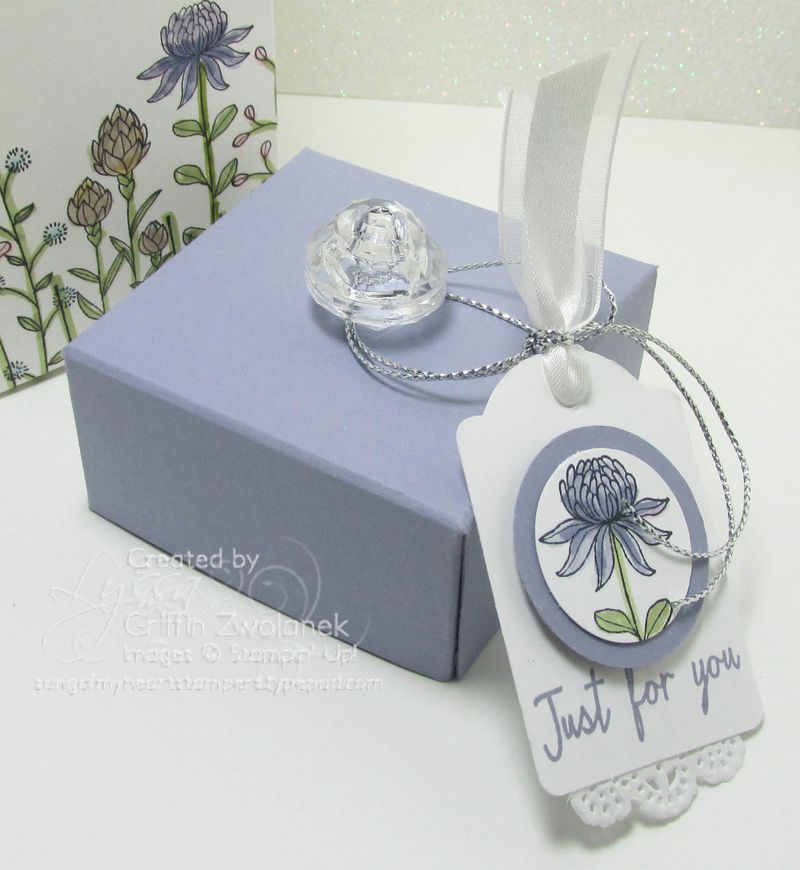
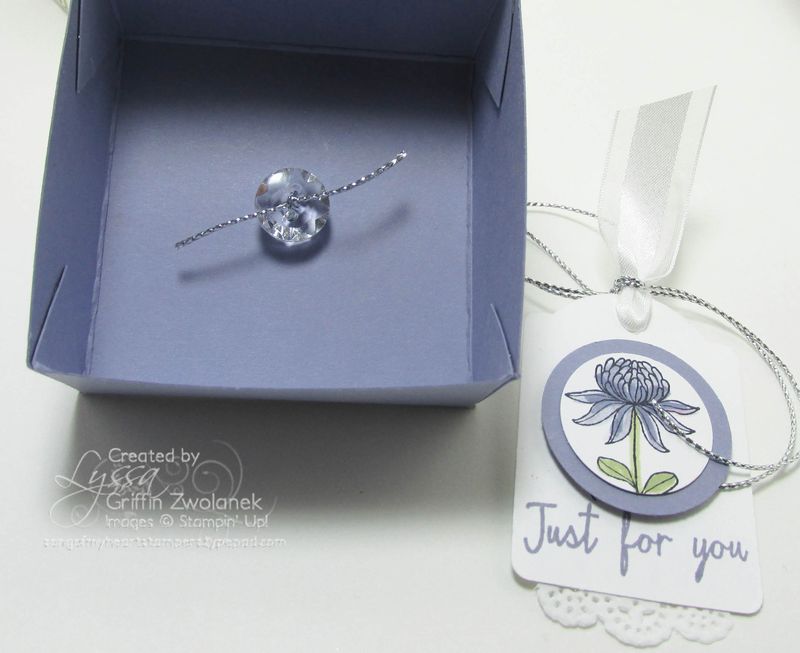
The lid on my little box has the cutest "glass" knob! It's two of of the largest Vintage Faceted Buttons plus one of the medium ones, tied together tightly with cording They look like one piece! After they are tied securely, I poked a hole in the center of the lid and fed the cording ends through to the inside. Another button and a tight knot secures the whole thing down.
Suggested Color Combination:
Fun little project for your weekend! I hope you've been enjoying this Sale A Bration 2016 blog series. Tuesday marks the HALFWAY POINT of SAB already!! So Monday, February 15th, is your last day to get the three limited-edition reward choices (Sky's the Limit, Hello, and Perfectly Artistic papers). On Tuesday, three new items will be introduced to make you HAVE to take another look!
Ready to see them? Get these items FREE with any $50 order beginning Tuesday, February 16th: NEW! Freshly-released Sale A Bration 2016 Items!
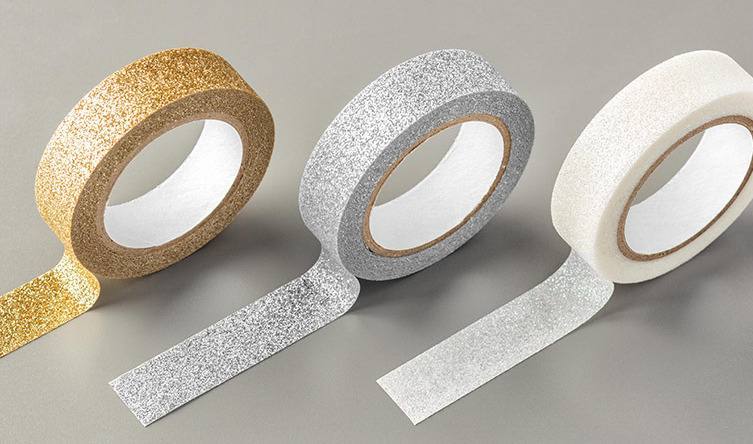
- Metallics Glitter Tape [141020]
- Party Pants Wood-Mount Stamp Set [141324]
- Party Pants Clear-Mount Stamp Set [141327]
- Pedal Pusher Photopolymer Stamp Set [141312]
I'm especially excited about the new Glitter Washi Tape!! But I have a feeling that it is going to SELL OUT very quickly. So if you want it (and you will by the time I'm done with you, LOL!) I suggest you order it as SOON as you can after it's available beginning Tuesday, February 16th. Don't wait–or you'll be all whiny when you miss out!!
Thanks for stopping by Song of My Heart Stampers today! Have a fabulous rest of your day. Drop me a line if you'd like! Lyssa@songofmyheartstampers.com





Lyssa – it’s beautiful! And I really want to make one myself. However the cut size for the cover paper is not listed (or at least I can’t find it).
Thanks for sharing though!!
LOVE this, Lyssa!
What is the size of the square for the lid? It’s not showing. This is so, so beautiful!
Hi Lyssa! Love this project. What is the size of paper/cardstock for the lid? I think you left it out as is say the size is -inches, etc. Can you email me at kericami@aol.com? Thank you!
I love the box! I would love to make it. The size of the square for the top does not show up on my email??
Amazing project Lyssa – Congratulations! This project is one of my most popular pins this week and is being highlighted on my blog today. Thanks for sharing. Kylie xx
Love it what is the size of lid please
If you’d like to make the box, take a piece of 8.5×11 cardstock and score at 2.5, 5, 7.5 and ten inches on the long side, and 2.5 on the short side. Create your flaps and fold box together, adhering with Tear & Tape. The lid starts with a 5-inch square piece scored at 1.25 and 3.75 inches, turned 90 degrees and scored again at 1.25 and 3.75. Before you adhere the lid flaps, make sure you try it on your box and make it looser or tighter as needed. I like a box lid that won’t come off too easily, myself. The finished box is 6 inches tall.