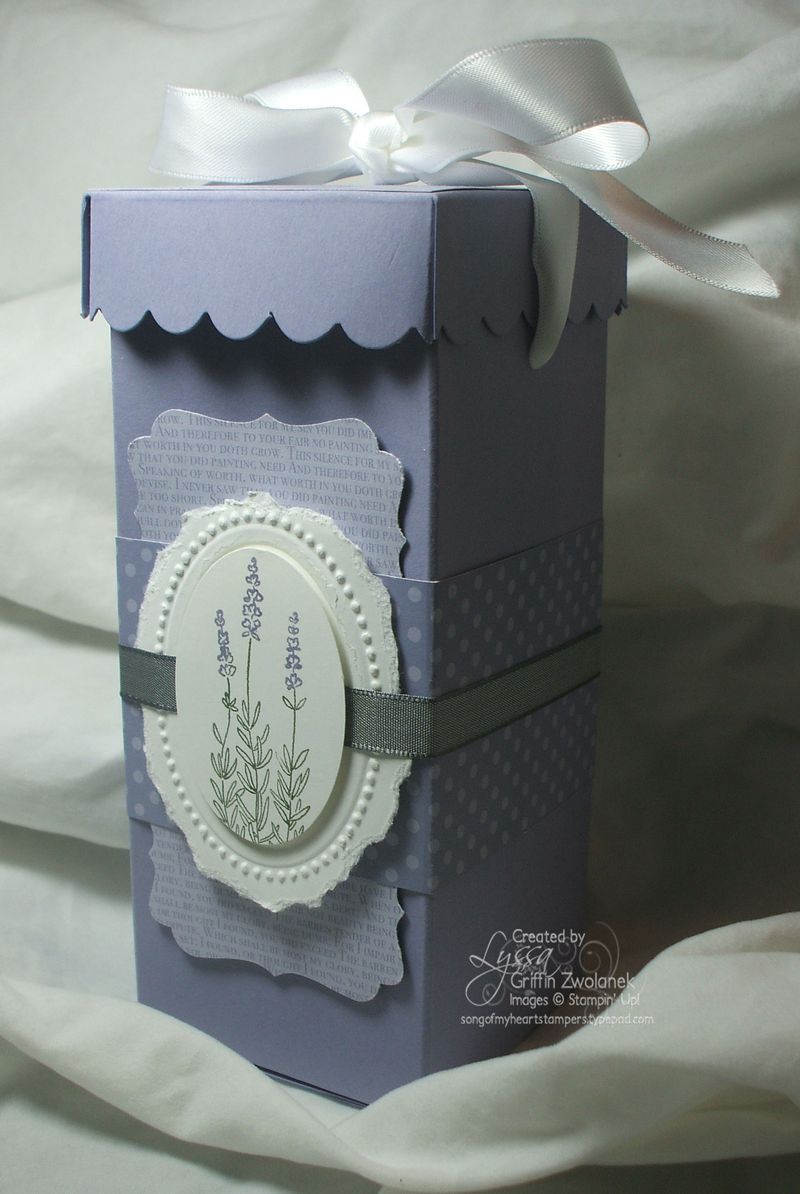
Gorgeous "French Perfume" box here, as my daughter called it, for Day Two of fifteen in "A Simply Scored Christmas." This sample came about from an idea I first saw shared by fellow Stampin' Up demonstrator Connie B. It's quite a bit bigger than you'd think, so it would hold a cello bag of yogurt-covered pretzels or homemade chocolate-covered cherries, tall gourmet cocoa packets, a package of bath bombs, or just about any medium-sized gift item you can think of.
It looks a little complicated, but this box is actually ridiculously easy! The secret? One sheet of 8.5×11 cardstock, plus an EASY lid made from the Scalloped Square Clear Die for the Big Shot. Whip out your Simply Scored board, papers, ribbons, punches and stamps to embellish, and here we go!
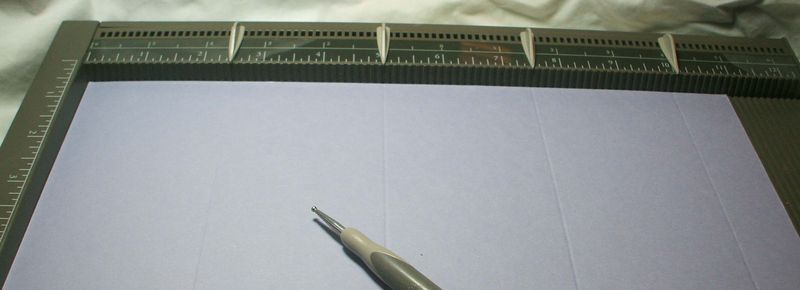
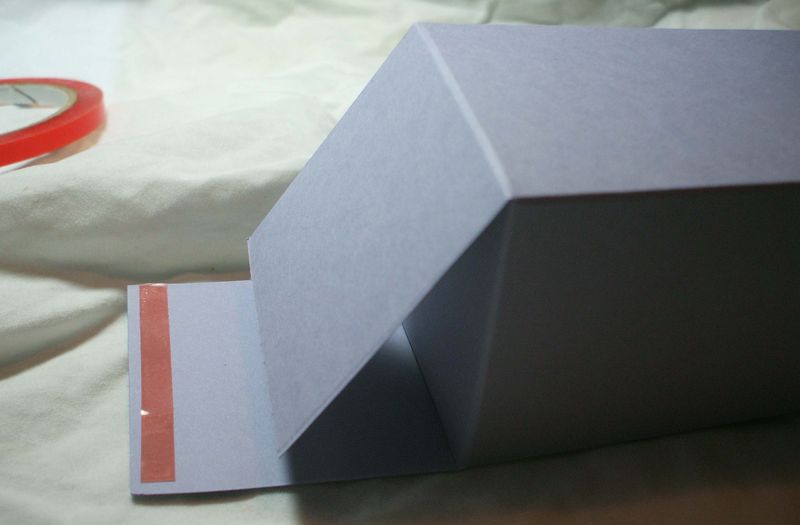
Scored your cardstock at 2.5, 5, 7.5 and 10 on the long side (as shown by the Simply Scored place markers, above). Turn it 90 degrees and score it at 2.5 on the short side (anot shown). Slice up to the fold and trim off the excess corner as shown below:
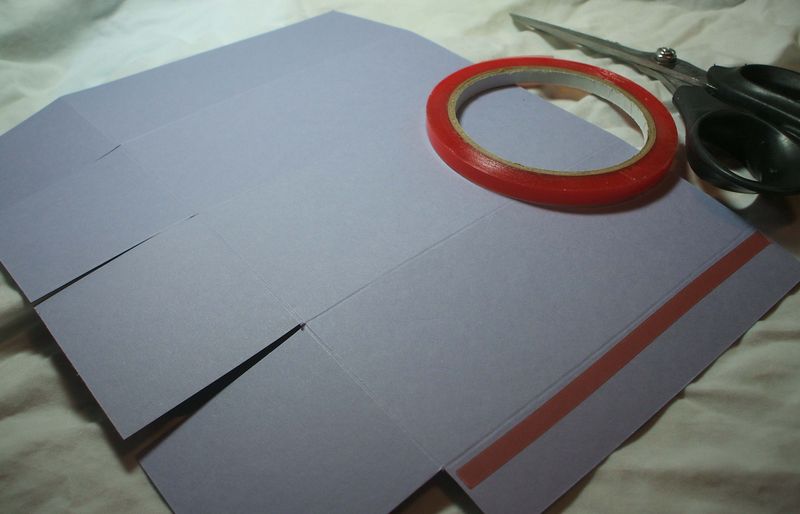
Assemble the box with Sticky Strip–SNAIL is not appropriate adhesive for 3-D items, in most cases. One strip will do you on the side, and then fold the bottom flaps in across from each other, using one piece of Sticky Strip to close the bottom as well. Nice and sturdy!
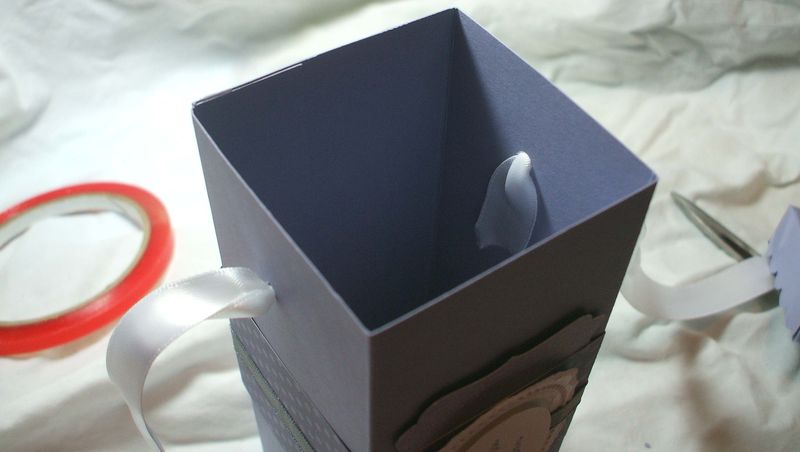
Use your Crop A Dile's larger hole punch, with the guard pushed all the way back, to punch a hole in the sides of your box. Thread some nice wide ribbon through, about 14-16 inches for each side, so you get a nice droopy, elegant bow. You could just tie a knot to keep the ribbon from pulling through the box, but it looks more professional and elegant if you adhere the ends down flat inside with Sticky Strip.
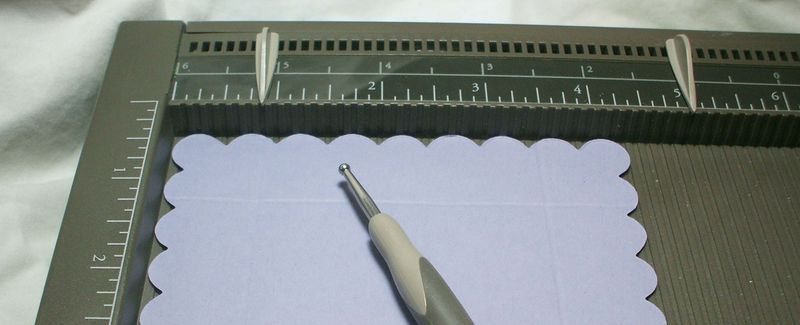
Cut out a Scallop Square from cardstock on the Big Shot for the lid. You can emboss it with a Textured Impressions embossing folder at this point, if you'd like. Score it at 7/8 inch on all four sides. The Simply Scored tool has markings every 1/8 inch, for highly accurate scoring. Click here to visit my shopping website and read about it.
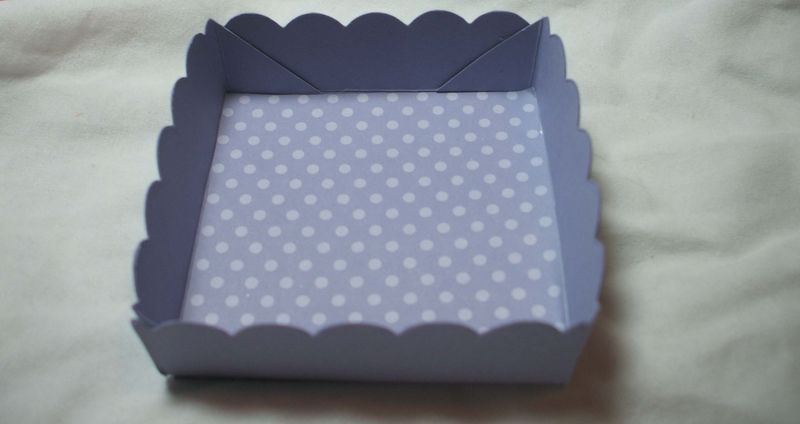
Snip off the corners from score mark to score mark, so that when you fold it together to form the lid, the corners are nice and neat. Use Sticky Strip or Mini Glue Dots for the lid. I also lined mine with Wisteria Wonder DSP from the 2011-13 In Color stack.
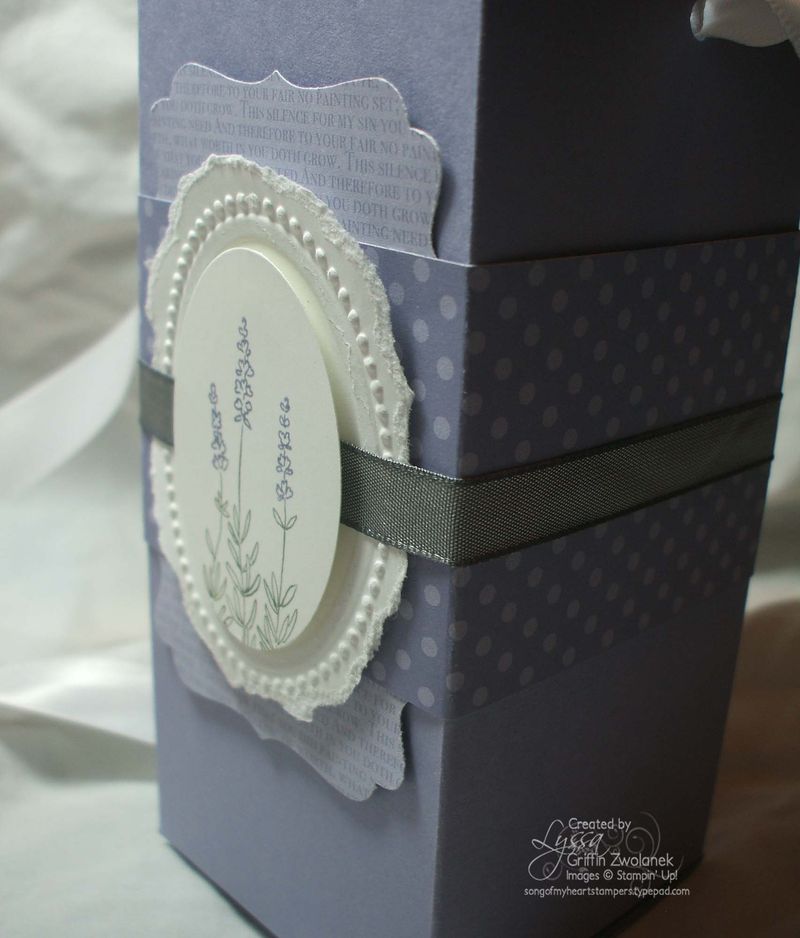
That's all there is to it–the rest is just embellishing. I used the oval Designer Frames Big Shot embossing folder and ripped around the edges to make the frame for the focal point, which is a cute lavender stamp from the Herb Expressions stamp set. Using two types of ribbon, both satin and taffeta, kicked the elegance up a notch, as did a second mat under the belly band, made from two Decorative Label Punches.
You can make a very short version of this same Scallop Lidded Box, by using a 4.25×11 piece instead of 8.5×11. All of the measurements are identical, but the box turns out about 1/3 the size. I'll let you in on a secret as long as you promise not to tell any of my SU team members before our annual Christmas party–it fits an embellishment jar to perfection! 🙂
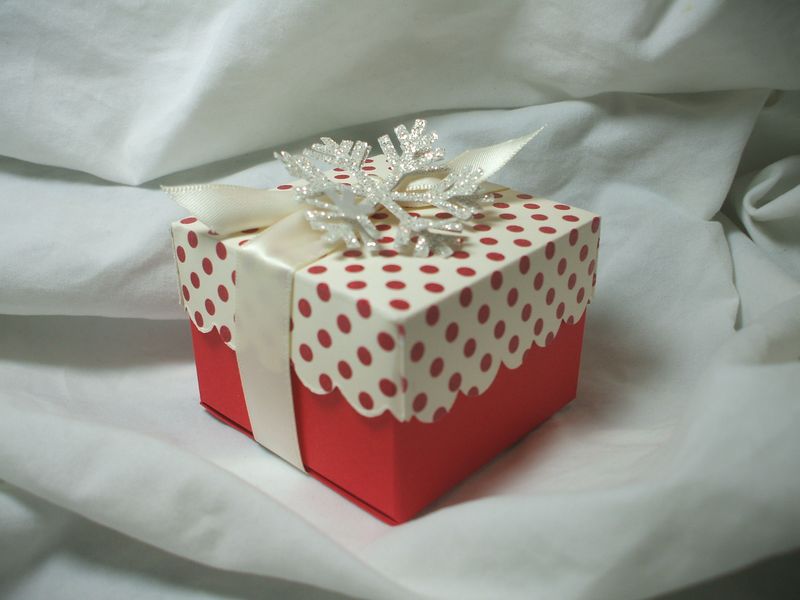
Ok! How's that for a great Day Two? Stop in again tomorrow for another fun and easy photo tutorial in " A Simply Scored Christmas" blog series. Or better yet, add me to your RSS feed or subscribe in your preferred reader, so you won't miss ANY of these great ideas for heartfelt, handmade, holiday gifts. If you're local to me, these are just a few of the great projects we make at my stamp camps, classes, clubs and home workshops–contact me today to get on my mailing list!



très jolies réalisations j’aime beaucoup la première pour ces jolies couleurs, j’aime ce bleu
Et merci pour le tuto