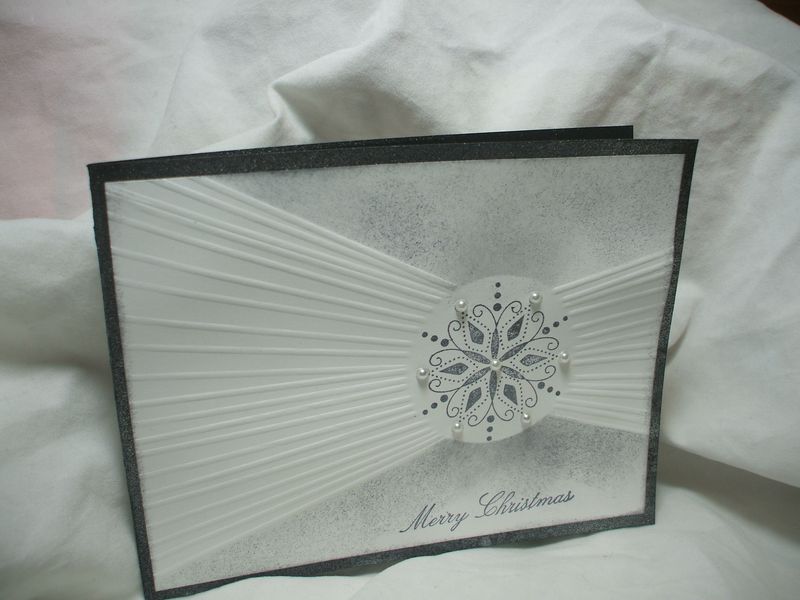
Today's photo tutorial for "A Simply Scored Christmas" is a mini tutorial, in part because about half of my photos didn't turn out! But the idea is a simple one, so you'll be able to see right away how it works. Thanks for tuning in to my blog series on the fabulous new scoring tool from Stampin' Up!
I used the Radiant Embossing technique on Whisper White to make a one-layer Christmas card, which can be a fantastic money-saving tip if you have to make a LOT of Christmas cards or invitations of some sort to make, including weddings. There are only two pieces to this card–the base (Basic Black, sprayed with homemade Pearl White Shimmer Mist) and the cardfront (Whisper White, scored, stamped and sponged). There are no punches or layers of any kind. It's a pretty look, almost like the card was wrapped in silk or linen.
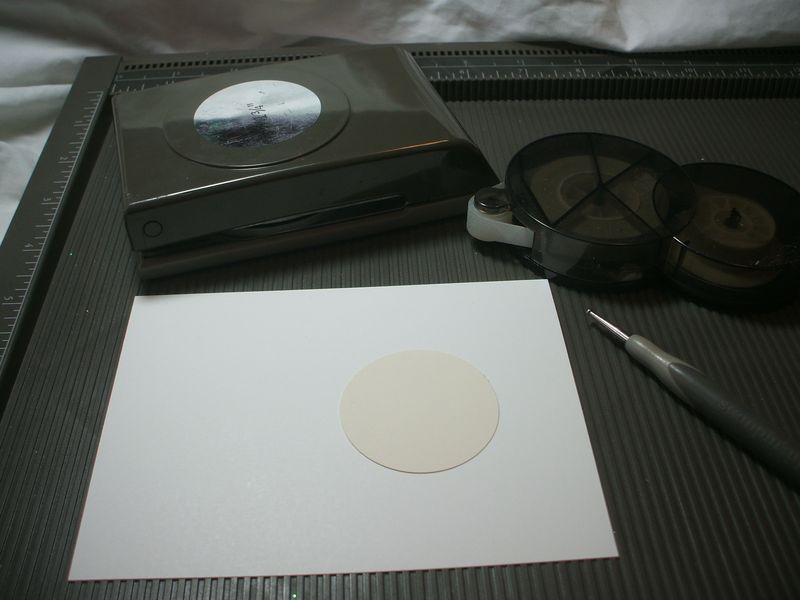
To begin, you'll need a 4×5.25 inch piece of Whisper White, a card base (5.5×8.5 or 4.25×11) your Simply Scored, 1.75 inch circle punch, Dotto, a sponge, one ink color, stamps and embellishments like pearls or rhinestones.
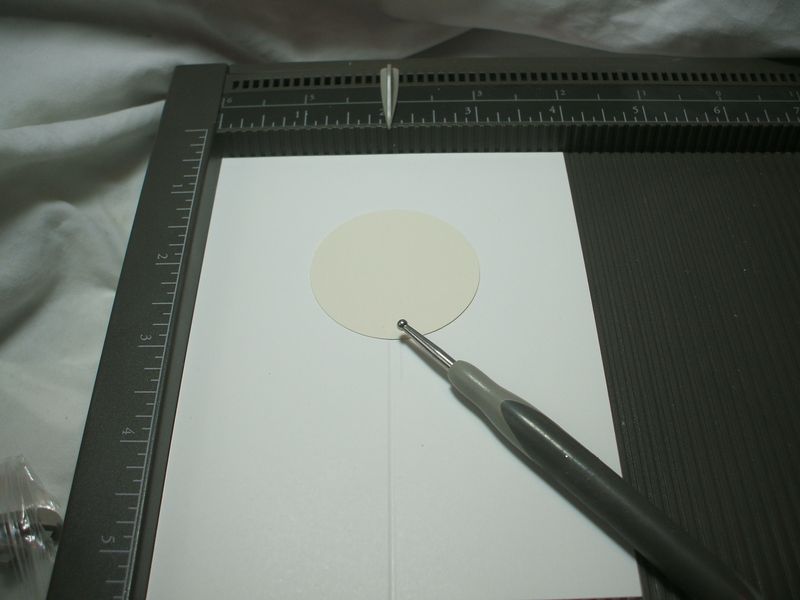
Punch out a 1.75 inch circle and use the Dotto repositionable adhesive to stick it to the card about centered between the top and bottom of the card, but off to the right hand side. The punch can be any old cardstock as it will just be discarded.
If you don't have any repositionable adhesive, I highly reccomend Stampin' Up's Dotto because it doesn't leave ANY traces behind, unlike some others I have tried. it's not something I use a ton of, but when you need it, nothing else will do! But my VERY favorite new tip for clear mount stamps that are having trouble staying on their blocks where they belong is to use a little Dotto on them, and then they won't budge until you pull them off. The Dotto just rubs right off the block when you are done!
Anyway, back to the project: set it on your Simply Scored board with the short side along to top ruler, and score a line down from the punch to the bottom on the 2.25 mark (shown in the photo via the place markers).
Then, leaving the top right hand corner of the card on the 4 inch mark of the TOP ruler, pull the top left corner of the card down a quarter inch on the SIDE ruler, and score on that same 2.25 inch groove.
Repeat as many times as desired, pulling the left side down a quarter inch each time. You should wind up with a "fan" of scored lines radiating from the focal point (hence the name of the technique).
When you are done with one side, flip your paper and score down from the punched circle on the other side in the same fashion. When you are all finished scoring, mask off the "fans" and sponge as shown (leave the circle on, too, so you can sponge around that as well).
Then just remove your circle, rub off any Dotto that remains, and use your Stamp A Ma Jigg to stamp a snowflake or other stamp dead center in the circular area left in the middle of the "fans."
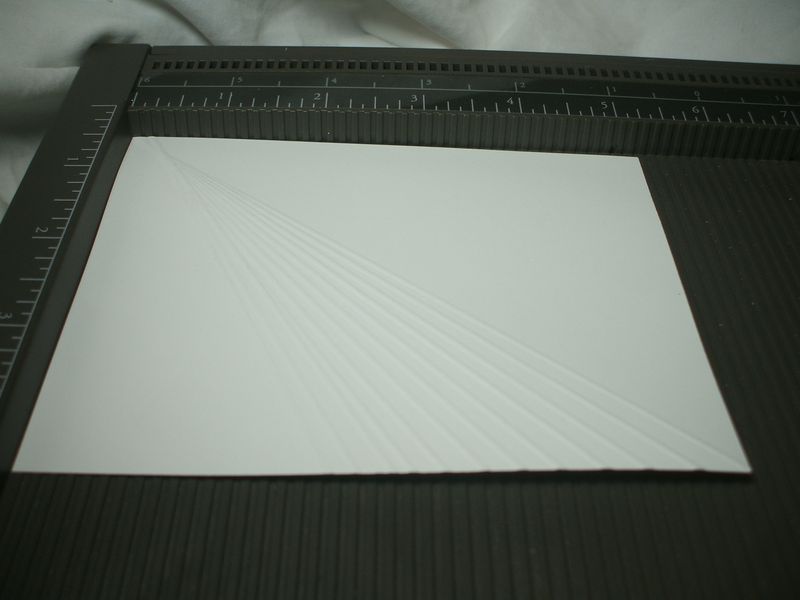
Here's one more version of radiant embossing that I will have to take a bit more time to play with and show you later. I started all the lines from the upper left corner on this one.
Ok, I have to GO! My 2012 Occasions Mini Catalog pre-order and Sale A Bration goodies just arrived just this very minute!!! Why does UPS always seem to come right when I have to leave?? More tomorrow–thanks for checking in, and please keep doing so through December 15th!




It is hard to believe that this card is only one layer! WOW! Love it!