
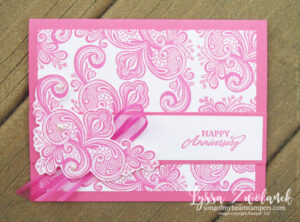
I enjoyed last night's Advanced Papercrafters Class so much! We focused on the Circles Card Thinlits and I shared ten different ways to use them to make a variety of cards. Everyone was amazed at how versatile these Big Shot dies are–far more than you'd think! I am planning several photo tutorials for your inspriation, but several of the designs don't require too much explanation, so I'll start with those.
One of the variations you can make with the circle card thinlits is a shortened square card. The easiest way to do these is to die-cut the card like normal, then trim it down to 4×4 square. If you cut from the bottom and the right hand edge of the card when it is folded closed, it will result in a perfect square with the circle flip part right in the center. Perfect!
Once your cute little 4×4 flip card is finished, of course, you'll need a matching envelope. Voila! The new Envelope Punch Board to the rescue. I just looked up the card size, cut my paper to the measurements, scored and punched it, and in less than two minutes I had a sweet envelope of patterned paper to match my card size just perfectly. Love that tool!

Click on any of the links below to go directly to my online shopping website and browse the options. My color scheme for all the cards at the AP Class last night was Blushing Bride, Crisp Cantaloupe, Pear Pizzazz, Primrose Petals and Raspberry Ripple. It's a sweet, old fashioned combo, pinks and roses softened with peach and made springy with a nice light green. Give it a try this week!


I honestly would have never thought to cut down the original card to a smaller shape! I love it. Thanks for sharing.
Beautiful!! Just remember that it costs more to mail a Square card than a rectangle shaped card.
Would never have thought of this and what a great way to showcase the Envelope Punch Board too!!! THANK YOU!