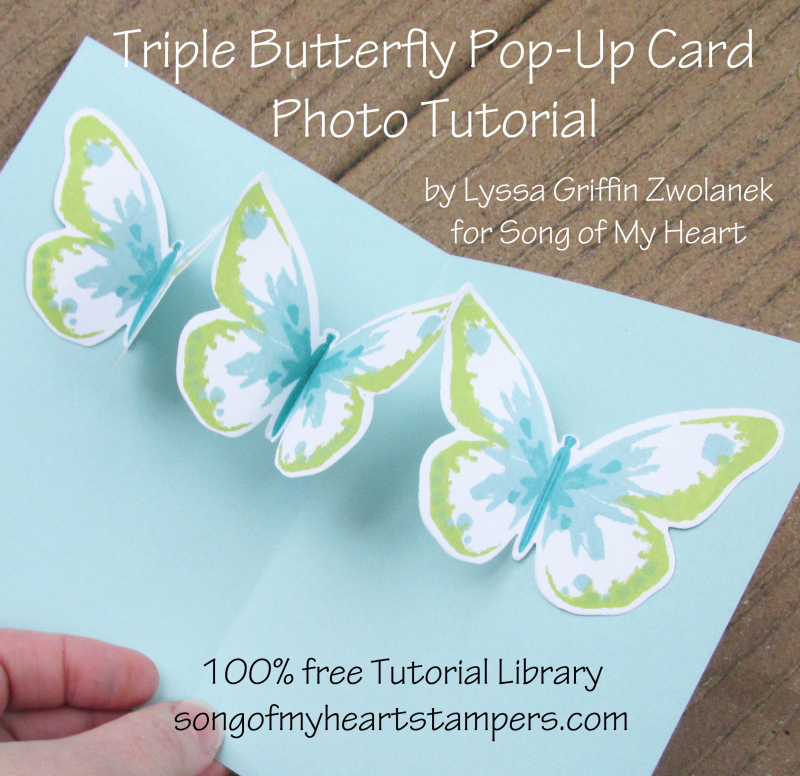
Guess what? You CAN teach an old dog new tricks! My new team member Jill taught me this adorable new EASY pop-up card technique, and as soon as I saw it, I had to make a tutorial for you! It's so simple, you won't believe how addictive these are to make.
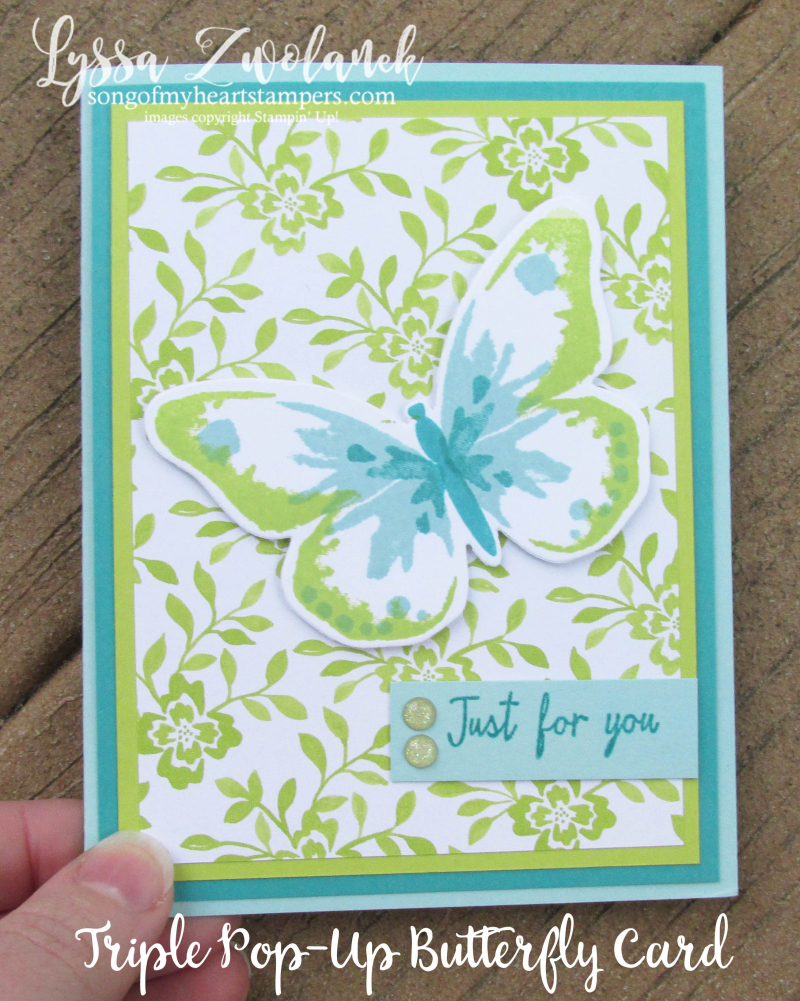
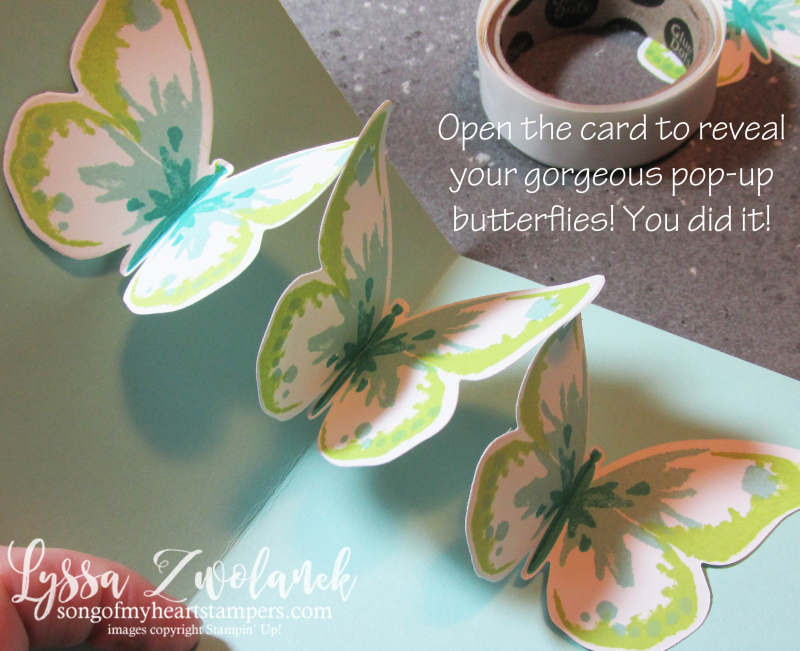
Here's the outside of this card–cute but nothing special, right? But when you open it up… WOWIE KAZAAM!
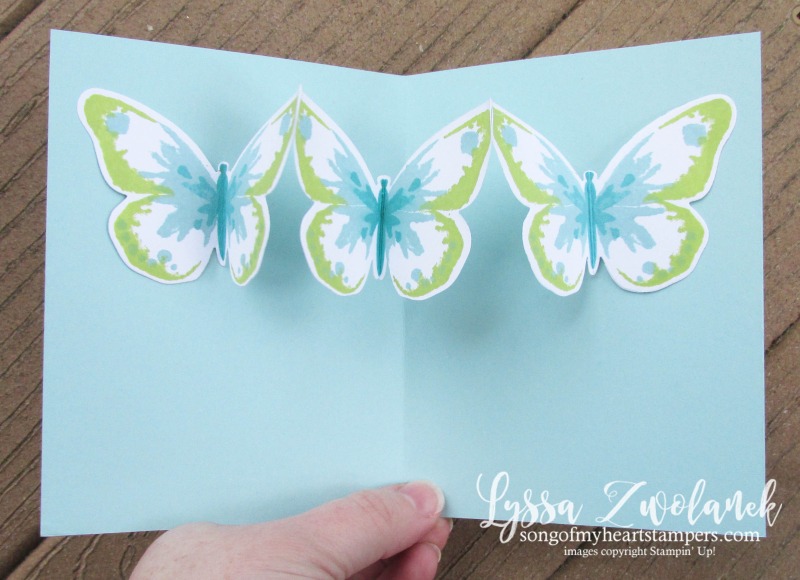
Isn't that so awesome!? I bet you're gonna right right into the craft room and make this. But wait–you need to know how! Here's what you'll need to gather:
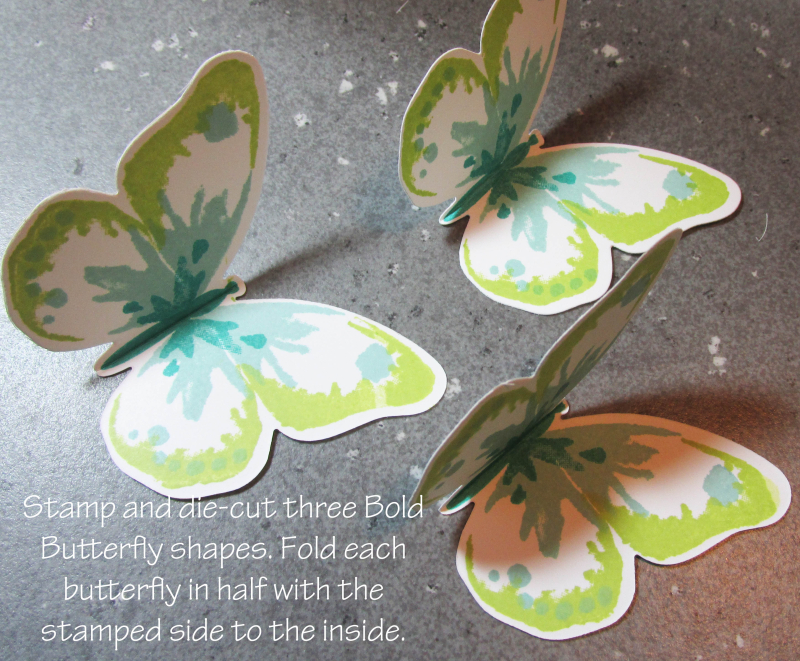
- Die-cut butterflies (I used the Bold Butterfly Framelits' largest size)
- Stamps (I used the Watercolor Wings stamp set)
- Inks (I used Lemon Lime Twist (new!), Bermuda Bay and Pool Party
- Card base (half a sheet of 8.5×11 cardstock)
- Papers, embellishments for front of card
- Bone folder
- Glue Dots or a liquid adhesive such as Tombow Multi (SNAIL or tape runner will not hold the tension on this one)
Ready to start? Let's go!
One other nice thing to note is that this is NOT a bulky pop-up. It can go in the regular mail, no problem! Even with six thicknesses of Whisper White cardstock, and the glue dots, it can still travel for just one postage stamp. My kinda card!
Ok! NOW you can go give it a try! And if you don't have this amazing stamp set and coordinating Framelits, I can assure you that you will NOT regret picking them up. Click here to go shop with Lyssa! I appreciate your suppport.
Thanks so much for dropping in to see my newest tutorial. Don't forget to check out the 100+ "Always Free" tutorials here at Song of My Heart, your home on the web for real-life papercrafting projects!



Lyssa, that is a gorgeous card, and an awesome technique. Thank you so much for sharing – I am excited to try that out myself. I think it’ll make a wonderful Mother’s Day card 🙂
I love it! Thanks for the great pictures.
Love your card. Can you please tell me what you used on the card front, the green floral? Thanks for your help.
Hi Lisa! Thanks for your kind comments. I used the upcoming Designer Series Paper Stack for the new 2017-19 In Color Collection. Hope that helps!
Very cool and thank you! I can think of other dies this would be fun to try with in a card.
WOW! Great photo tutorial. I love this! Thanks to you and your new team member!!
Thank you! This is absolutely gorgeous!!
Lovely card, thanks for sharing
Really cute card and easy. I am trying this one. Thanks.
Great card, very eye catching…..I can’t wait to try this card. Thanks much for sharing.
Fabulous….thank you
Love this card !!!! Thank you for posting … great tutorial, easy to follow 🙂
Can’t wait to try this. Thank you for your tutorial and some great inspiration
Hi Lyssa, just wanted to let you know that I used this in my advanced class this week and everyone loved it! Thanks so much for sharing and providing a great tutorial. Would it be ok to use this on my blog if I change up the colors (and give you credit, of course!)
I absolutely LOVE butterflies and this card is my fave butterfly card
so far! Even the colors are perfecto. I’m going to make it … right now. Thank you for sharing this awesome tutorial.
Hi Lyssa!
Thank you SO much for all your inspiration! I did a version of your butterfly card at my card class and everyone was smiling and so excited! Easy to make and a great WOW factor.
You are AWESOME!
Connie
Love the surprise 3d effect with the butterflies on the inside- thanks for sharing this idea.
such a cute card, I have been toying around with that butterfly stamp set and think this will make the perfect 3rd addition to my upcoming card class, thanks for the inspiration and directions! I think I’ll perch my butterflies on a brick wall, but what color???? hmmm,….I will think of something!
I love this butterfly card. Can’t wait to try it.