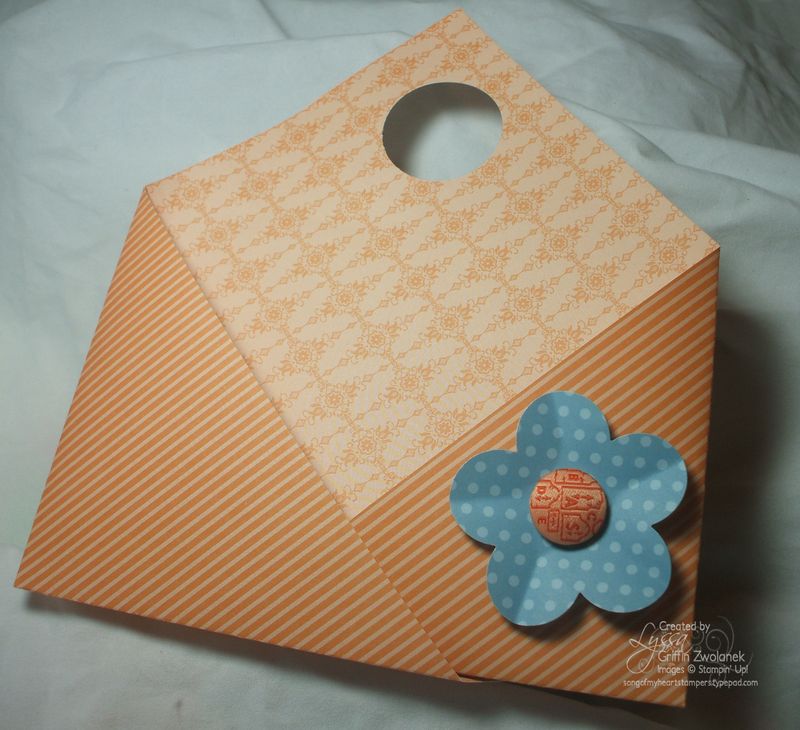
I got an adorable version of this as a Leadership Conference swap, and as soon as I saw it, knew I wanted to make a quick and easy photo tutorial for you! You can literally make one of these start to finish in about one minute, once you have it down! I am making 12 of these as pillow gifts to welcome the scrapbookers to my retreat this weekend.
All you need is one sheet of double-sided Designer Series Paper (DSP), your bone folder, a large circle or oval punch, and embellishments as desired. For the tutorial below, I am using the gorgeous NEW Paisley Petals DSP, which will go on sale April 1st as part of a fun SNEAK PEEK of the next Idea Book & Catalog!!!! Wait until you see the stamp set!!!
To begin, fold the 12×12 DSP end to end to form one giant triangle. At this point it doesn't matter which side is up, so don't worry about that.
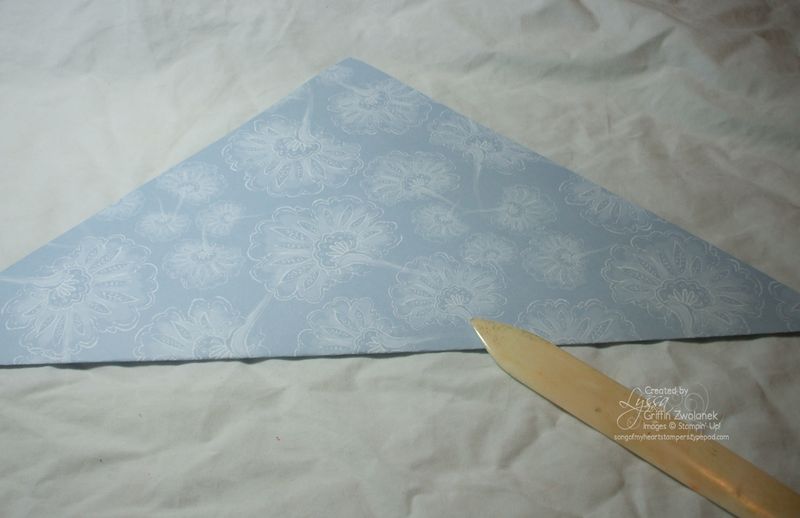
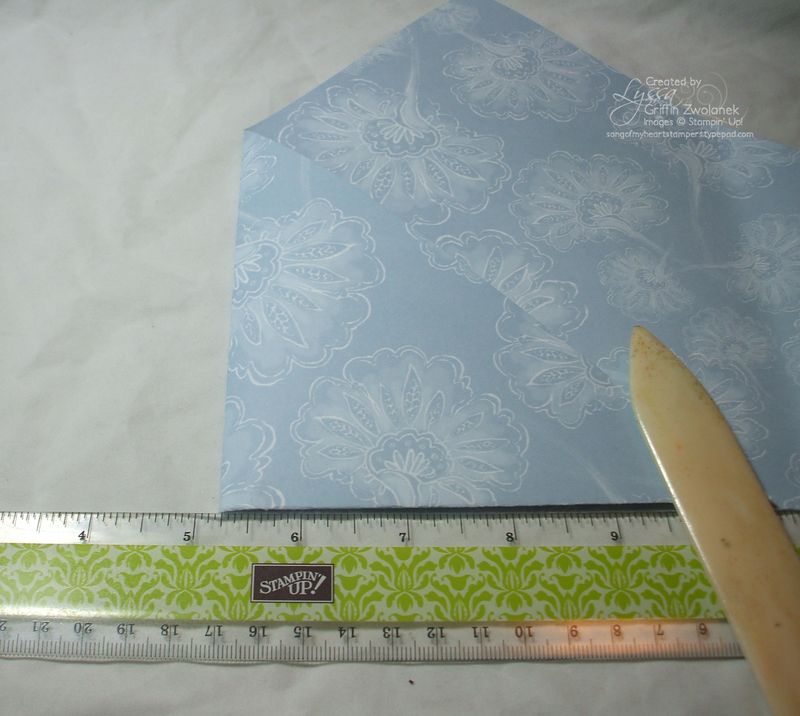 Next, you fold in both side points towards the middle at ABOUT 5.25 inches. You do not need to measure this, though–just fold one side in and then fold the other to match, as pictured below.
Now open your DSP back out to the triangle and fold up approximately one inch from the bottom edge as shown below. Again, you do not need to measure this–just eyeball it.
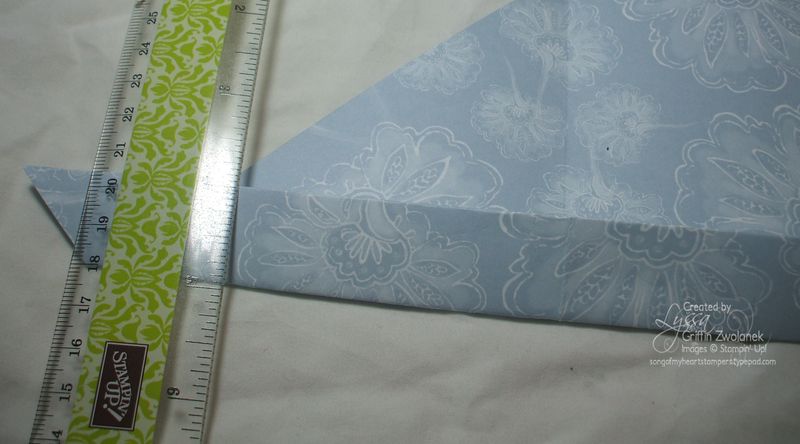
That's all the folding you need to do–after this point, you will just be refolding along lines you already folded. Hope that makes sense! You will not be making any NEW folds.
Open your DSP up all the way and lay it out flat and upside down in front of you. Have the pattern you want to be on the OUTSIDE of the holder on the back and the pattern you want to be on the INSIDE of the holder facing up.
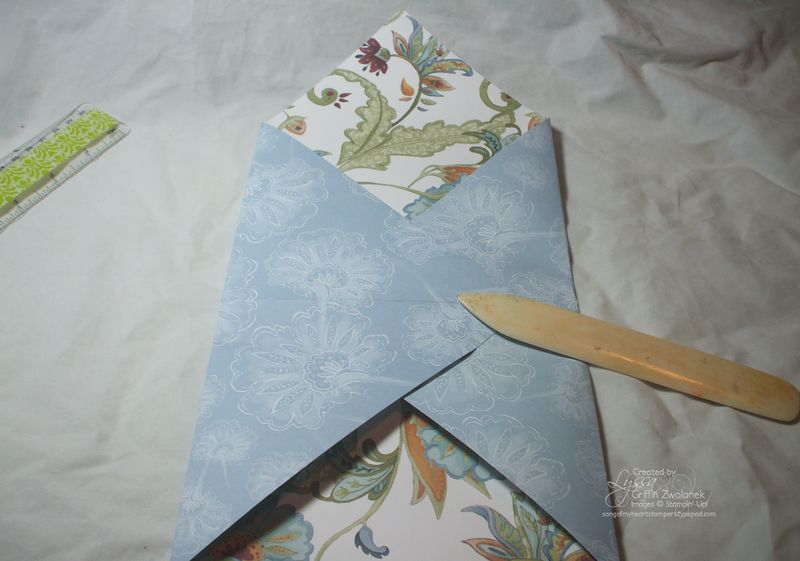
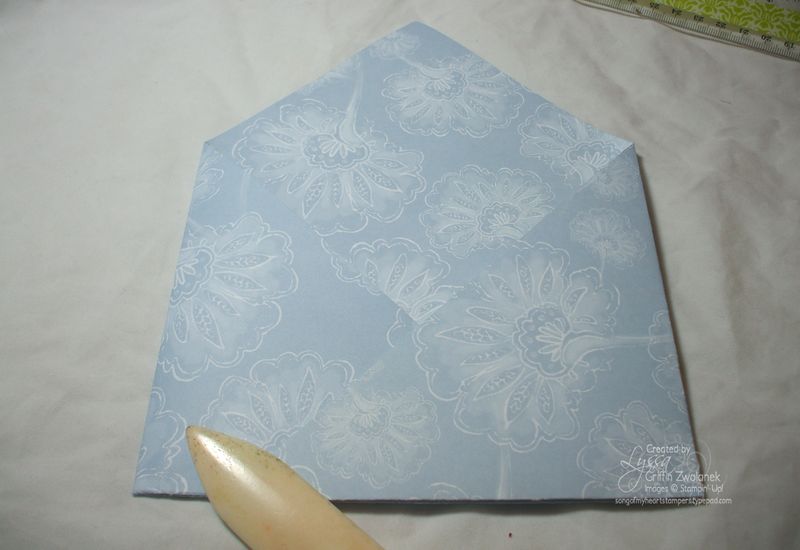
Fold the side in along the fold lines you already created so it looks like the photo above. Then fold the whole thing shut on the middle horizontal fold line as below.
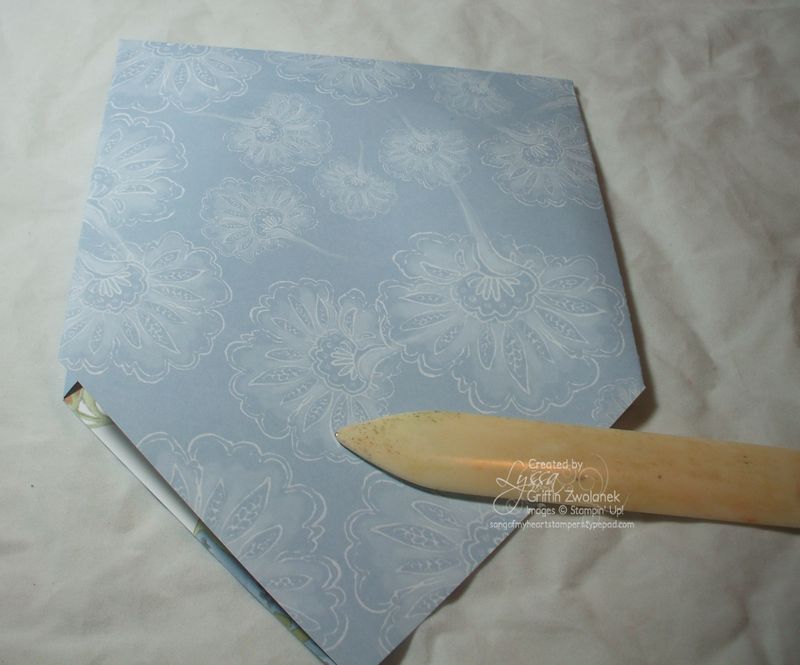
Fold each point back on itself on the final two fold lines. The bottom of the holder should look something like this:
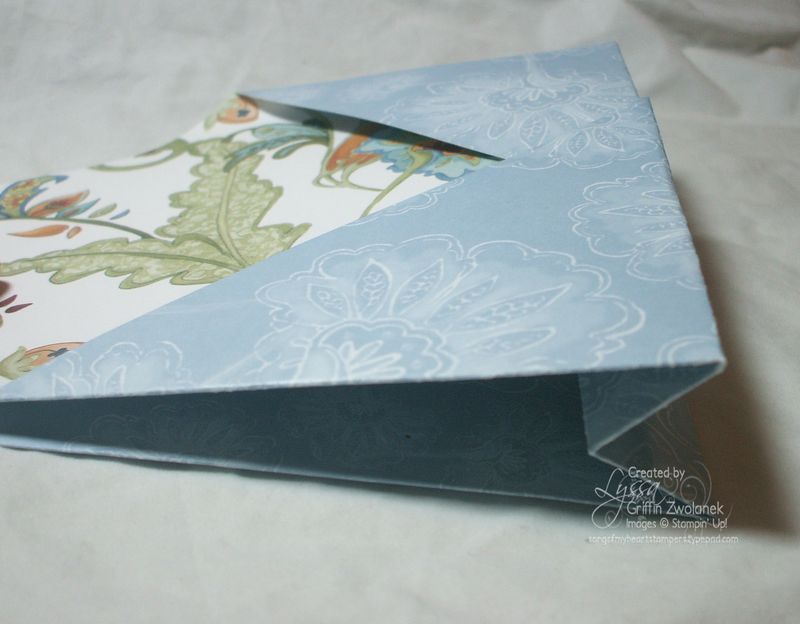
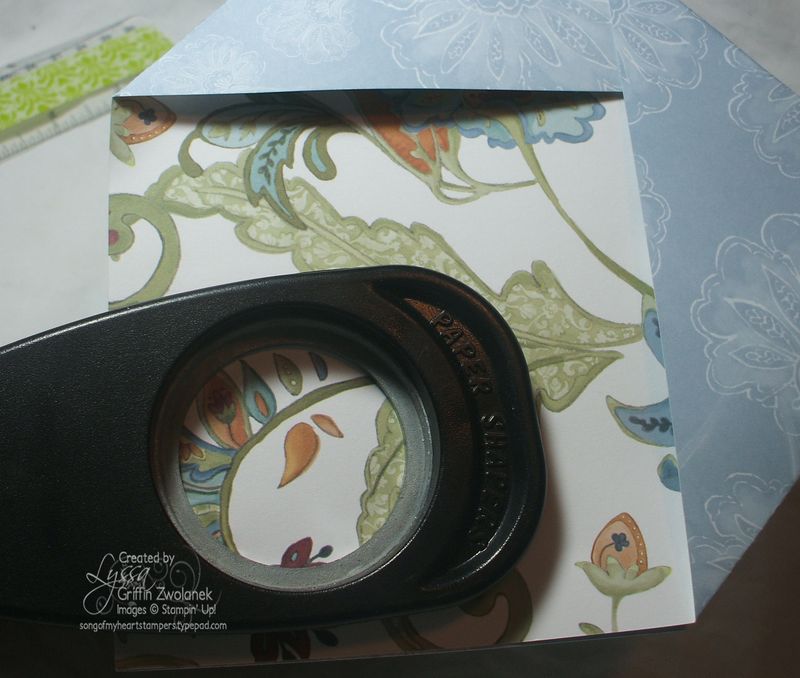
I use a dab of SNAIL adhesive to hold the tippy top in place, and punch out a handle spot using a large circular or wide oval punch. That's it! The rest is just embellishing.
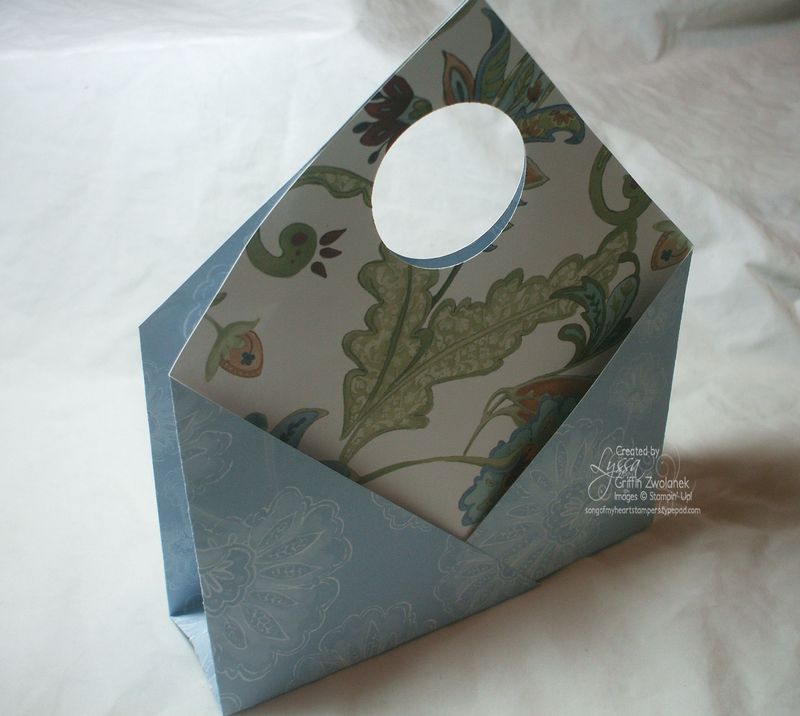
Enjoy this great little stand-alone holder, perfect for cards and envelopes or a quick May Day basket!




Awesome basket pack – and great instructions. If I can follow them, everybody can! Thanks so much for taking the time to share.
Thank you! This is awesome and just what I need for a workshop tomorrow night! Thanks for all you wonderful ideas.
Thanks for sharing this at the downline meeting with those of us who stayed a little later! I have already made a few in different papers and they all look fabulous! You are so generous with your ideas, cased and original!
Love it! Thanks for sharing!