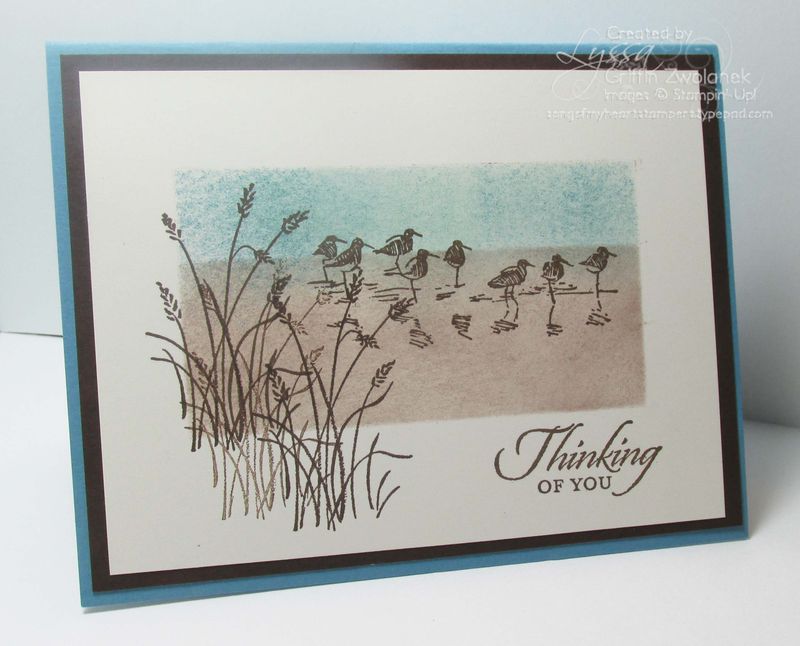
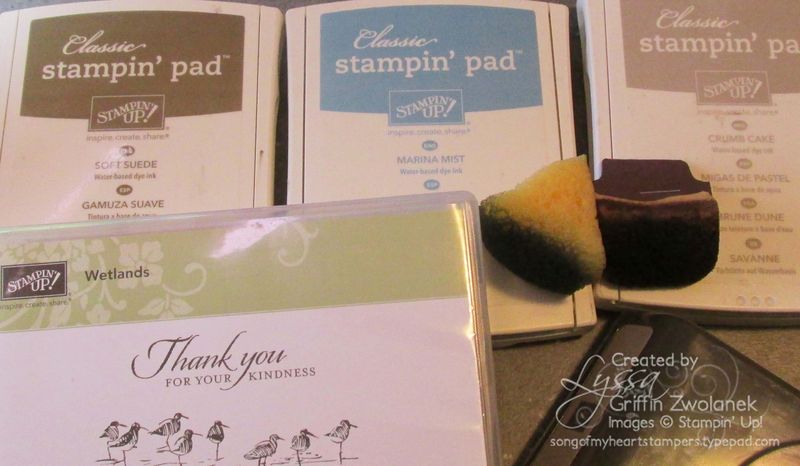
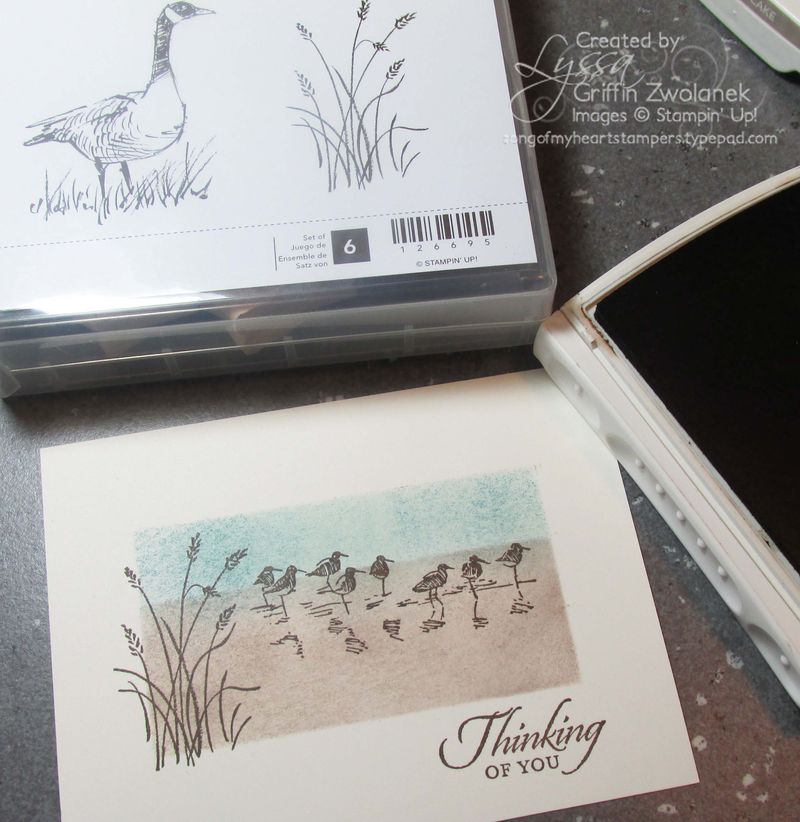
Hi friends! I'm back with another ALWAYS FREE photo tutorial for you today! I made this simple masculine card using the Wetlands stamp set, three colors of inks, and a quick little masking trick. Ready to do a little sponging of your own? Here's what you'll need:
Ink
Card Stock
- Marina Mist 8-1/2X11 Card Stock (card base; 8.5×5.5)
- Early Espresso 8-1/2X11 Card Stock (mat; 4×5.25)
- Very Vanilla 8-1/2X11 Card Stock (focal point; 3.75×5) CUT TWO
Tools
- Stamping Sponges
- 1-3/8 Inch Square Punch (retired)
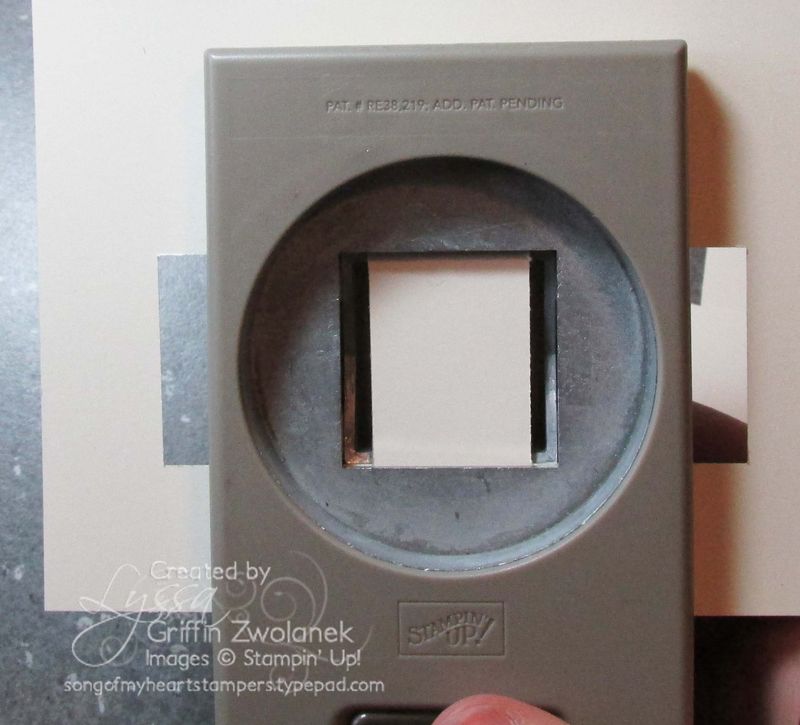
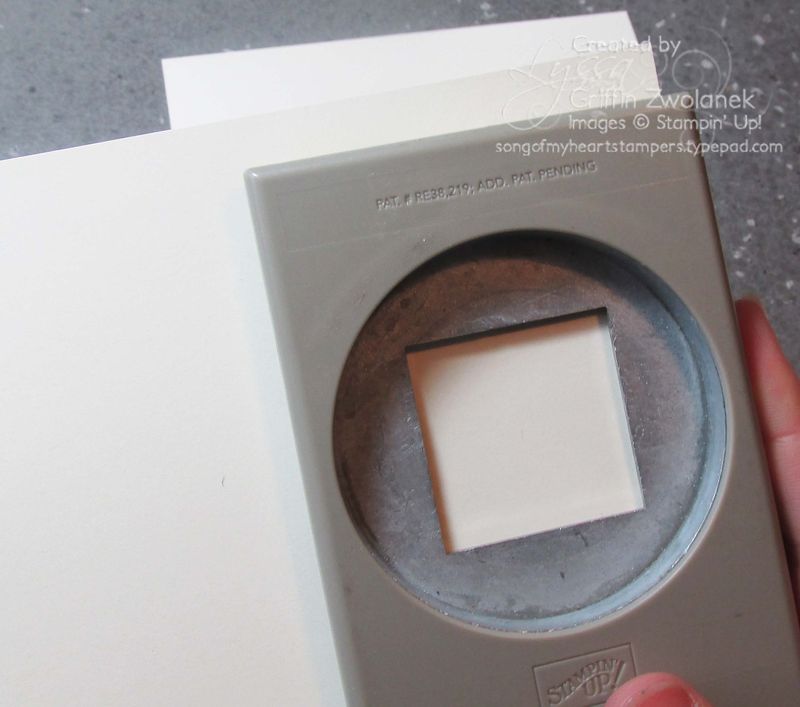
We're going to start by making our mask for the sponging technique. Start by taking one of your Very Vanilla pieces and inserting it as far is it will go in from the bottom into a 1 and 3/8 inch square punch (any square punch should work for this technique). Line it up with the right hand side of the cardstock and punch.
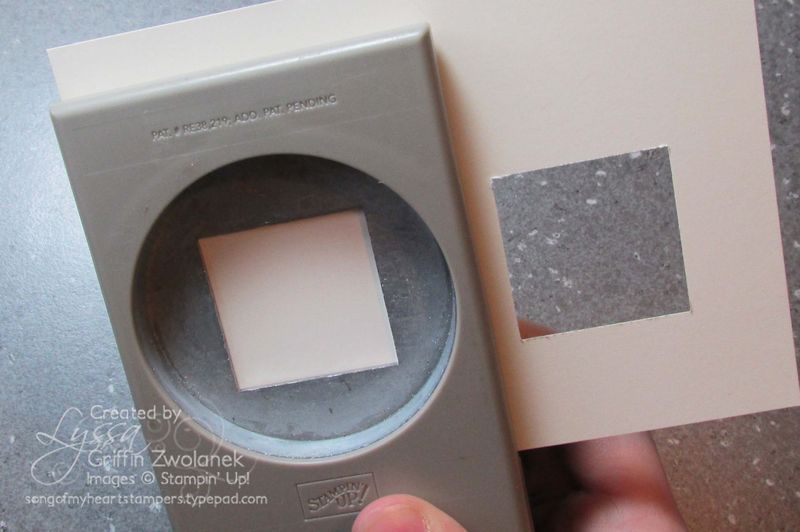
Next, keeping the piece inserted in as far as it will go from the bottom, punch again, this time lining up with the left hand edge of the cardstock (see below).
You should have two squares exactly the same distance up from the bottom of the cardstock.
Next, still keeping the cardstock inserted as far in as it will go, slide the punch to the middle between those two squares (shown below), and punch again.
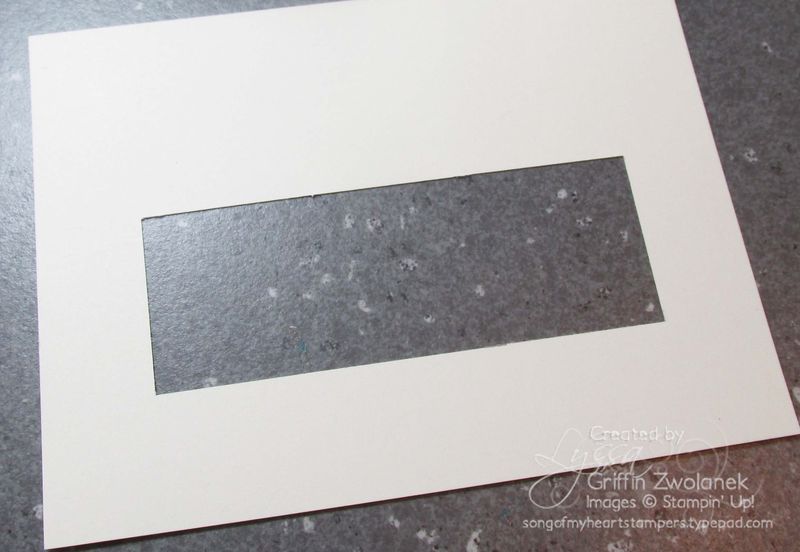
If your piece looks like this when you're done, you did it right!
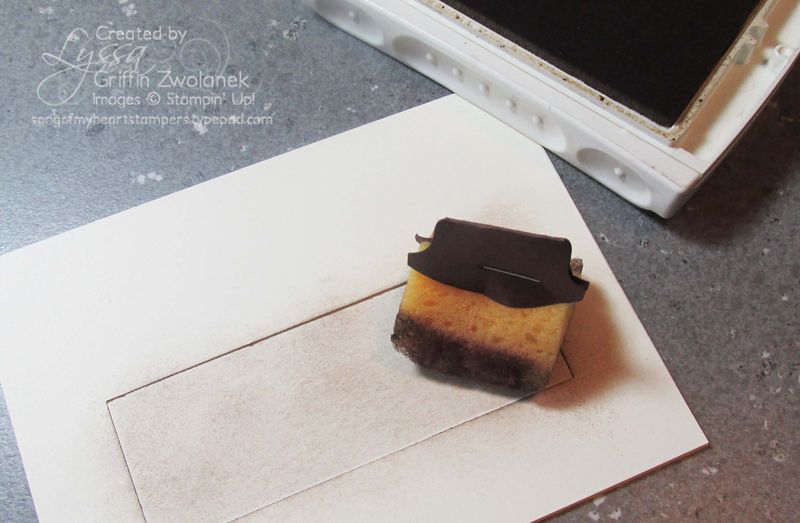
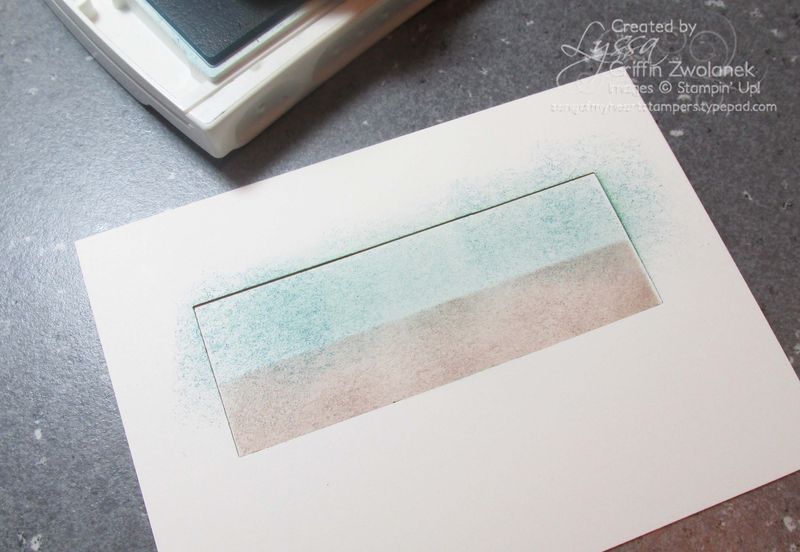
Lay that masking piece you just made over the other piece of Very Vanilla cardstock and sponge some "sand" onto your shore using Crumb Cake ink and a rounded sponge quarter. You can see I staple little cardstock scrap "handles" to my sponges to keep my fingernails from getting inky–little tip for you! It works great and also helps keep the colors straight if you are using multiple sponges.
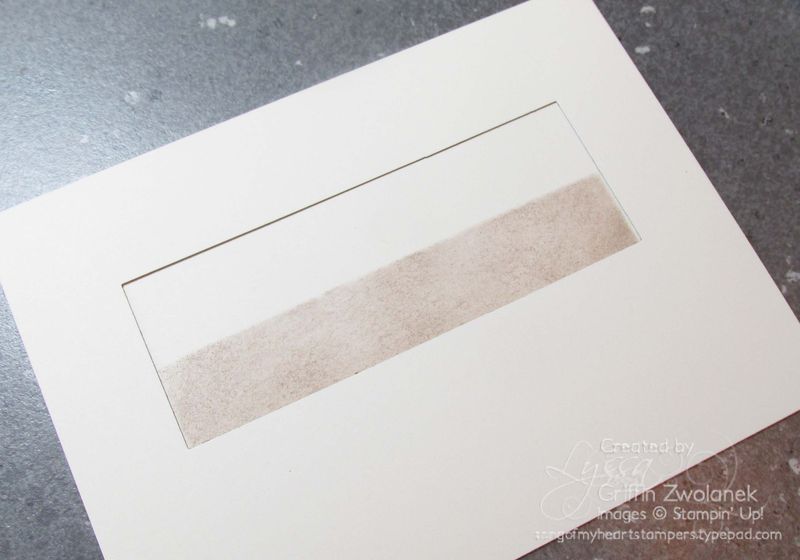
Once you have your sand sponged, flip the masking piece completely over so the rectangular opening is now at the top of the card and partially exposing the sand (shown below).
Sponge Marina Mist ink to form the "sky" for your seashore. Don't worry if you get a little blue on the sand. It all blends together in the end.
Then just remove the mask and stamp your main images and sentiment as desired!
Wasn't that easy? And so simple, you'll be sure to remember this technique next time you go to make a guy card. I think it would be cute with grass and sky and little flowers stamped on top as well.
Thanks for visiting Song of My Heart Stampers today! Please share this link with your friends and let them know there's lots of free stampin' and scrapbookin' inspiration to be had here. Got questions or want to book a private class for you and your friends? Leave a comment below!



So cute! Love the way you did this! A must try, for sure! TFS!
Thanks for your fabulous and easy step by step “photostructions”(yes made up word, but I think it applies to your awesome work!)I’ll be giving this a go later in the week! TFS Cheers Donna Z 🙂
you do make it look easy – and beautiful!
love this card and CASED it for my hubby BD card. Thanks for the inspiration!