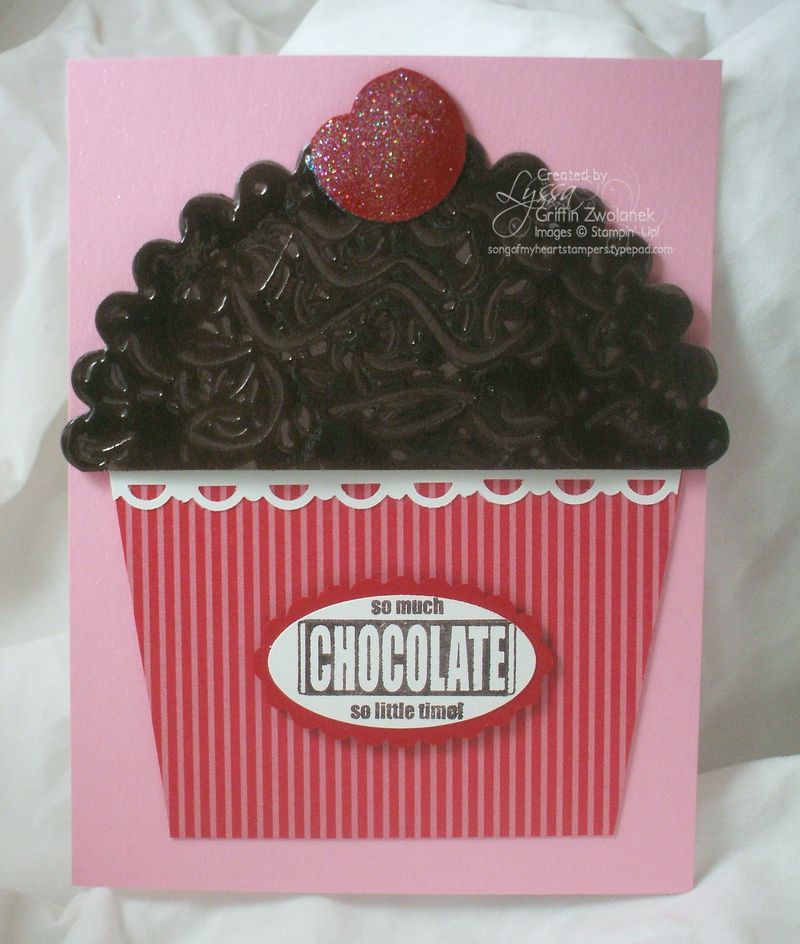
Doesn't this just look too edible? I swear I catch a tantilizing whiff of chocolate frosting every time I look at it. Today we're making cupcakes–in the stamp room!
To make the cupcake "liner" start with a piece of DSP (I used the Real Red that is on sale right now with the Filled With Love promotion) that measures 4×6, folded in half. From the open end (not the fold), start half an inch in from the corner and cut from there to the upper corner of the folded end on one side. Lay the piece you just cut off on the other side to use as a pattern to make the sides match.
Cut half a Scallop Circle on the Big Shot (I used Chocolate Chip). Attach it to the cupcake liner with dimensionals. You can add a strip of Scallop Trim border punch, or some ruffly ribbon to dress it up. I also added a punched focal point piece from the Eat Chocolate stamp set, which I am getting SO much good out of!
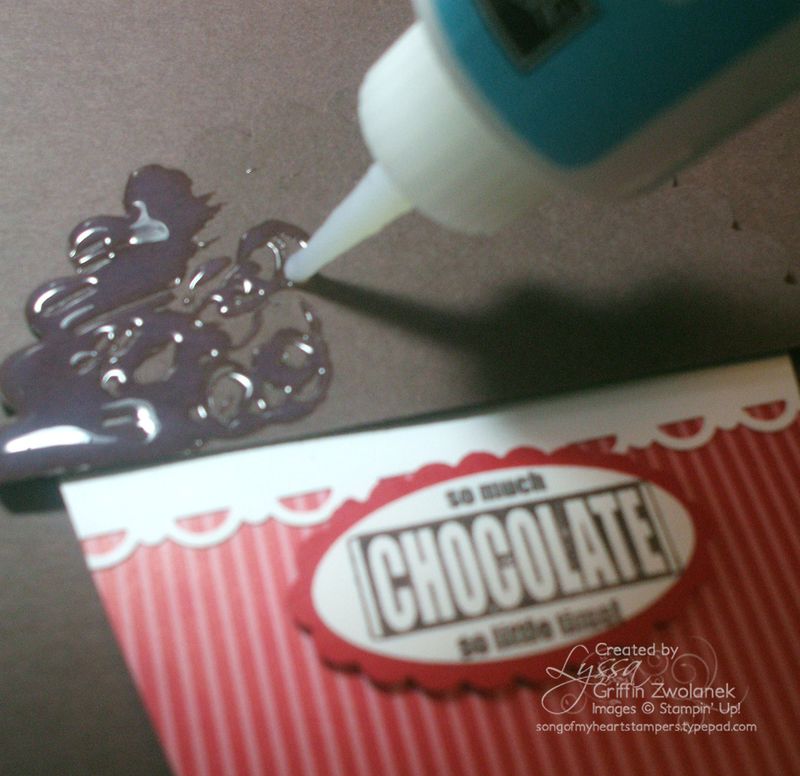
Next, you make up the frosting! Using the handy-dandy applicator tip of the Crystal Effects bottle, draw squiggledy circles (sorry about all the technical terminology here, stick with me) all over the cupcake top. Crystal Effects is a royal booger to get off, so make sure you don't get any on anything except the cupcake (such as the table, your scissors, other swaps and oh um your HAIR).
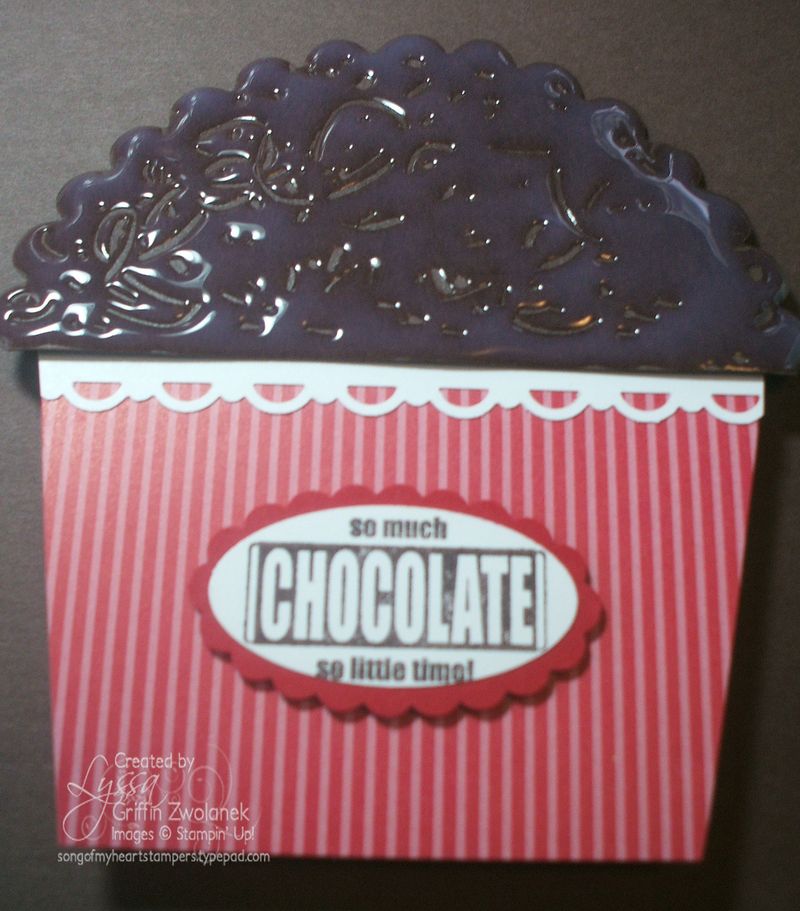
When the whole cupcake top is covered, you will need to let it dry for several hours, overnight preferably. But while it is still wet, you can sprinkle a little Dazzlin' Diamonds glitter onto it, or press a punch-art cherry on to the top. I used a one-inch circle punch with a little smidget cut out of the top for a cherry.
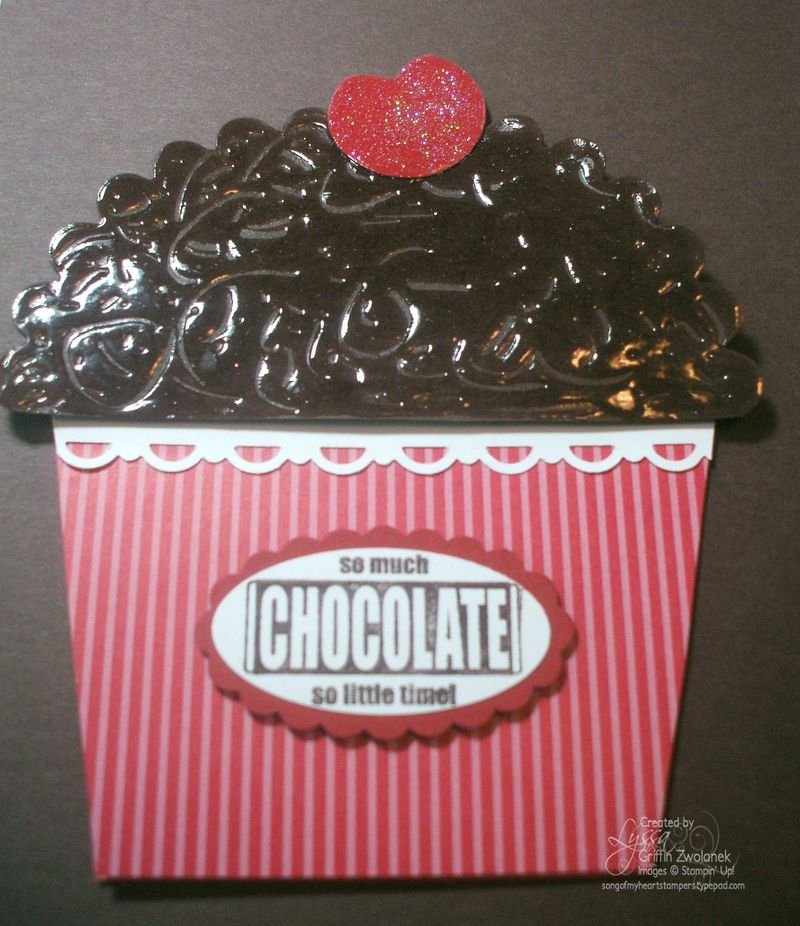
Since I didn't want any glitter in my chocolate frosting, I finished off the cherry with Crystal Effects and glitter in a second step, after the rest of the cupcake top had already dried.
Now, you may be thinking that this is a LOT of Crystal Effects, but honestly, I made about 25 of these and didn't even use half a bottle, maybe more like a quarter. And CE is cheap at $6.25 a bottle–and SUCH a wow!
I did set something heavy on the cupcake liner to reduce the tendency of the cardstock to curl up with the moisture. Here's what my table looked like during the Big Dry:
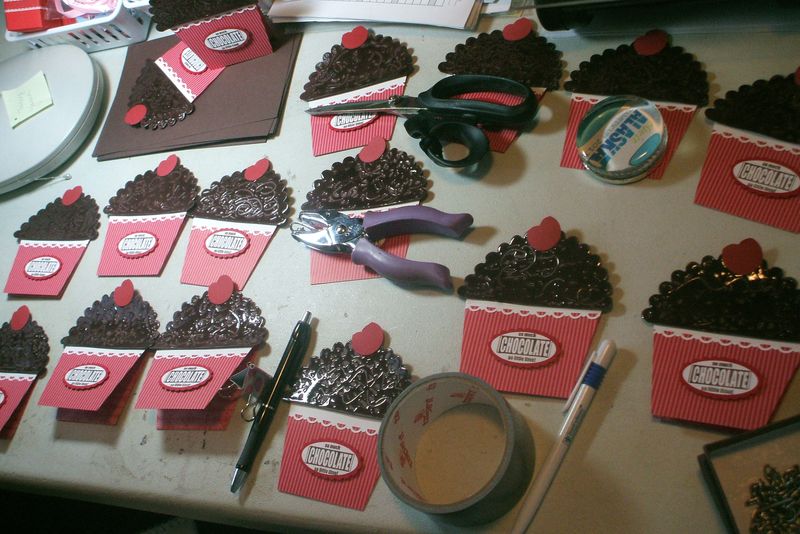
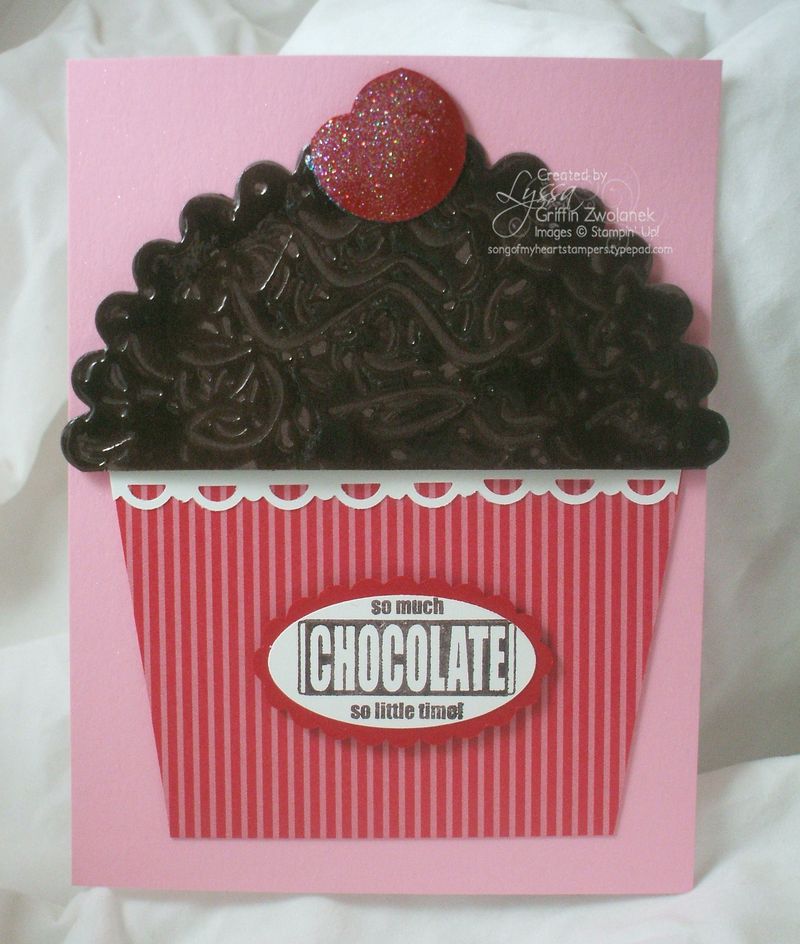
And here's my finished card. You don't have to add the 4.25×5.5 backing piece. If you don't, the cupcake can actually stand alone because of the two-sided liner. I affixed mine with Dotto removeable adhesive so that the recipients of the swap card can use it either way.
So there you go. Yumm-o!! Now I want cupcakes–the REAL kind!!




Positively scrumptious!!!!!! Thanks for all the how-to tips, too.
I have the DIET version of that card in front of me.
Oh, wait. It’s just a sheet of white typing paper. Sorry . . .
(What a DELICIOUS card – my birthday is coming up)
I’m going to have to make my own version of these-after I make the rest of the ear rings I need to make! 🙂 They look like something fun to send to my friends! 🙂 YEAH, thanks for sharing with us once again.
I am so proud that I was able to understand all of your technical talk. You are amazing, Lyssa!
These are absolutely adorable!!! Thanks for the step-by-step!
These are just too stinkin’ cute! And of course your dialog during the tutorial sure made me laugh…..thanks for a great site.