This funny little box got its name from the Designer Series Paper in which I first made it, a now retired Asian-inspired DSP called Haiku. The name has stuck, because otherwise we'd have to call it something boring like "The 3×3 Box" and I don't do boring well.
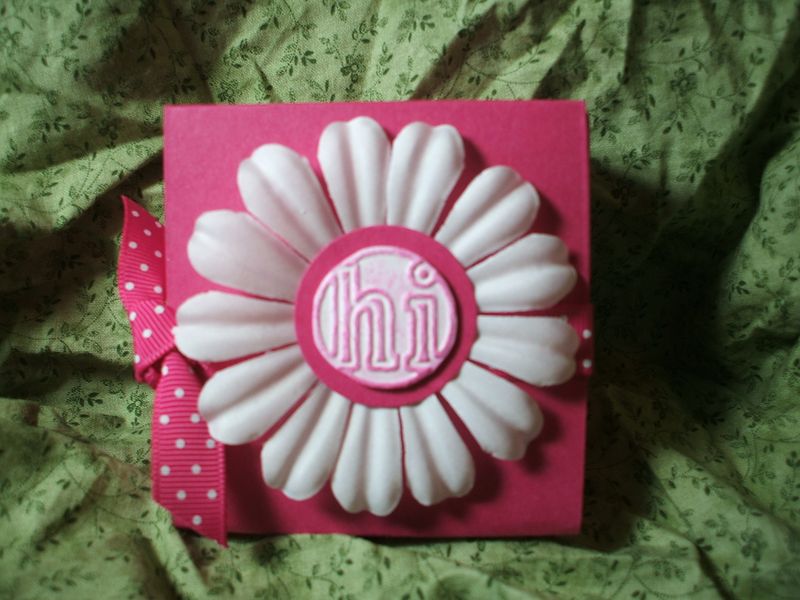
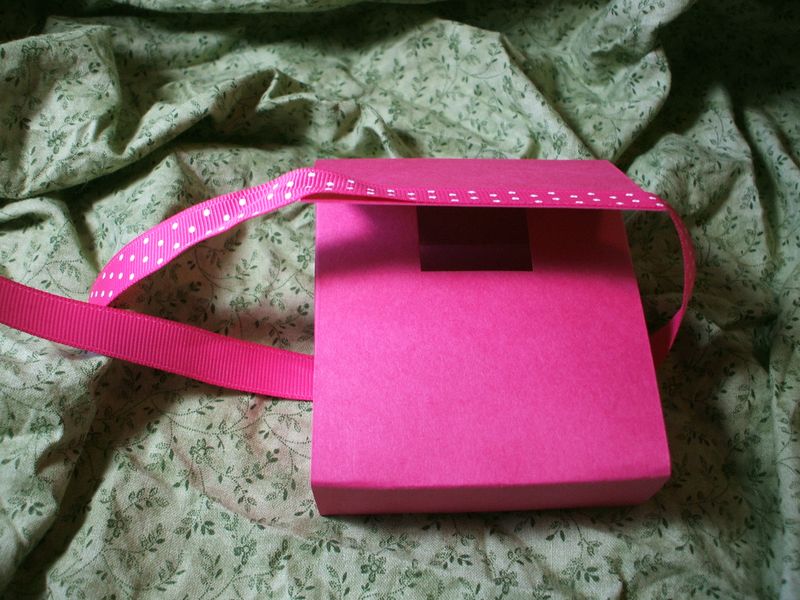
It's a great size, easy to whip up, and fun for anything from chocolate to 3×3 cards. Here it is shown standing up on the front side. So what you are looking at in this first photo is the top of the box.
Start with a piece of cardstock or DSP measuring 9×7 inches. Score it 1 and 2 inches down both long sides, and 2 and 3 inches down both short sides. Have I mentioned I don't like nit-picky measurements like 3/16ths and 7/8ths? If you see me do a project with those, you know I didn't invent THAT project myself. This one I did–so nice no stress easy measurements for scoring.
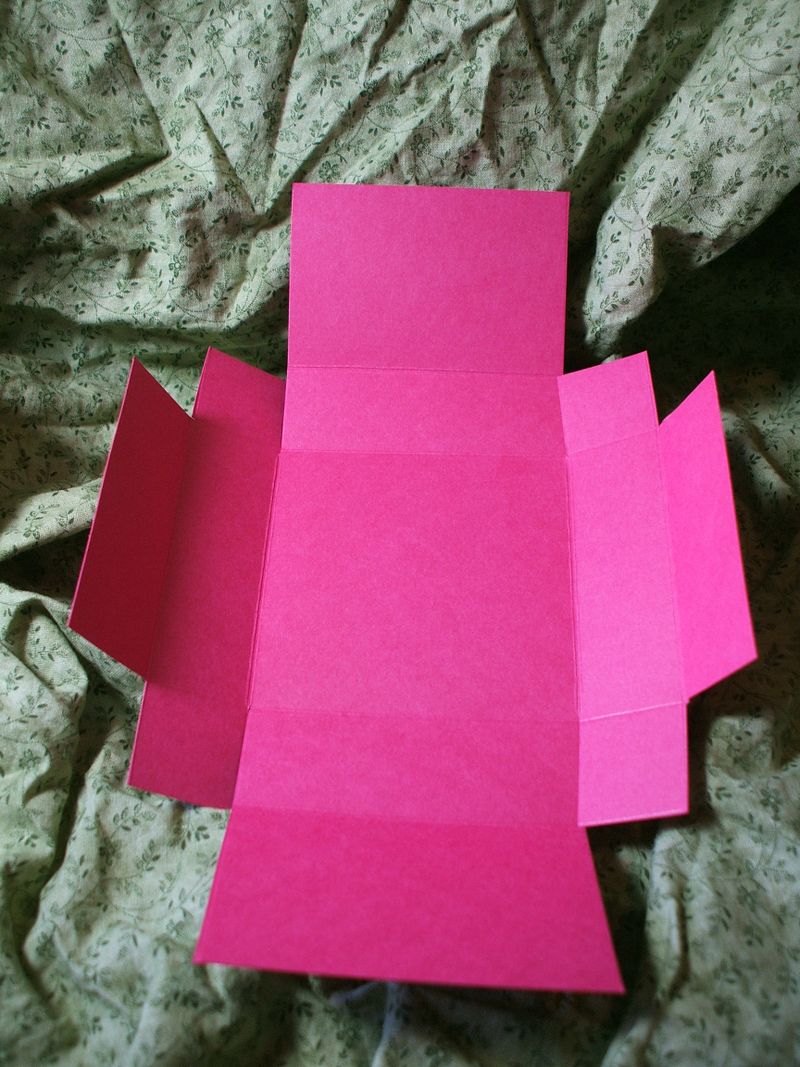
After you score, cut out the corners as shown here, and fold along all score lines. You should be able to see how the box will come together, with a flap overlapping on the top. The box will measure 3x3x1 inches when completed. Plenty of room for chocolate in there!
If you are going to stamp the cardstock, you should do so now. Go ahead, I'll wait. (munch, munch) Oh, back so soon? Ok, then, moving on…
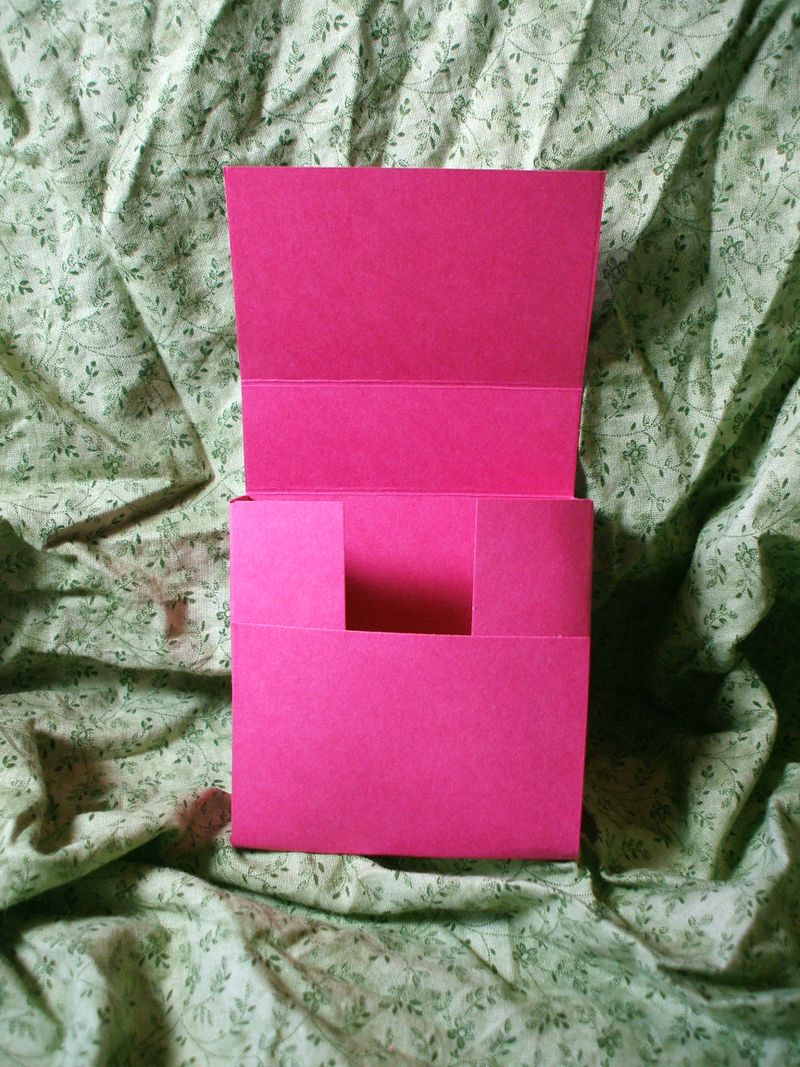
Fold in the sides and use Sticky Strip to fold the lower panel up over them securely. Use the Ticket Corner punch to notch out the sharp corners you see in this photo, because they are going to get bent anyway with time. An ounce of prevention is worth a pound of cure!
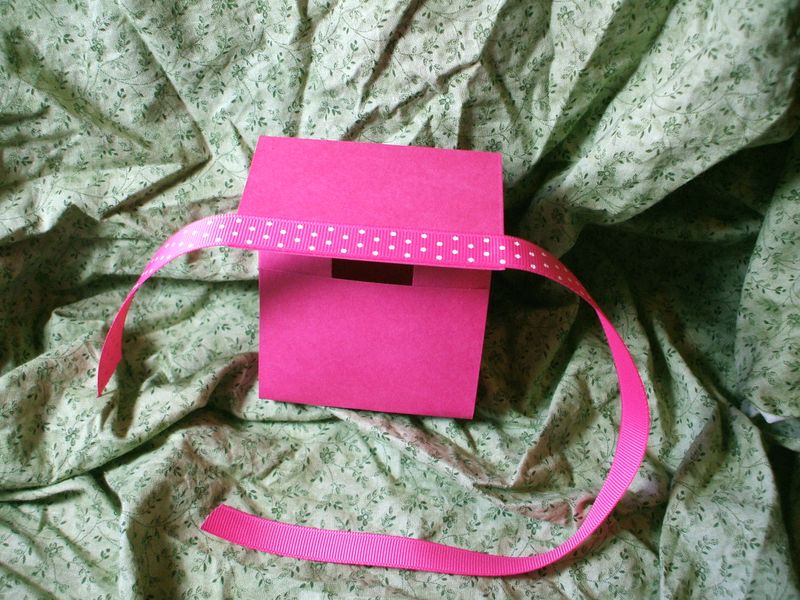
The ribbon (sixteen inches long) gets attached to the OUTSIDE upper flap of the box. Use Sticky Strip with that as well because there will be a lot of tension on the ribbon once the box is tied shut. Put about four inches of the ribbon on the left hand edge and the rest on the right hand side. The only part that gets adhesive is the flap. The photo below shows how the ribbon is wrapped (not adhered) around the whole box and coming out the other side. Isn't that Melon Mambo Polka Dotted Grosgrain just too yummy?
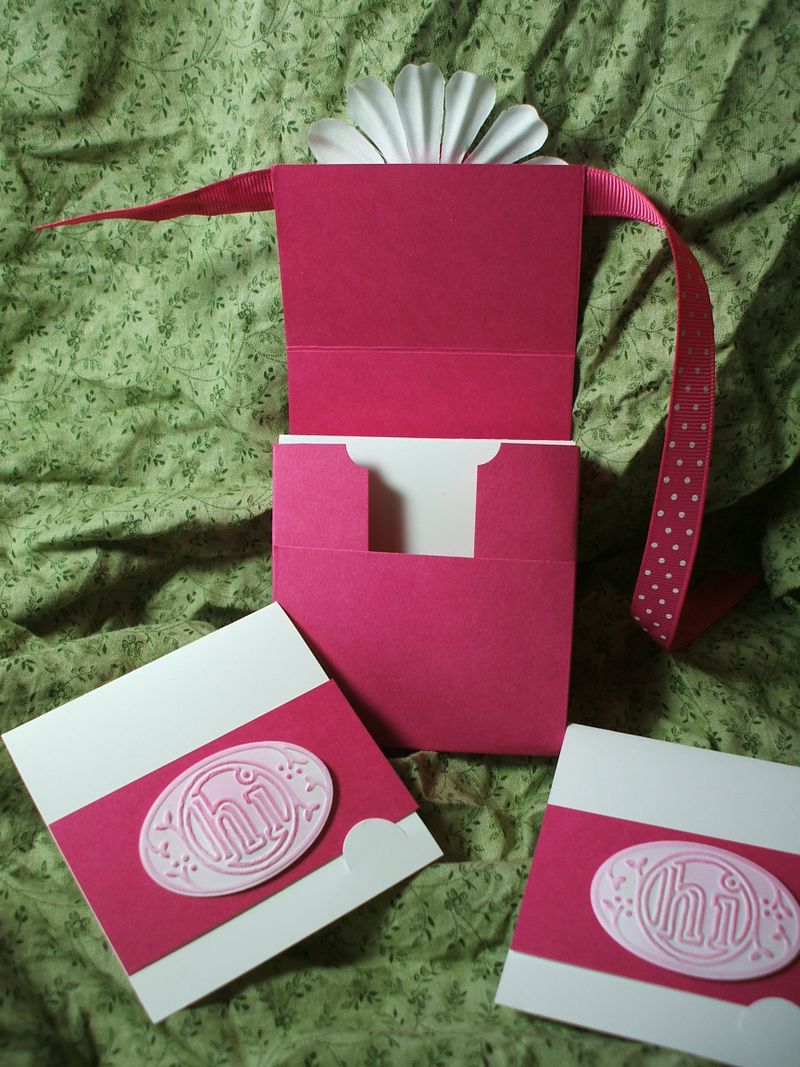
Still with me? Ok, we're done with the hard part. Now cut a sheet of 12×12 CS into eight little 3×3 cards and decorate as desired. I made mine below with the "Hi" Embosslit for the Big Shot, using just the scraps of Melon Mambo cardstock that were left from cutting out the original 9×7 rectangle for the box. The Slit Punch makes a nifty little closure for the cards and negates the need for envelopes.
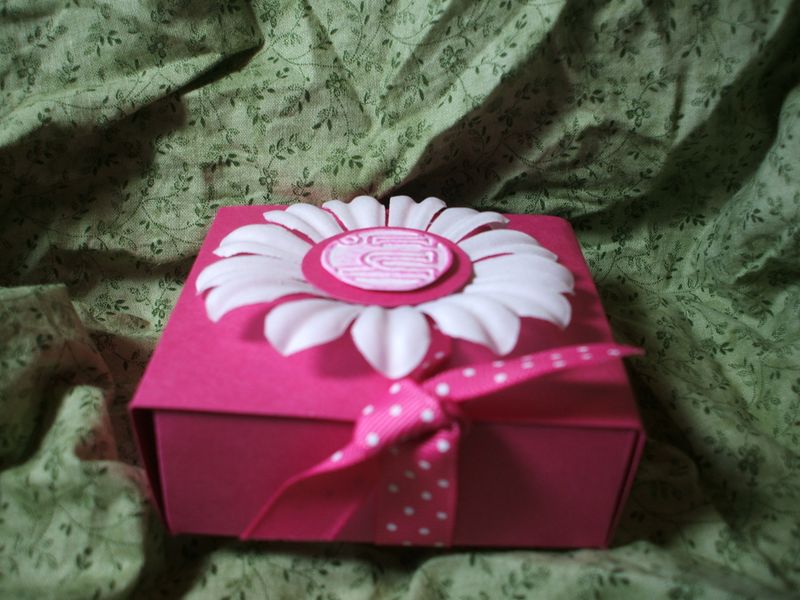
For the front of the box I took the same "Hi" Embosslit shape and punched out just the Hi in the center with my one-inch Circle Punch. Matted on more scrap Melon Mambo and centered on the biggest daisy from the Pretties Kit, it is attached to the front lid with dimensionals. Here's a side view that also shows the knotted box closure.
And there you have it–a super cute yet substantial box, with a different & unique opening. Nice to have a little room to be creative in the current trend of uber-miniscule, adorable but impractical boxes. If you'd like to see the original box in the Haiku papers, as well as one done in Bella Rose papers, click here.




WOW! That’s just about all I can say…WOW! (and I agree about the picky measurements…thanks for keeping it simple)