WOWSERS! Can you believe we are almost two weeks into December already? Neither can I! Where are the days flying to? And do they have to fly QUITE so fast?!? I really am getting lots accomplished lately–but only a couple things get marked off the list every day, it seems, while a dozen get added each day.
One of the things always at the top of my list, though, is blogging for you! I am so thankful for my lovely blog readers. You guys make my day with your funny comments and appreciative attitudes. I literally wake up in the morning thinking about what I can share with you that day. I anxiously watch the numbers to make sure you're still visiting and what posts you liked best. And it just makes my day when a reader Pins a picture or shares a link. Thank you so much for the part you play in my marvelous dream job. I'm so blessed to get to know you through papercrafting!

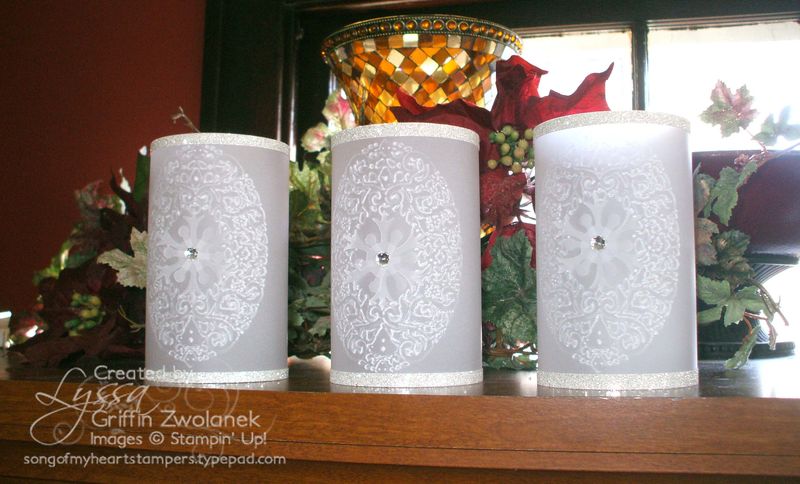
I was pleased how this trio of votive holders turned out for today's PCG post… pretty much exactly like I was thinking in my head, PLUS it took less time than I thought it would! To make these frosty luminaries, I cut vellum too 8.5×5.5, and embossed them in my Big Shot with the Holiday Frame embossing folder (2012 Stampin' Up Holiday Catalog). I added vellum snowflakes cut with the Snow Flurry Bigz die, and embellished them with the BRAND NEW SNEAK PEEK self-adhesive Large Basic Rhinestones. Those are sooooo gorgeous! Then, Mini Glue Dots made it all go together in a flash.
Further bling, and a sense of stability and permanence was added to the votive lanterns by rimming them top and bottom with a 1/4 inch wide srip of Silver Glimmer Paper backed . Yes, I know, I'm enamoured of the stuff. It's just so astounding! You could also use Brushed Silver Cardstock, any colored cardstock, or just plain white, as well, of course. But rimming them with cardstock helps them stay flexible but not flimsy.
These luminaries would make perfectly scrumptious and very affordable wedding decorations at any time of the year, of course!
Disclaimer: be sure to use either battery-operated tealights, or a very tall glass candle holder inside these lanterns. The top of the vellum should not extend more than 1/4 inch over the top of the glass–regardless of whether or not the candle flame is at the bottom of the holder or not. Heat can make things buckle and melt! So be careful and use a good quality glass holder that is designed for candles. Drinking glasses are not a safe choice because they are often too thin.
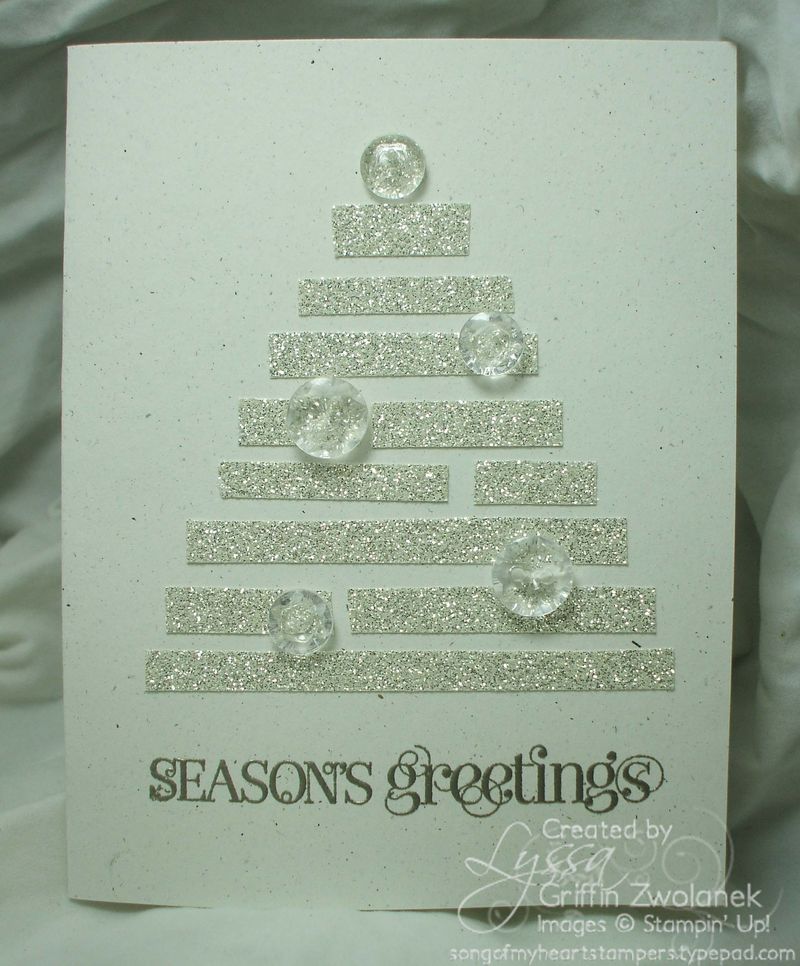
Ok! On that cautious note, I'll leave you with one more card I made up using the little odds and ends of Silver Glimmer Paper leftover from this blog series' projects. It came together so quickly! Love the big blingy Vintage Faceted Buttons, too.


Wowzers! (As my kindergarteners would say…apparently everything needs to have “zer” added to the end of it. Just keepin’ you in the loop.)
Very elegant! The silver glimmer paper is the perfect finishing touch.
How did you join these votives at the seam? Just love them
Eileen
I LOOOVVE this! How did you emboss without folding the vellum? The EF is too wide to go sideways….
You’re right, Linda, that is an unfortunate problem with the new embossing folders from Sizzix (not SU’s doing). They were designed to work with the European Market and its differently-sized cards, with no regard as to how annoying that would be in the US and Canada. I sincerely hope the manufacturer changes the design back; however, in the meantime, you can trim your folders down so they DO fit in the machine both directions, with your Craft and Rubber Scissors or your Tabletop Paper Trimmer.
Eileen, I use Mini Glue Dots almost exclusively on my vellum projects. I did also back my Silver Glimmer Paper with the Multipurpose Adhesive Sheets for this project, too, which made it go fantastically fast.