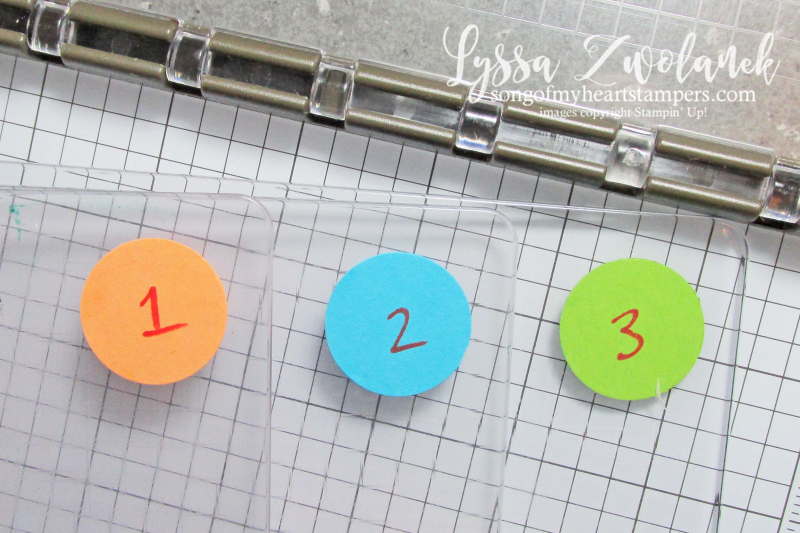
Thanks for the enthusiastic reception to my first post of Stamparatus tricks and tips! I loved hearing how much you're enjoying your new tool, and the ingenious stamping hacks you've discovered along the way. My friend Linda P shared how she takes the dot idea one step further and writes the order the plates should be stamped in, if it matters to the project. That's so smart!
When I really got into it, there were SO many tips and timesavers I wanted to share about this amazing stamp positioning tool, I decided to do an impromptu series. So watch for more tip-specific posts during June, and I'll maybe compile them all into one document when we're done.
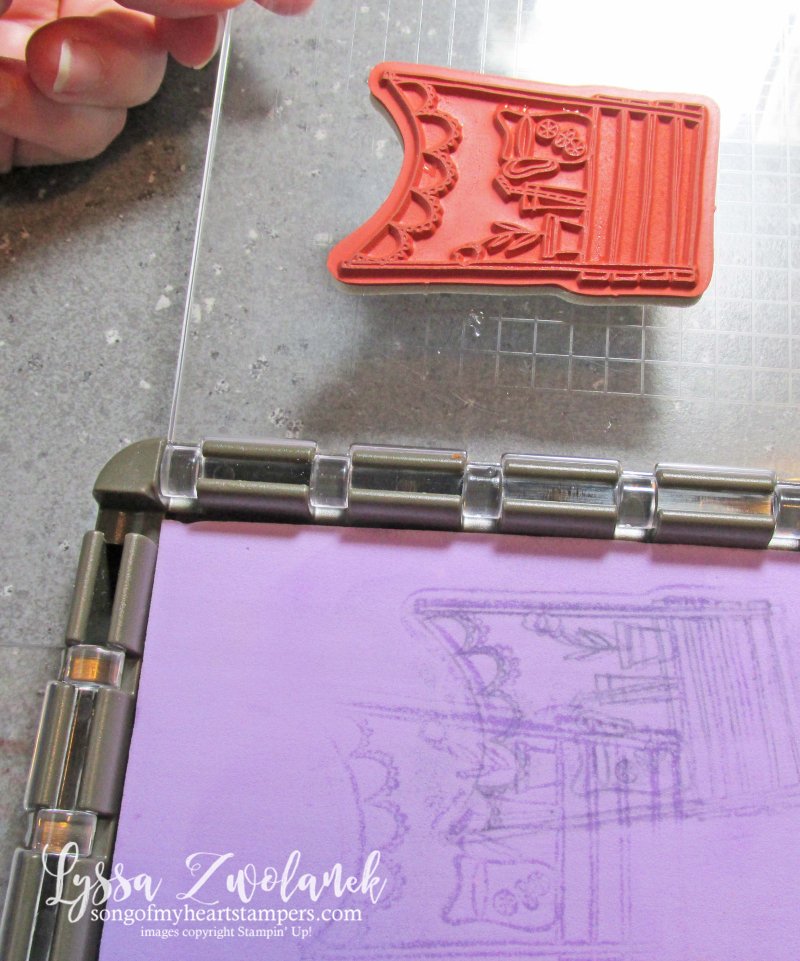
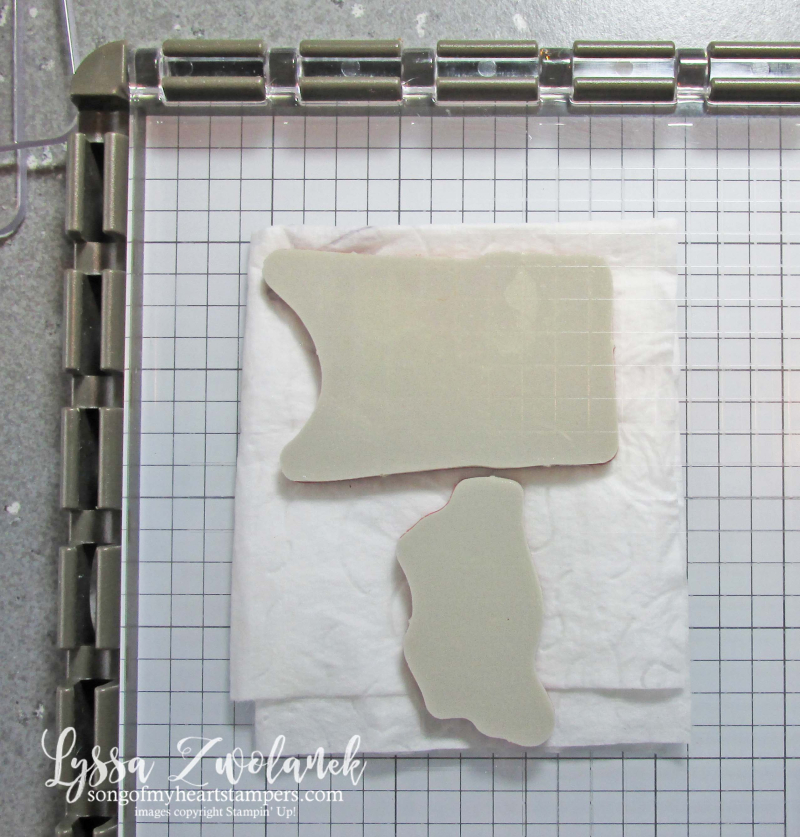
Here's a quick timesaver! I am loving the new Simply Shammy cleaning pad. I'm super sensitive to chemicals, so I appreciate that it only needs PLAIN WATER to work. It also cleans way better than I'd ever have thought! I clean all the stamps I've used in the Stamparatus by sandwiching the Simply Shammy inside and closing the plate with all the stamps still on it, right down onto the shammy. SO fast!
If you don't have the shammy (yet!) you can of course use a baby wipe and get a similar, timesaving cleaning. For better results than just a wipe alone, use several layers of wipe, spritz the wipe with Stampin' Mist, or put the Silicone Craft Sheet underneath the wipe so there's more give. Just don't ever use any sort of harsh chemicals on the plates or base. Magic erasers are a no-no, too.
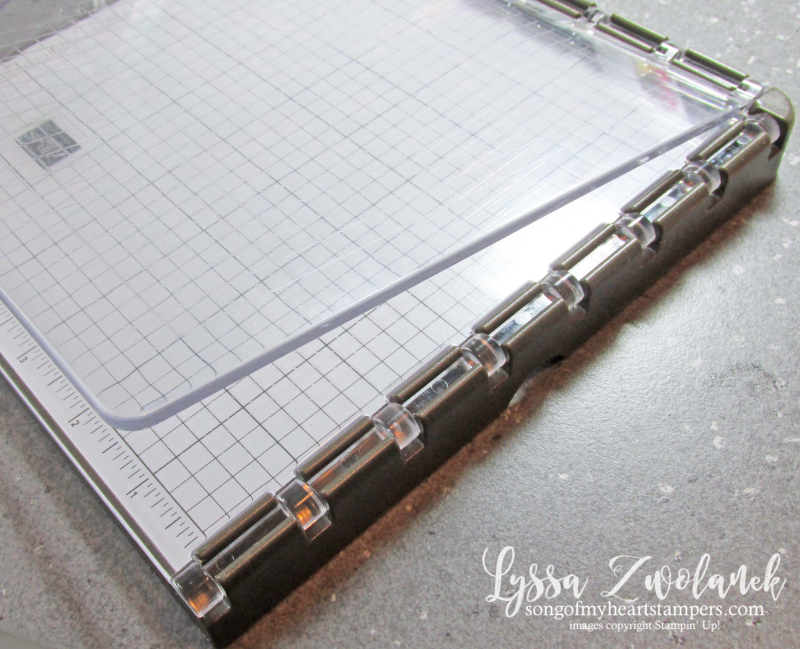
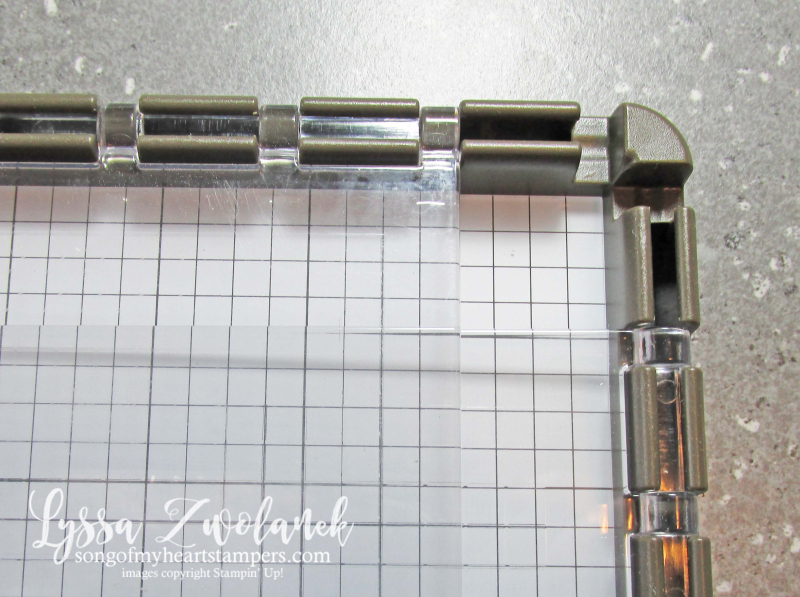
My next tip is about closing up the Stamparatus for travel. The instructions that come with your tool will tell you not to fold both plates in because of their thickness, which creates a lot of strain on the hinges. The upper plate also won't lie flat like this (see below).
The official solution is to remove the plates and lay them on the Stamparatus, loose, when not in use. Well, that sounded like a recipe for disaster for me–I'm that kid whose mother tied my mittens on with yarn inside my coat arms. I wouldn't handle it very well if I misplaced a precious plate!
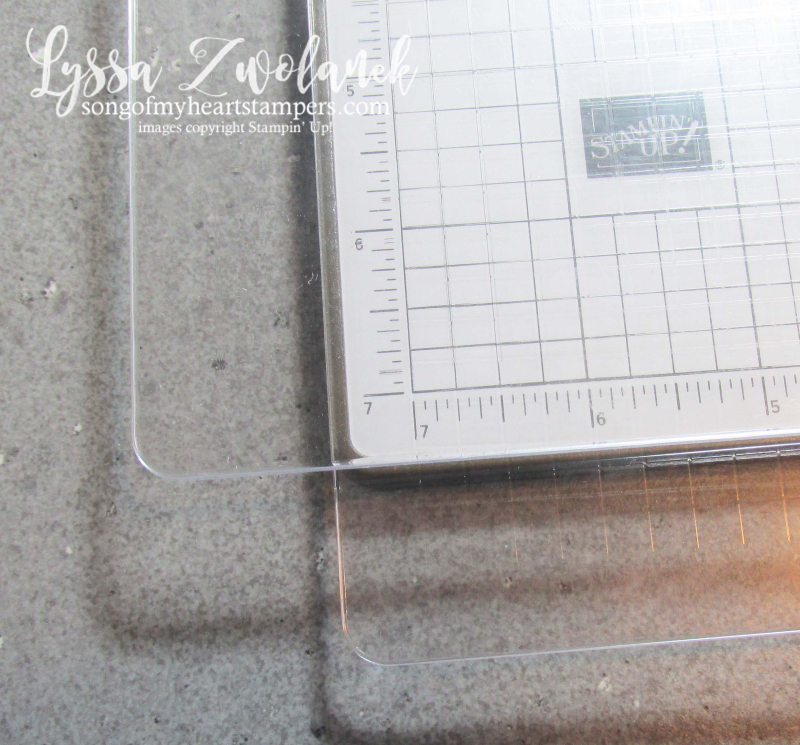
My non-official hack is to take the plates off and move them down one hinge. They then fold up flat without stress on the hinges or plates, it lays flat, and the pieces are all attached, and all's right with the world.
You might be saying, but hey, don't the plate edges hang off the Stamparatus base then? Well, yes, they do (see above). But it's still a pretty small square, and now it's totally flat, so that's a trade-off I'm willing to make. The plates themselves are VERY thick plastic so there's no worries that the edges are unsupported. The stress on the hinge is the thing to avoid.
All right! Wasn't that fun??? I'm working on the next set of tips. if you learned something today, or have a tip to share, please leave a comment. I gain so much encouragement when crafters take the time to let me know they were inspired.
And if you don't have a demonstrator, for heaven's sake please let me be of service. It would be my honor to send you catalogs and keep you in the loop and entertained with more projects that you can use in a month of Sundays!



Great tips Lyssa! I love them all! I’m showing off the Stamparatus and using it in three projects at my New Catalog Launch this coming weekend.. when Brian Pilling is coming to visit, and also go to dinner and swap with my team! WOO HOO!
Love your tips Lyssa!!!! This is fantastic, bet SU didn’t know this one!!!
Great tips! Thanks!
So exciting to learn all the tips and tricks that are shared!
Thanks for sharing these tips. I like the idea of moving the plates down one to store them still. I am a little worried about having mine just floating around!! 🙂
Thank you so much! This is on my gotta have it list! I also want that stamp shammy too!
Love the hinge tip. Thanks
Love these Lyssa! Just a thought- would it be wise to lay a single layer of a SOFT paper towel between the plates to avoid any possible scratching? Thanks for sharing these tips.
Thank You so much for the helpful tips.
I also do classes and was delighted to see we now can
Order extra plates. Your tips are wonderful as are your creations.
Esther
Thanks for your tips, appreciated so much.