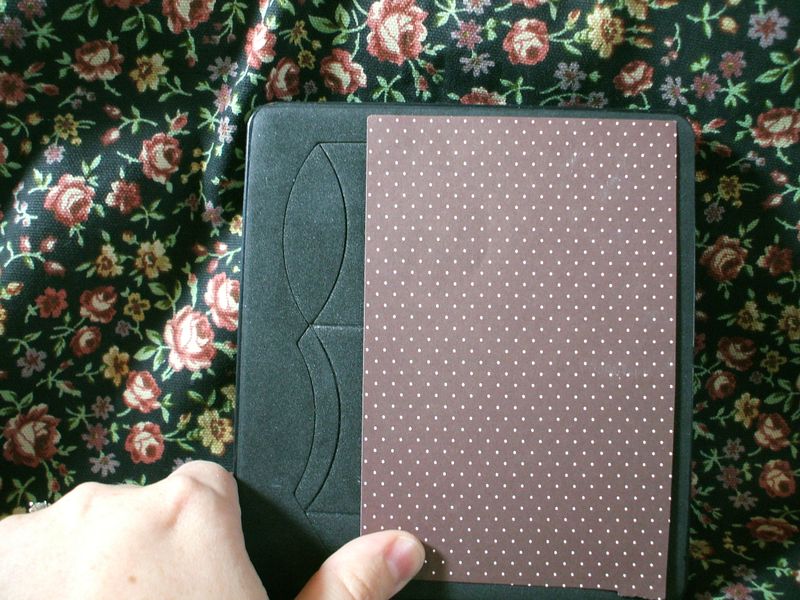
 Did you know you can make miniature versions of many of the Big Shot die-cuts? It's easy! I have a quick mini-tutorial for you on how to make a smaller pillow box. Above we have the die and a piece of DSP that is smaller than the cutting outline of the die. We run it through the machine and get a piece that looks like this, with only one end:
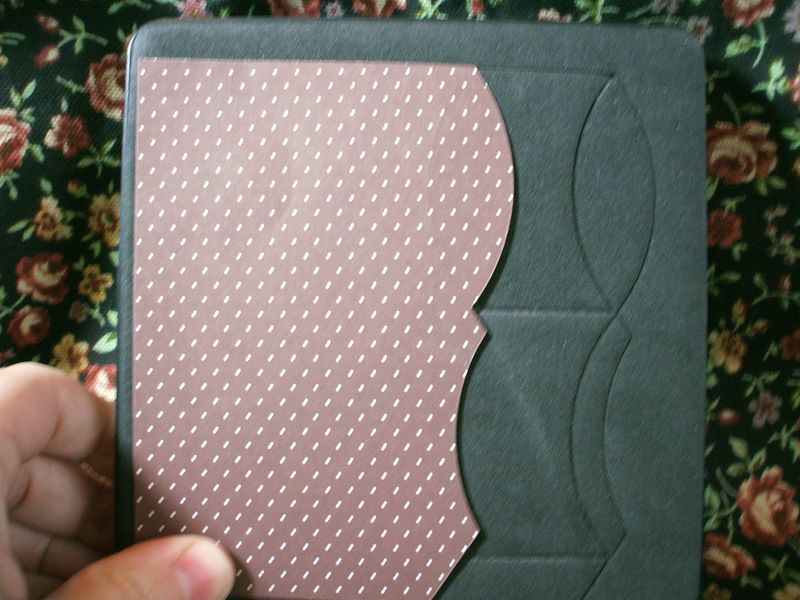
Then we move that piece down so that the next time we run it through the machine, it will cut a new end. It is important to leave it lined up exactly on the die, so that it does cut or score new lines in the part you already cut. Then just crank away!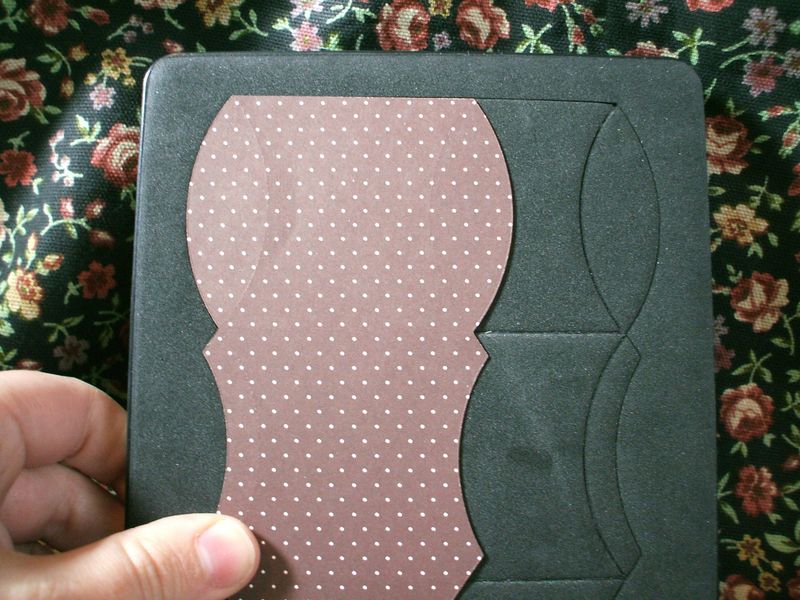
See how much smaller it is compared to the original size? Too cute! You put it together with Sticky Strip and fill it with your favorite goodies. This is a great idea for weddings where you need to minimize the space that you must fill with expensive candies. 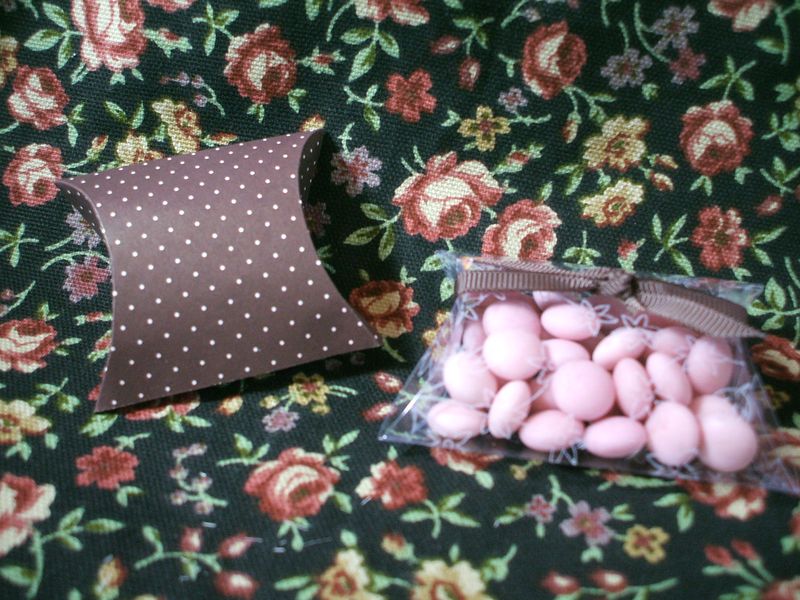
Above is the one I just made, and next to it is a little dolly of an acetate window sheet one, which I stamped in White Stazon ink. Too fun!
So grab your Pillow Box die and play around with it. You can make all kinds of sizes of rectangles and even a square. And keep an eye out for my upcoming post on how to make the dies LARGER instead of smaller. The Big Shot is more versatile than you ever dreamed!


Thanks for the terrific tip!
Hugs and blessings – Jean
How clever is this! Way cute. TFS!