I have something fun and easy to share with you today, just in case you happen to be able to snatch some crafting time this holiday week! This month in my CraftyChix Club, where we make two cards and then switch gears and do a scrapbook page for the final project, I showed them a fun new way to use embossing folders without using the Big Shot.
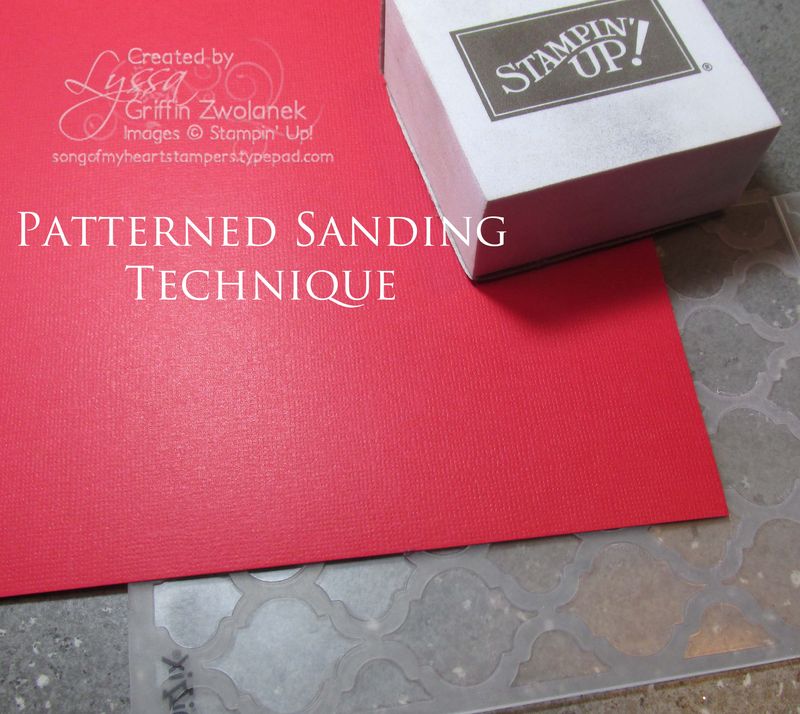
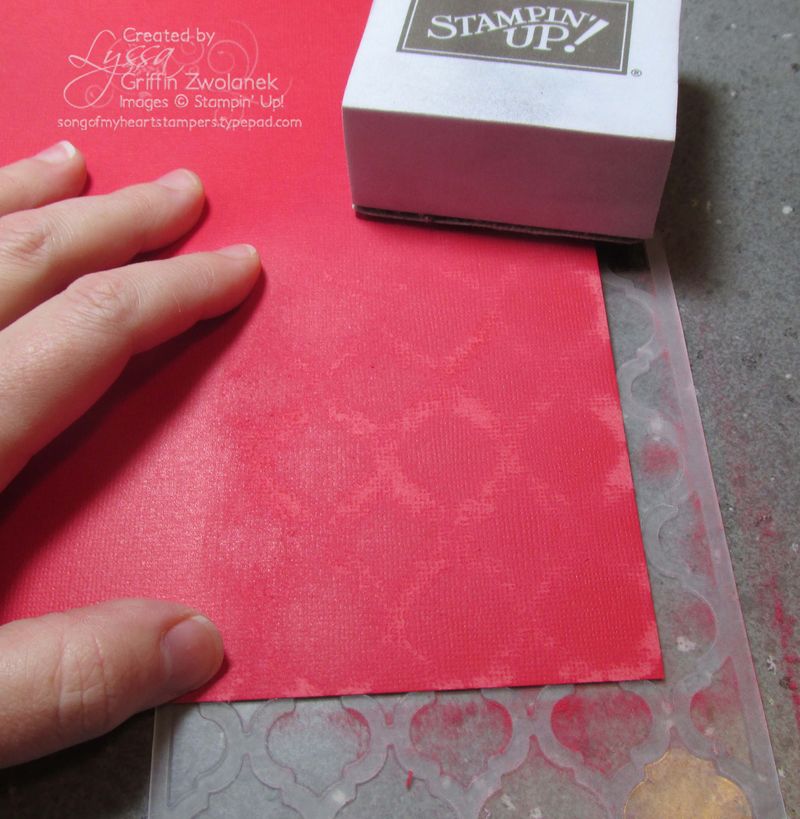
It's so simple, I almost didn't share it! But here's a couple of photos to help you visualize how you can do this at home. You'll need an embossing folder; a sanding block, Core'Dinations cardstock, and your Dust Buddy.
Open the embossing folder and run your finger over the patterns to determine which side is raised (convex) and which is inset (concave.) You'll want to lay your folder down with the raised side facing up and your Core'Dinations cardstock on top of it.
Then just start sanding! You can add a subtle vintage look by sanding lightly, or press hard for a bolder pattern to emerge. Just make sure to avoid sanding near the edge of the embossing folder, or you'll get an unattractive straight line marring your pretty pattern.
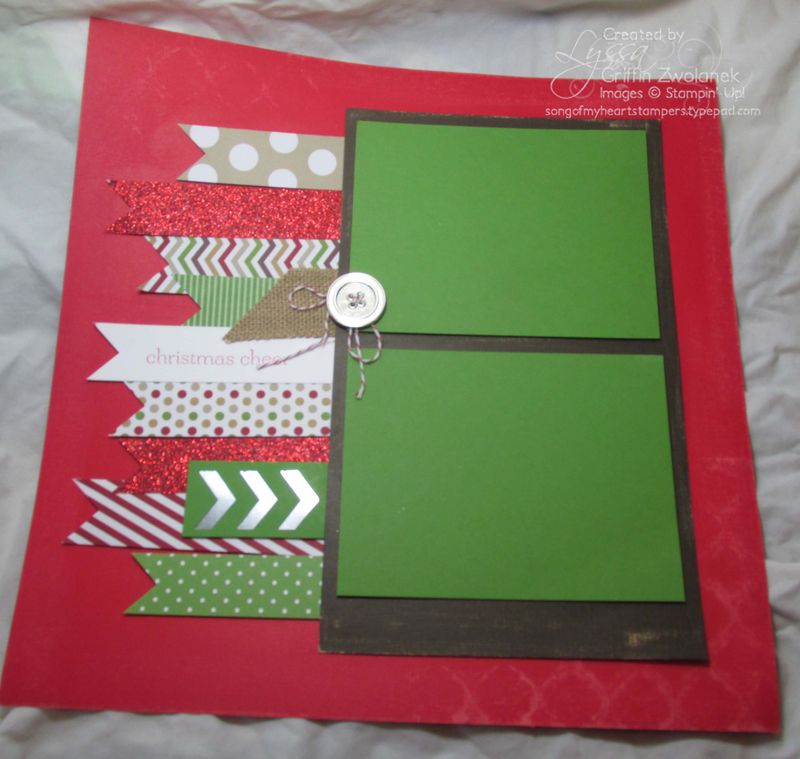
Here's the page we made at CraftyChix Club! Everyone seemed to really like it. I'm not sure poor Kimberly was prepared for all the red paper dust all over her kitchen, though! if you're local to me and looking for a fun stamp/scrap club to join, consider visiting us on the first Tuesday night of the month in Fort Atkinson, WI.
Supplies for CraftyChix Christmas Cheer page:
- Stampin' Sanding Block
- Stampin' Sanding Block Refills
- Core'dinations Dust Buddy Cloth
- Modern Mosaic Embossing Folder
- Brights Core'dinations Cardstock
- Early Espresso Core'Dinations Cardstock (Clearance Rack $2.79)
- Gumball Green Core'Dinations Cardstock (Clearance Rack $2.79)
- Red Glimmer Paper
- Season Of Style Designer Series Paper
- Cherry Cobbler Baker's Twine
- Chevron Border Punch
- 1-1/4" Burlap Ribbon
- Silver Basics Designer Buttons (Clearance Rack $2.39)



Perfect timing!! A friend of mine loves texture and our embossing folders, but doesn’t have the room (or desire) for a Big Shot. I knew of a couple of ways to use the folders without a machine, but you’ve just given me a new one. Many, many thanks!!
Lyssa, what a great tip!! I love this!! Thank you for sharing the idea!!