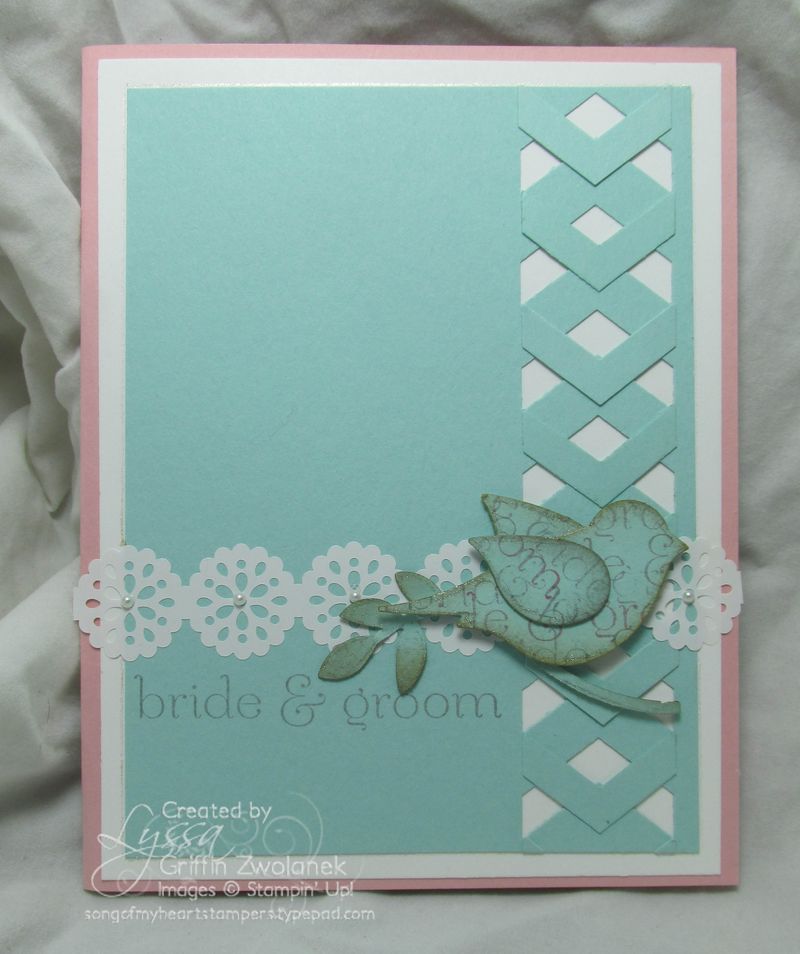
Yesterday I shared how to do this adorable and SO EASY chevron border punch treatment for your cards. Are you ready to see some more ideas for this punch? It's way more versatile than originally thought! Note: most of these are just quick samples I did on scrap cardstock, not finished cards. I am swamped right now, but I wanted to share the ideas with you anyway. I know you'll forgive me : )
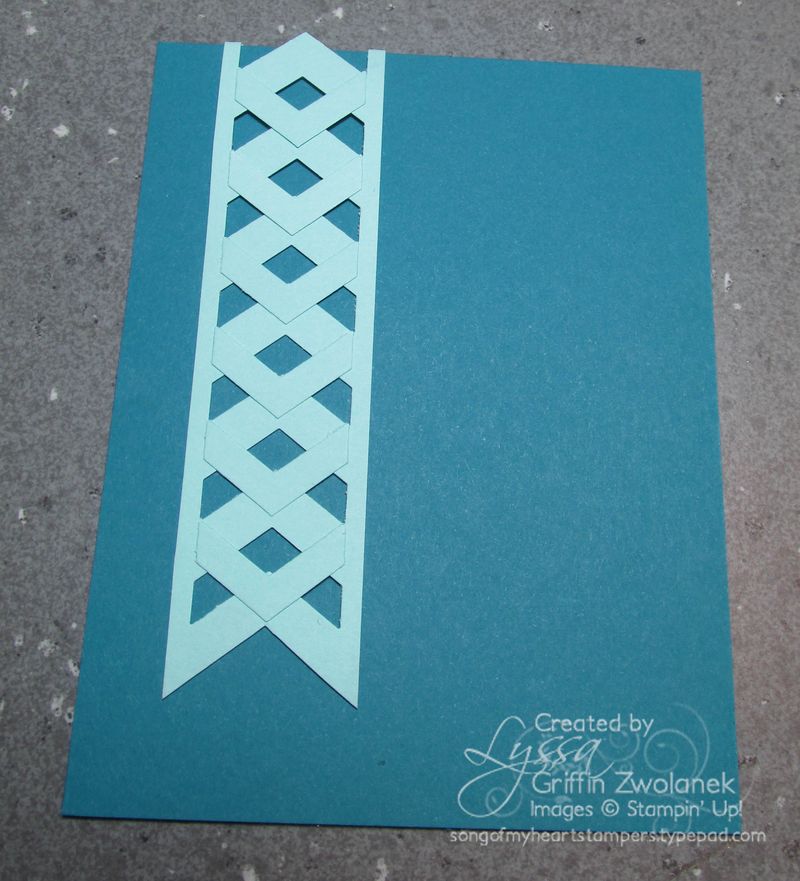
Wouldn't this make a great bookmark? I just got my Rotary Trimmer attachment for the paper cutter and haven't had time to play with it yet, but I am thinking this will be perfect to use with the perforating blade, for a detachable bookmark.This was the same technique as yesterday, but trimmed down very slim and with the ends made into points instead of cut straight across.
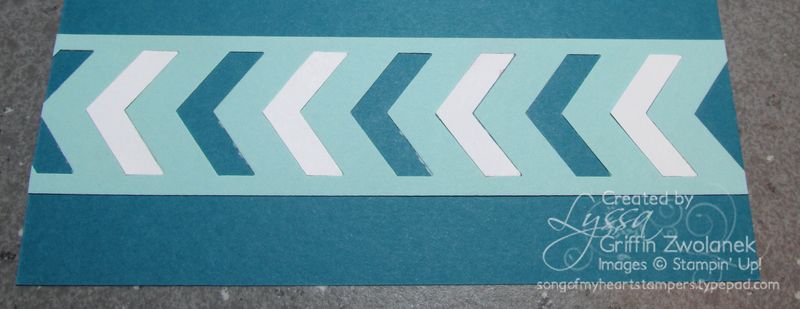
One of my favorite ways to add pizzazz to the chevron border is to add some color back in after punching. In this case, I punched the Pool Party cardstock and layered it on Island Indigo, then added in some white chevrons. Great little unexpected accent!
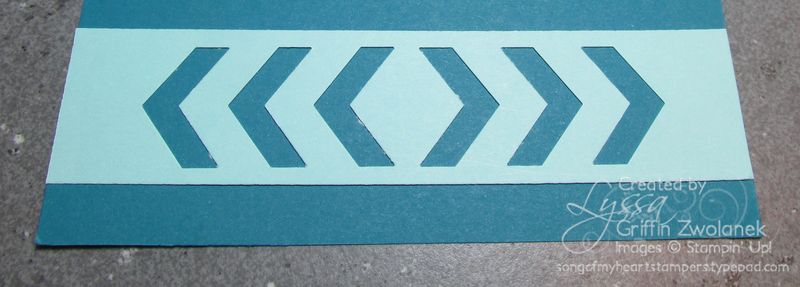
Yesterday I shared how you can punch the chevrons so the arrows point in to the center and form and X. Here's a sample of how you can punch them facing outwards and leave a little hexagon area in the middle of the card. I suppose if you spaced it just right and used your Stamp A Majigg stamp positioner, you could use the Six-Sided Sampler set with this idea.
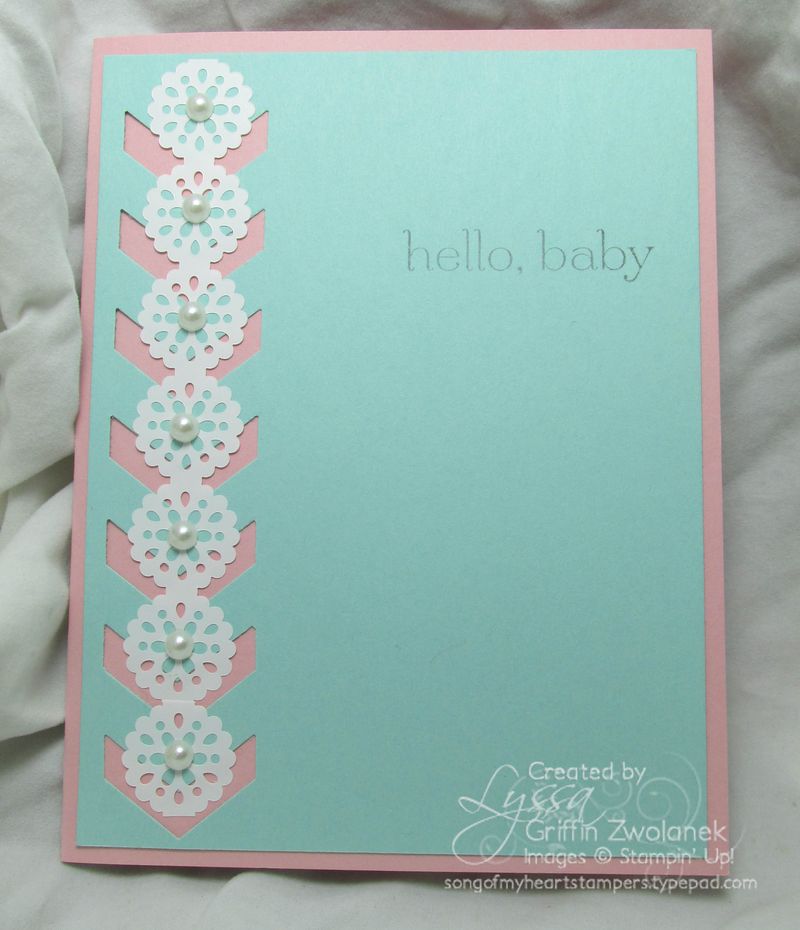
While I am loving this punch and originally bought it just for scrapbooking, it does look great on cards as well. You might think it's only for masculine designs, but here I used it in conjunction with the Lace Tape and Basic Pearls for a very feminine look.
I have several more photos to share, so I guess this is going to have to be a three-part series! So much for a "mini" tutorial, eh? Stay tuned!


Still on the fence about this punch but I sure love this card!