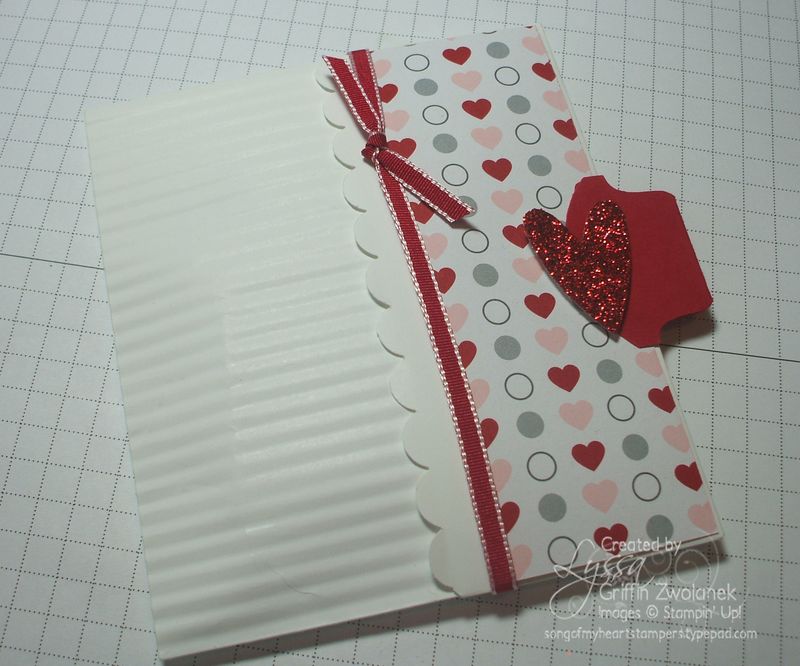
Continuing with the "all free, all the time" tutorial blitz this week, trying to distract myself from the ever-so-annoying continuing dental pain (have another appointment today, hoping we can finally resolve these blasted crowns). Thanks for all your well-wishes!
Inspired by an adorable project my demo friend Judy showed me on the plane on the way to Leadership Convention 2011, today we have a super quick, no-prep-necessary, crimped envelope packet, perfect for small treats such as Ghiradelli chocolates, tea bags, gum and other little goodies. All you need is your crimper, any sized envelope, and stuff to decorate it with! So go find that stash of candy you have hidden from the fam and let's get started.
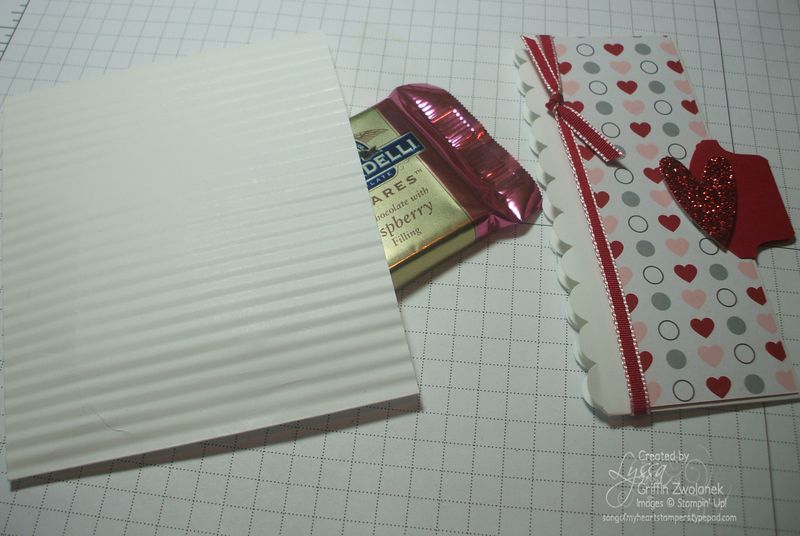
Here it is with the lid off. Cute, huh? I thought so, too. And it's so easy it will just take a couple pictures to show you how it goes (hence the "mini" part of the title).
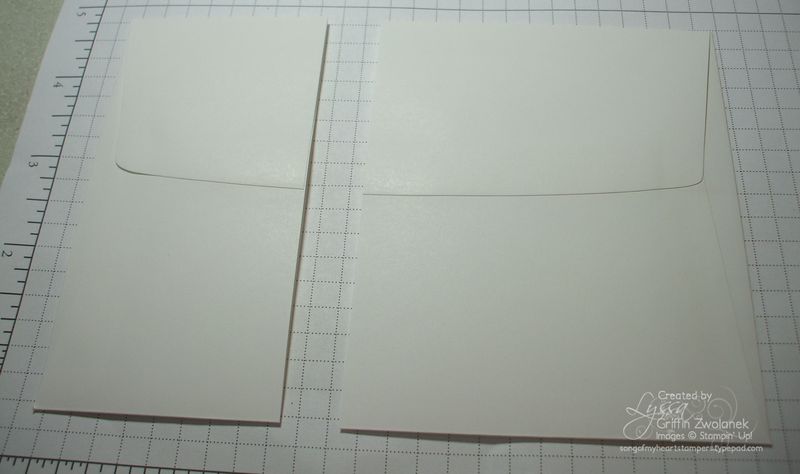
First, start by slicing your envelope into two parts. I made the cut at 2.5 inches from the left hand side on this medium Whisper White envelope (see all our envelope choices here). If you are going to stamp either part, you should do that before you continue. Then if you want, you can scallop edge or border punch the smaller of the two halves. Don't use too fancy of a border punch, though, or it will be harder to fit the two sides together without smashing some of it.
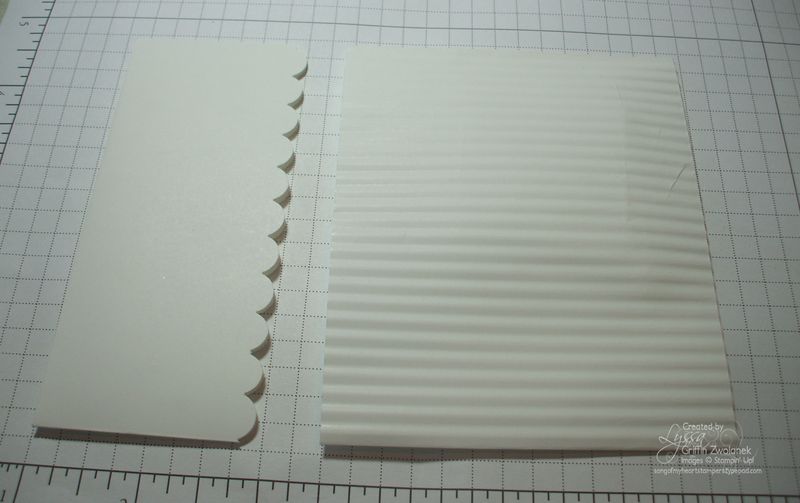
Next, you run the larger half of the envelope through the crimper (page 198 in the Idea Book & Catalog). This makes the larger half become small enough to actually fit inside the small half! Oooh, it's like magic!!
The rest is just embellishments! I used a piece of the Love Impressions DSP, which is super cute and will be useful year-round, not just during Valentine season; and some of the new narrow taffeta ribbon, which looks great in Real Red with that Whisper White edging. I added a Round Tab Punch to make it obvious that you pull the cover off to get at the goodies, and I decorated it with a Heart to Heart punch out of the incredibly cool Real red Glimmer Paper from the Occasions Mini catalog.
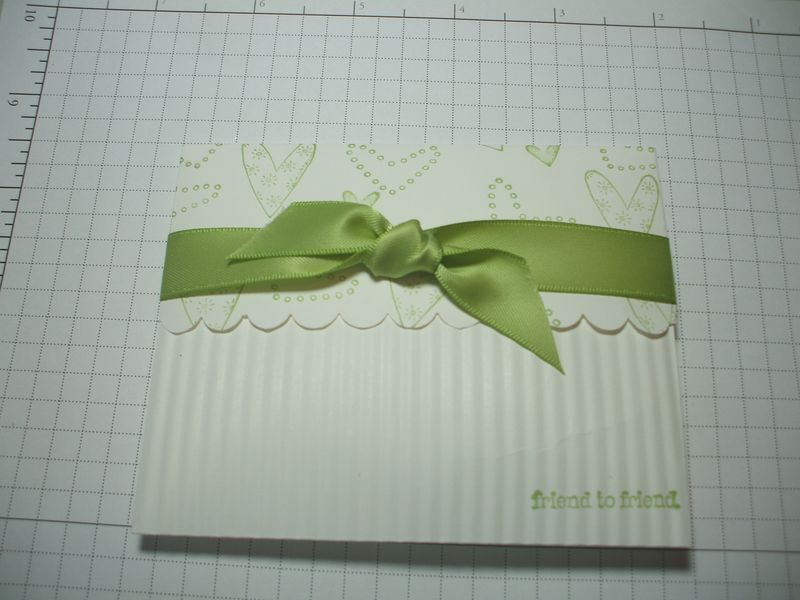
Here's another idea that Judy shared on the plane–hers was tied shut so it couldn't be opened, and she had inserted a couple of cotton cosmetic rounds inside with a drop or two of essential oil on them, making a cute little drawer sachet. Clever girl!
That's all there is to it! So, no excuses now–you have envelopes, you have a crimper, you have a super quick idea, you have candy you've been hiding from the kids–make some Valentine's and spread the love around!


LOVE IT! Im going to use this tonight at church’s craft night and have the ladies make one to get them hooked on Stampin’ and possibly host a workshop of their own!!
What a simple and fantastic idea. Thank you for sharing. I know I will be doing this at upcoming workshops.
I’m going to make my own sample right now!
this is fantastic! A simple project with a true WOW factor built in! Thanks so much for sharing it 😉