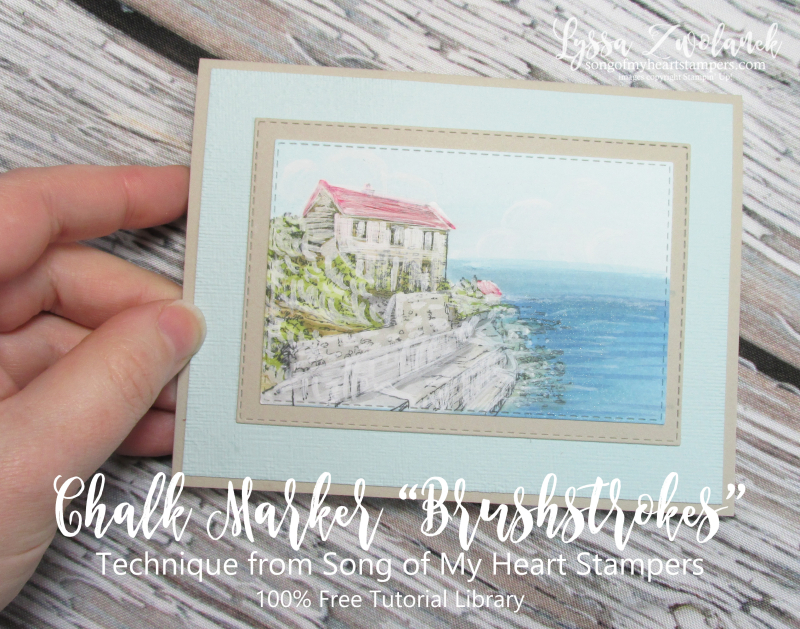
I happened upon a fun new technique in the stamp room this week! And it's so easy and cool-looking, I had to share. All you need is a Chalk Marker, your stamp and whatever coloring tools you prefer to use. For my card, I used By the Bay, a scene-building stamp set free with $50 order during March 2019, and my Stampin' Blends alcohol markers.
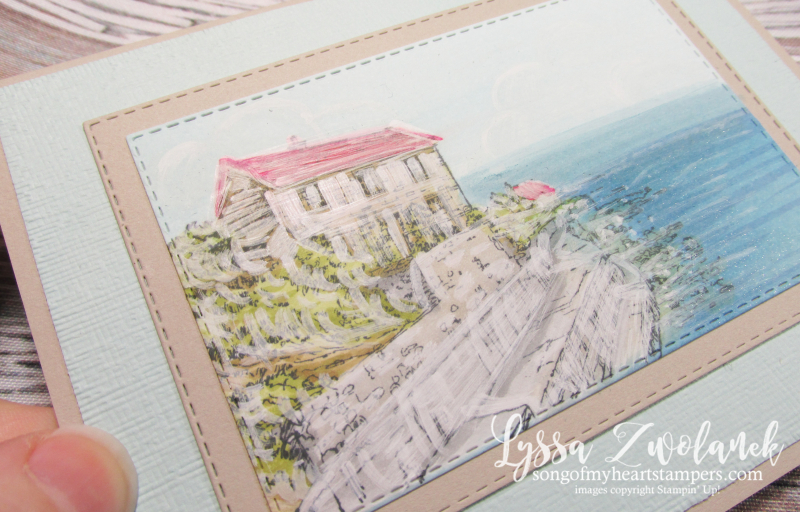
This is an extreme closeup… if you're not impressed, I promise it looks better in real life : ) but I wanted you to see the "brushtrokes."
Color your entire scene exactly as you normally would. I used Smoky Slate, Balmy Blue, Pear Pizzazz, Cherry Cobbler, Crumb Cake and Soft Suede Blends markers. 
TOP TIP: The top of the sky part was done with a sponge and a drop of plain vegetable glycerin, with Pool Party ink. The glycerin really helps spread the sponged ink so it has no hard edges or heavy spots–you've got to try it!
Then go over it with your Chalk Marker in a "logical" fashion, using short strokes in the directions suggested by the art style (i.e., along the roof line, in the direction of the sidewalk, etc).
At first you'll think you ruined it… but as it dries and the muted colors show underneath, you'll love how it looks like a tiny oil painting! I hope you'll give this fun new technique a try tonight. Be sure to check out more fun and easy WOW tutorials here at Song of My Heart's 100% Free Photo Tutorial Library.
Thanks for popping in today!


Beautiful card. Can you explain what a chalk marker is and where you would get it as thisnis a wonderful technique especially with this card.
Hi Eileen! I sell everything shown on my blog. You can get the chalk marker here: http://bit.ly/2cJi40I it’s a white, permanent marker that leaves a thin milky finish on any project.
Thank you.