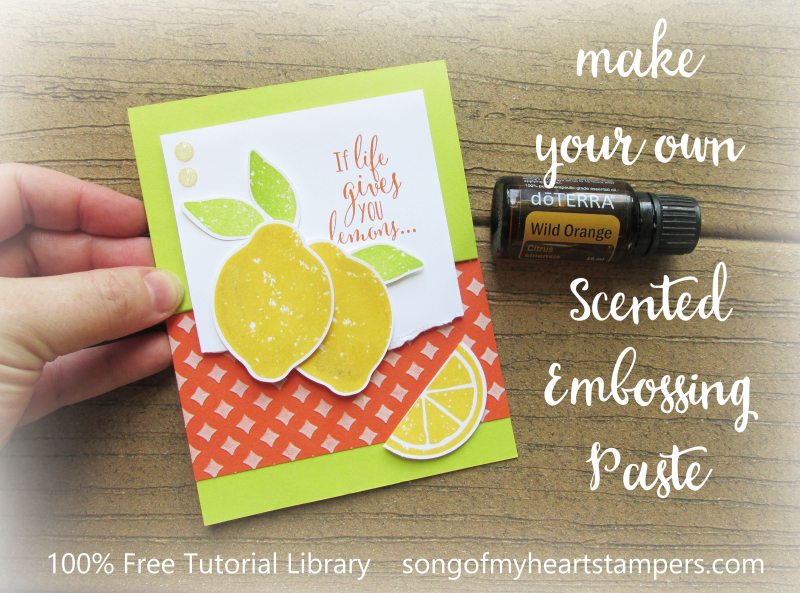
Oh no she didn't!! Oh yes she did!
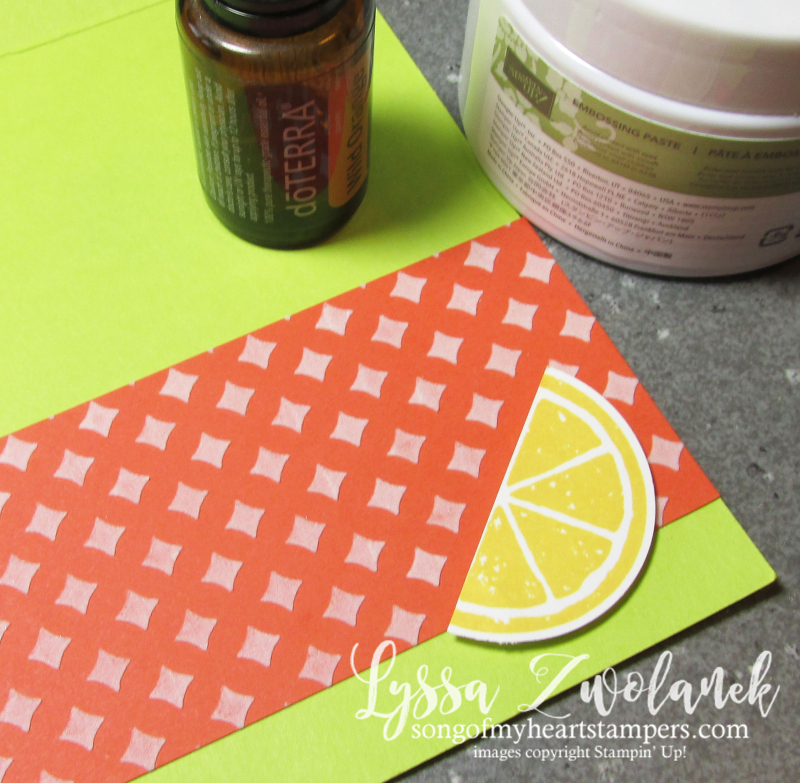
I added essential oil to my embossing paste before applying, just as an experiment, and to my delight it not only worked, it kept its scent for seven days afterwards. I was SO hoping that would be the case! That timeframe allows you a chance to use the paste to make your background, create the card, AND still have time to send it through the mail and get to the recipient while the scent is still activated.
I wish you could smell how yummy this card smells right now! Did you know Wild Orange is supposed to make you feel a sense of well-being and energy? I always feel pretty great when I'm able to be in the craft room, but hey, a little essential oil "lift" is always in order (although I prefer to take my oils in the form of a massage! lol).
Shelli Gardner turned me on to Wild Orange and it always makes me think of her when I use it. Good memories! I'll have to make her a card with it.
Here's some quick tips if you decide to make Scented Embossing Paste this week!
Choosing Your Supplies:
- Use food-based scents only. Floral scents, even light ones, can bother people immensely. I'm allergic to lavender, and I know people who can't be around jasmine. You don't want your card to set off an allergic reaction! Even if you know your card's recipient loves roses, the many hands that mail passes through on the way to their mailbox might not appreciate a floral or cologne-type scent.
- Wild Orange, Lemon, Lime, Peppermint, Wintergreen, Cloves, Ginger, Cinnamon, Grapefruit, Tangerine are all good scents that are unlikely to provoke a negative response. Plus, they're perfect for summer, fall, and winter/holidays Christmas cards.
- I can only speak to the success of this technique using Stampin' Up's quick-dry Embossing Paste. There are others on the market and they are definitely not all the same. I can also only speak for the brand of oil I used, which was DoTerra. I guess what I'm saying here is, I'm not responsible if you substitute stuff and something gets ruined, ok? : )
- You're going to be smelling this a LOT and possibly getting it on your skin (and definitely touching it as you make up the card.) Do yourself a favor and use a high-quality, food-grade essential oil. You'll pay a little more up front, but the bottles will go a long way and they have many other uses around the house. Plus, you'll be supporting a home-based business gal or guy somewhere, and we're all for that, right?!
Mixing it Up:
- Use two drops of oil per tablespoon of embossing paste. If you use too much oil compared to paste, the oil will separate and soak into the cardstock, making an unsightly mess. If you use just one drop, the scent won't linger more than a day or two.
- Mix your paste in a plastic cup or paper plate, or right on your Silicone Craft Sheet. The oils won't damage the silicone, but if you plan to re-use the container again, it will still need to be washed immediately after you apply the paste. Some oils could potentially damage plastic stencils or the Pattern Party masks, so just be sure to wash them thoroughly like you need to do anyway when using the paste.
- I thought the quick-dry paste might take longer to dry with oil in it, but the difference was so slight it wasn't noticeable. It was just as sturdy and flexible after drying as the samples I'd made without the essential oil.
- There was no visual difference in the finished card whatsoever. The only thing I found any different from normal was just a slightly easier texture when I was spreading it on the stencil with the palette knives.
Practical Tips:
- When your piece is completely dried, go ahead and make up the rest of the card as usual. I did not notice any trouble at all with oil seeping through to the backside or onto other layers on my card. I'm sure that's due to the scant two drops-ratio, since oil typically loves to soak into paper. I also didn't find that it made adhesive not stick or anything like that.
- I do not know what might happen if ribbon rests again the dried paste on your finished card. I just realized none of my samples had ribbon in the area of the scented paste. If you tried this and you know the answer, please leave a comment!
- After experimenting (and smelling my samples every day for seven days!) I can share that sealing the sample in a clear envelope only prolonged the scent temporarily. After 7 days it evaporated instantly upon opening. It's going to wear off no matter what kind of envelope or bag you put it in. But if you make it and send it within a couple of days, it should still have a nice, light scent when opened.
So there you go! are you totally going to try this? I hope so! HAVE A BALL!! Embossing paste is good cheap fun.
And remember, if you screw something up, SO WHAT? It's only paper! And paper is even sillier to cry about than spilled milk.


Could you technically use the same technique for “Scratch’n’Sniff”. I am just wondering if the scent would activate after scratching the image?
Thanks for the great idea, Lyssa.