I have really enjoyed this month's look at our newest tool, the Stamparatus positioning system. I hope you've enjoy the tips, techniques and tricks I've been posting, too! I know this won't be my last post about the Stamparatus, but here's some more tips to round out the month.
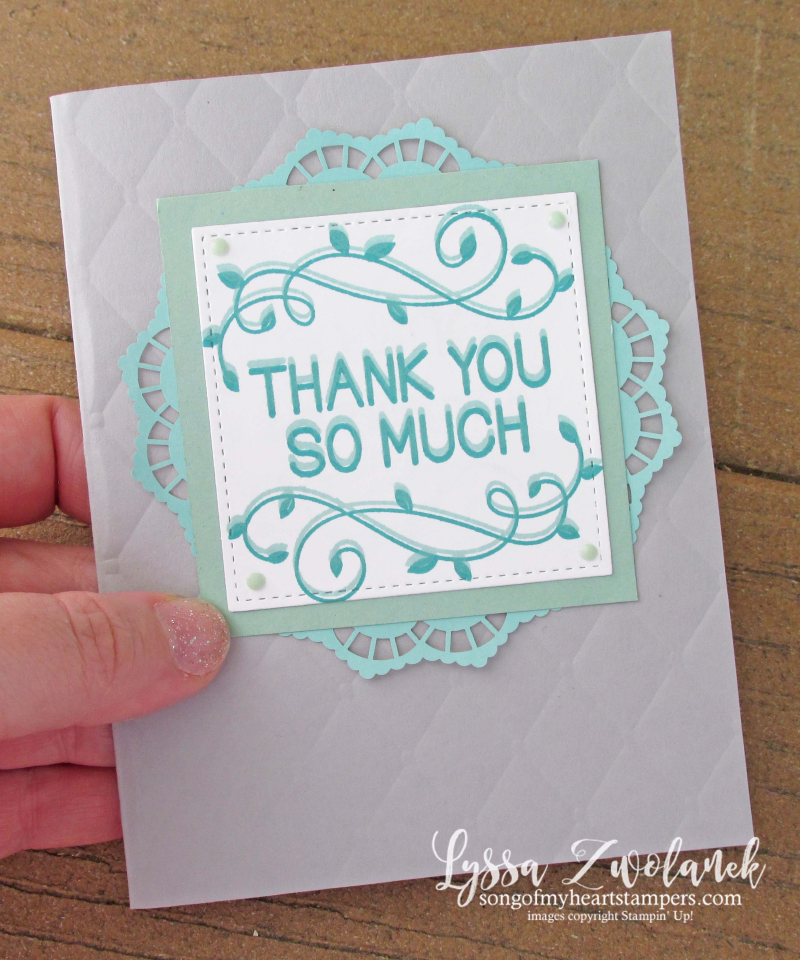
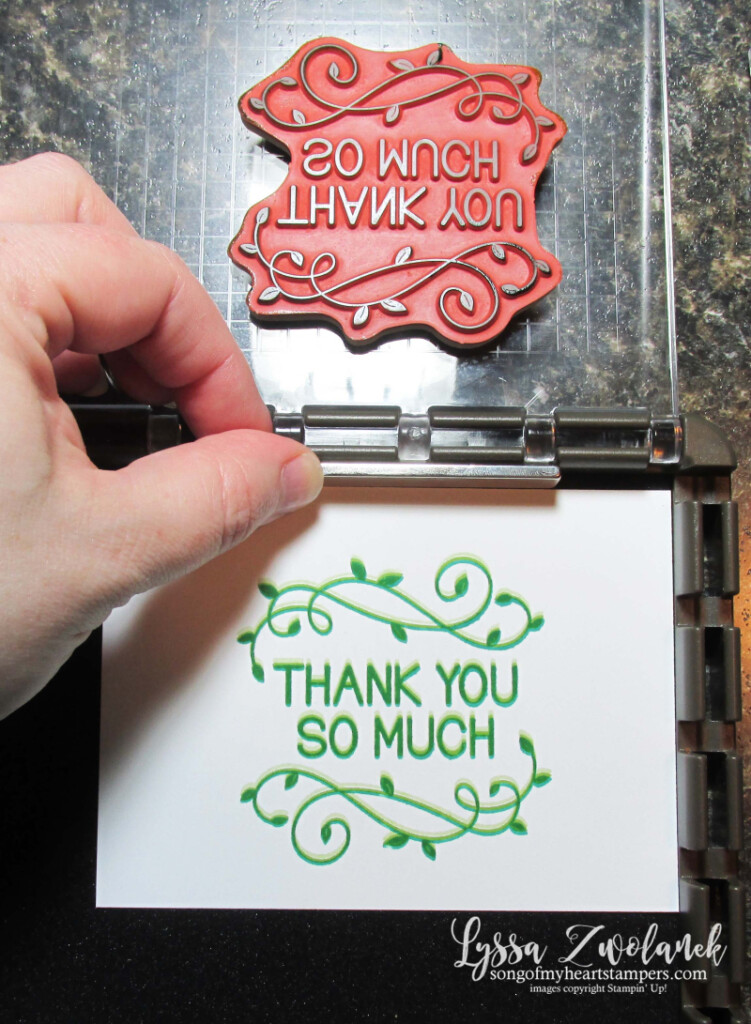
Shadow stamping is painless and perfect every time with the Stamparatus. Just stamp your darker ink first with the paper in the regular corner position. Then use one of the magnets to move the paper down just a hair, and stamp again with your lighter color. You can also use a quilter's ruler, or a piece of cardboard–anything that moves the paper down just enough to stamp the image offset enough to look like a shadow.
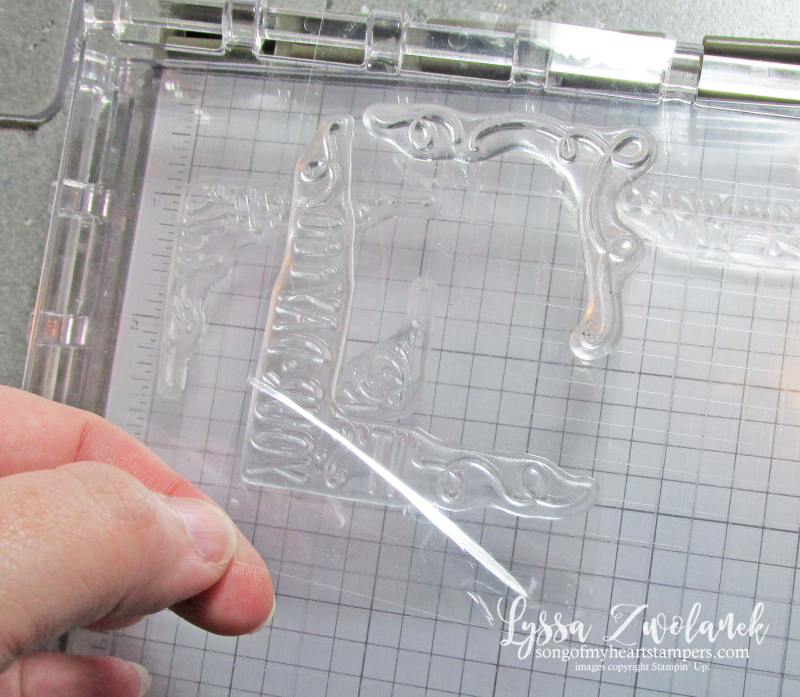
This is a great tip for traveling with the Stamparatus. I often set up my plates and then take them to class or crop, but there's always the worry that I'll lose some or they'll get pushed out of place. Save the plastic film you peel off new photopolymer stamps. Lay those sheets over the stamps you've arranged on your clear plates, and the stamps will stay clean –and in place– while you travel.
Many of you have asked how I line my stamps up since I almost always have the black foam pad or the Silicone Mat on and covering up the grid on the base of the Stamparatus. The answer is patience : ) and using the edge of a clear plate to level things up!
In the photo above, I laid my stamps (clean!) on the practice paper and bumped them with the edge of a clear plate until they were in alignment. Then I press the other clear plate, on the hinges, down onto the stamps.
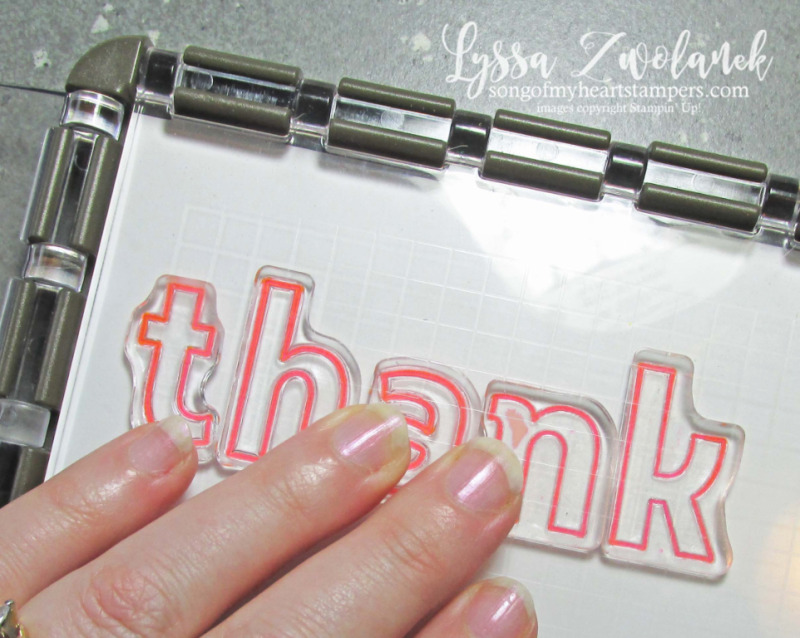
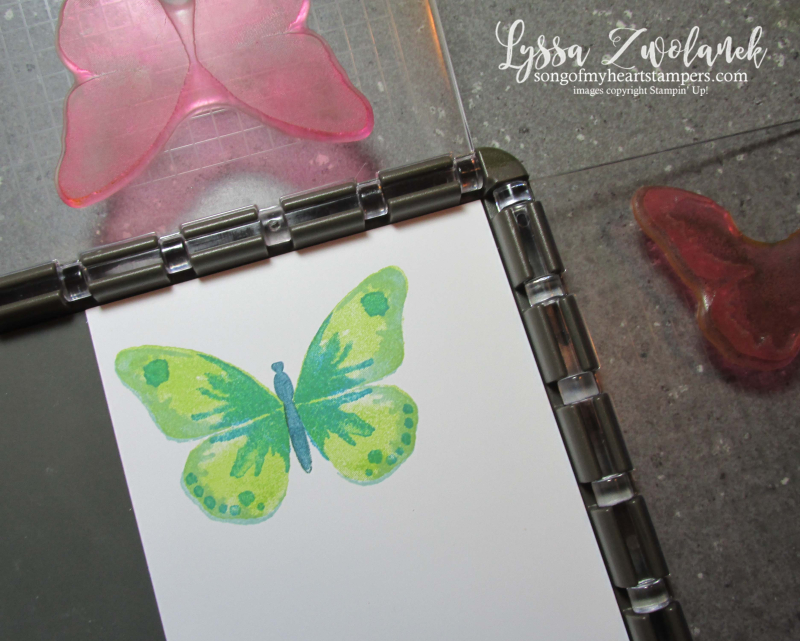
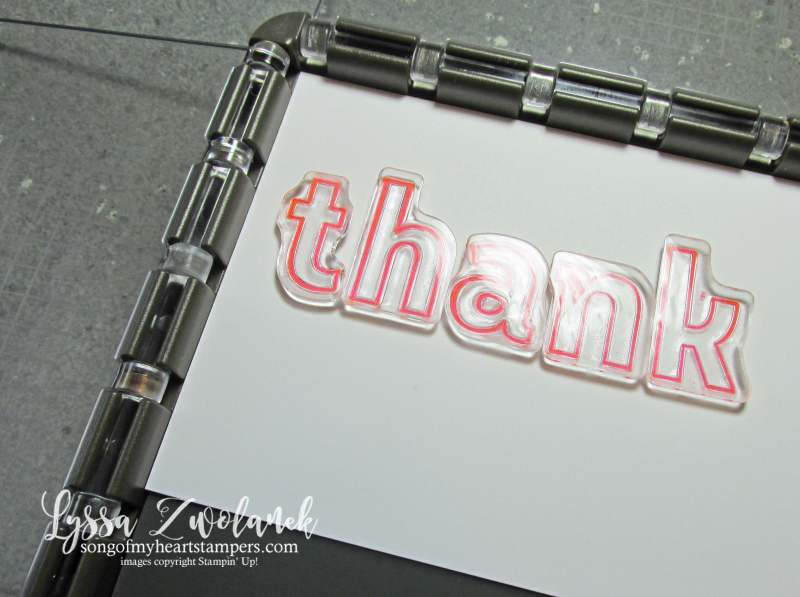
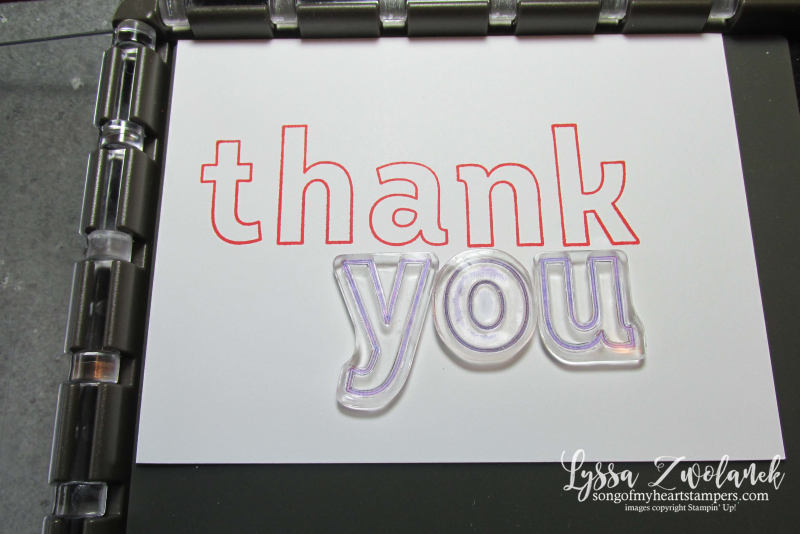
Next I'll ink and stamp those images onto the practice paper so that I can place the next images onto the second clear plate. You can use a clear Big Shot plate to line up the stamps, or a quilter's ruler, or really anything with a straight edge. When you think those stamps are in pretty good position, press the second plate down onto them.
For rubber cling stamps that aren't clear, the best way to set up the Stamparatus is just trial and error, on a scratch bit of paper or cardstock. Stamp it, then move accordingly until it lines up, using the grid lines etched onto the plates to help you move things "just a dab" till they're just where they need to be. Love those grid lines!
We've been told to expect a brand new Stamparatus accessories case this fall… can't wait to give that a review for you guys! If you have Stamparatus tips to share, please feel free to leave a comment. It is amazing how many ideas are out there using this unique two-plate, removeable hinge system.
Tell hubby you know what you want for Christmas…. Christmas in July, that is!



I have enjoyed your Stamparatus tips and tricks! Thank you so much! A little tip I picked up from another blogger is to cut the bottom/left corner of a piece of grid paper to fit the bed of the Stamparatus – have it laminated and use it over the black foam pad. You can test stamp onto it with the benefit of a grid and wipe it clean!