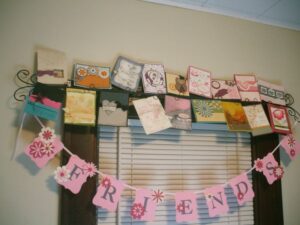
I got a lovely card from my friend Cathie and I sat down to figure it out right away! It was easy once you know the trick. After playing with it, I also came up with a version of it that uses much less cardstock, so that’s fun if you’re on a budget!
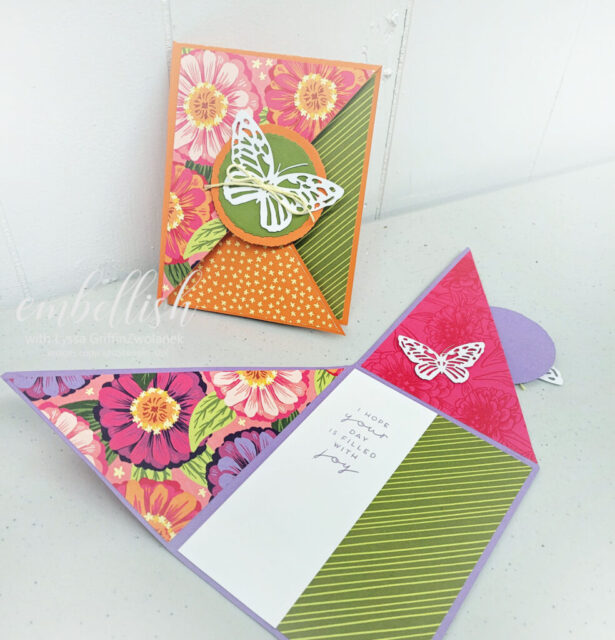
Here’s my Facebook Live with Lyssa that shows how to make the original design from one piece of 8.5 x 11 cardstock, scored into quarters. The upper left quarter is removed, and the upper right and lower left quarters are scored at a diagonal to make cross-over closures of the card front. Fun!
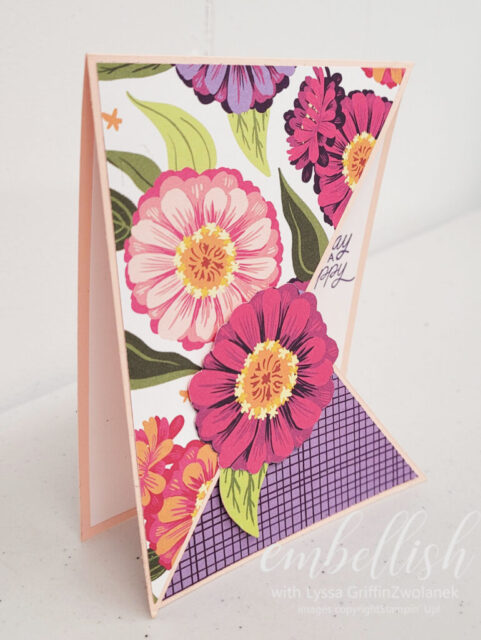
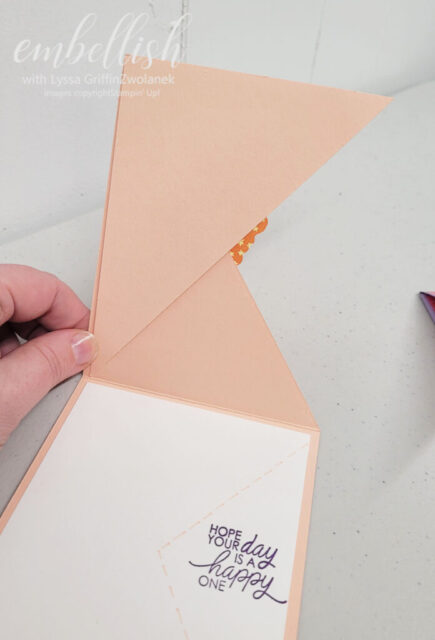
While this really was a lovely card design, I also wanted to share the “faux” version where it just takes half a sheet of cardstock instead. So for this one, you cut a top-folding card at 4.25 x 11 inches. Slice just the cover in half diagonally from the lower left corner to the upper right corner up by the fold. Flip the piece over and adhere it to the back of the part of the cover that is still attached to the card.
So there you go! Two fun new diagonal folds to try tonight, and all you need is a good trimmer with a nice sharp blade. Leave me a comment if you love fancy folds! You can find this gorgeous Zinnia collection as well as our recommended personal trimmer in the Online Exclusive section of my shop.