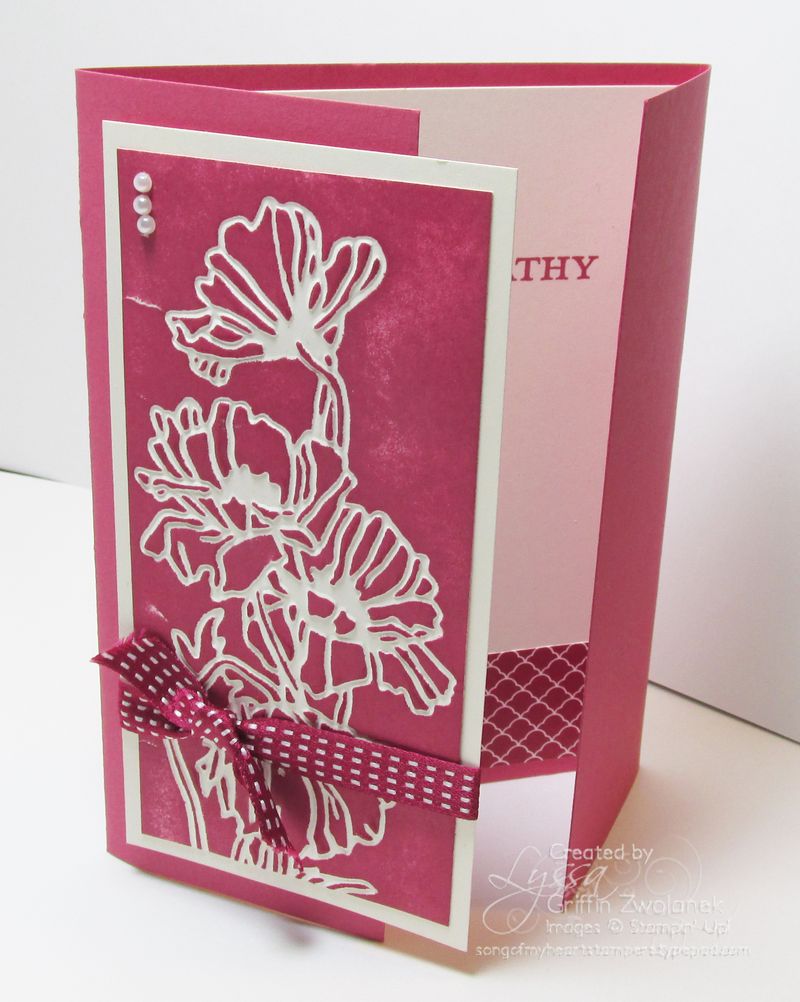
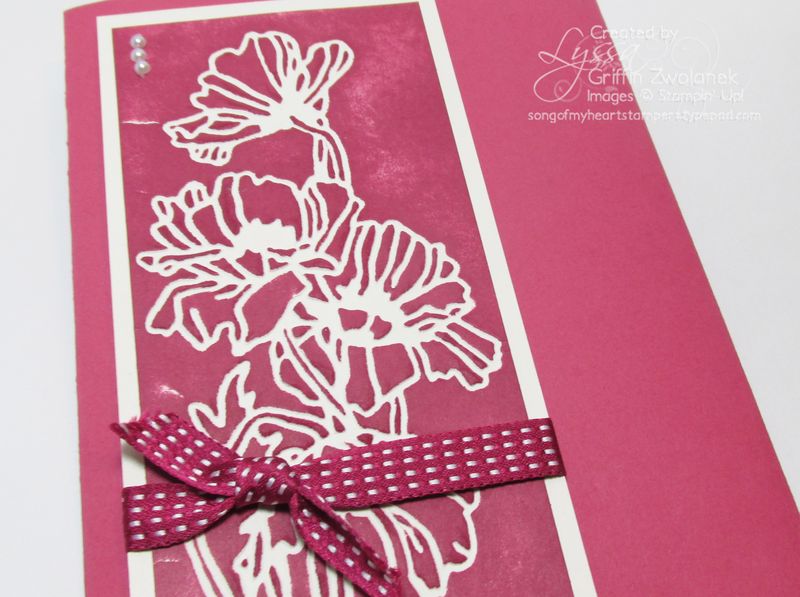
My friend Michelle spotted a sample card done with this technique and begged to make it at her workshop. I was happy to oblige! it's actually quite simple–just emboss your desired pattern on the Sizzix Big Shot with an embossing folder (I used the Flower Garden design), flip it over to the "de-bossed" side, and ink up your rubber brayer in any color of ink you desire. Run the brayer over the debossed image as often as desired until you like how saturated the color is. Bingo! You're done!
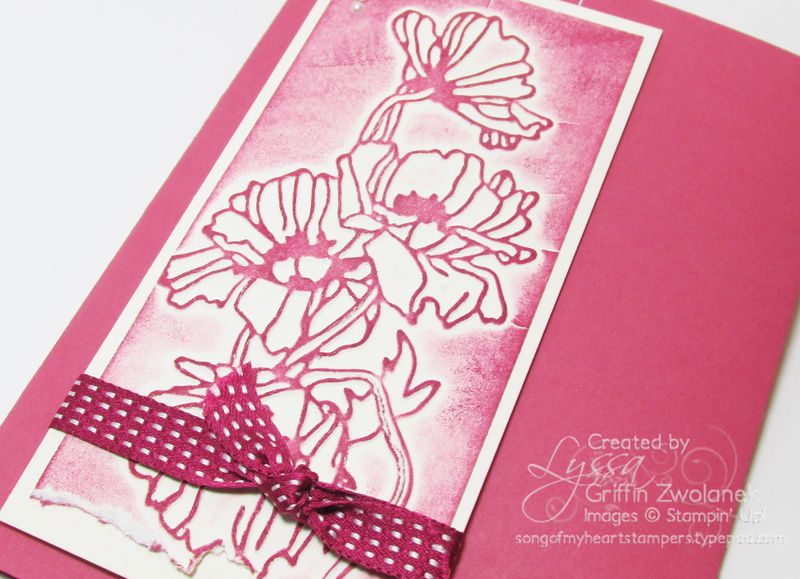
I couldn't resist flipping my embossed piece over back to the raised side we normally use, and showing Michelle and her friends how you can add color to that with a brayer as well, for a completely different look.
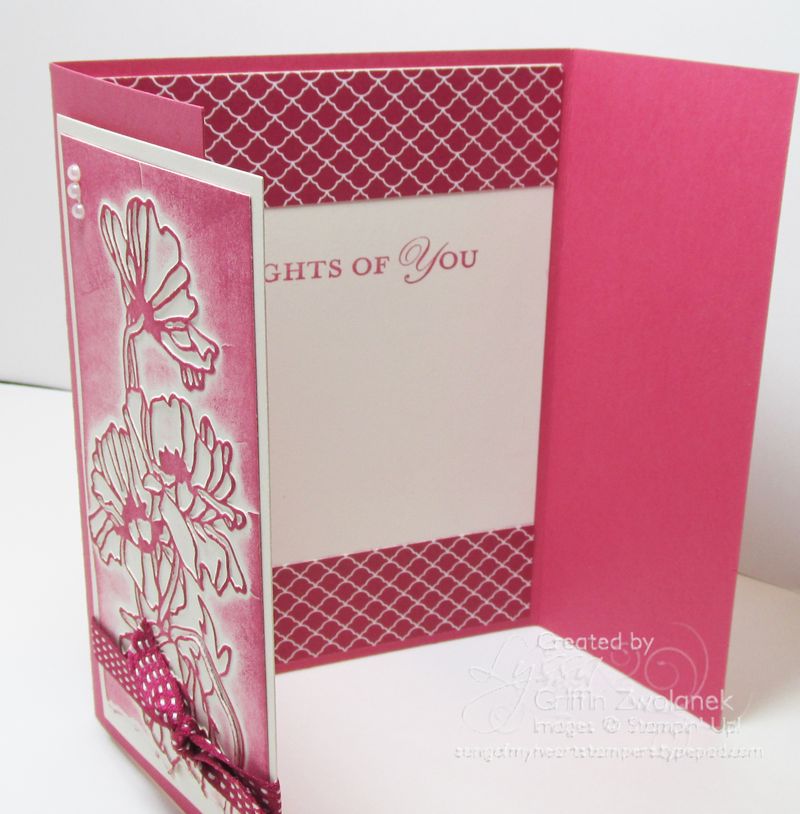
Here's the inside. I used a "gate-fold" for my card base, just for different. These were designed as sympathy cards, but guests at the workshop made them into wedding and birthday cards to suit their various needs. That's the best thing about stamping–you always have the cards on hand for the occasions you need!
Nevere heard of a brayer? Need that Flower Garden embossing folder? Click on any of the items below to view the full description and shop with Lyssa 24/7! Or email me at zwolaneks@att.net if that's better.
Brayered Embossing Technique Cards Product List:
125843 |







pretty cards – I like the way they turned out!
It’s fun to try new things with your cards. Sometimes you are happier with the experiment than the “planned” technique…
Very nice. TFS!
that card is awesome and to do it two different ways…WOW 🙂
I love this card. It’s a perfect example of a monochromatic card…that’s our downline challenge for this month. I plan on using this as an example to show them. 😀
Thanks for sharing.