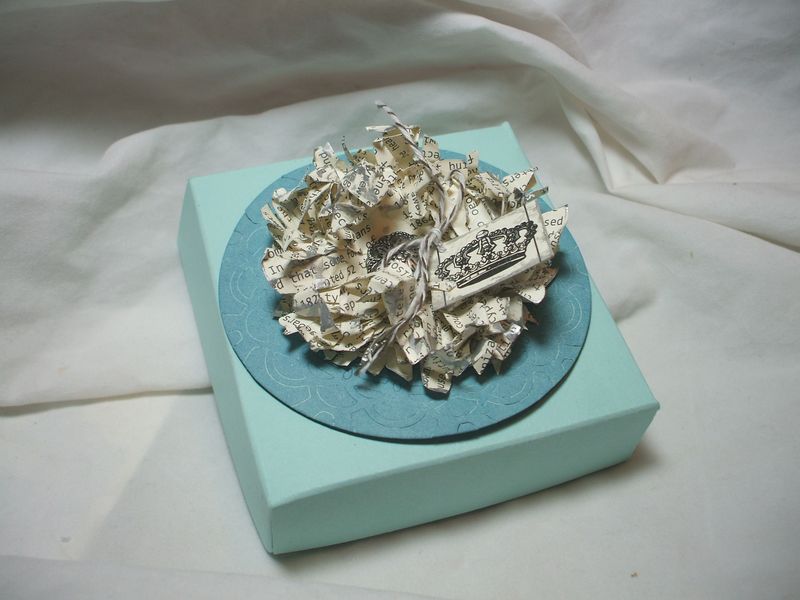
For today's edition of "A Simply Scored Christmas," I've got a mini tutorial of a cute little gift box that I designed to hold 8 coasters made with the Big Shot 3.5 inch circle, cork, window sheet and Multipurpose Adhesive Sheets. I love making those for all sorts of occasions, and they make a fantastic gift, so a great presentation box is a good addition to my gift-giving repertoire.
Thanks for joining me! If you are new to my blog, be sure to peek back beginning with December 1st, 2011, to see all the free photo tutorials in this series.
The above picture shows the box closed; below is the box opened, with the coasters inside.
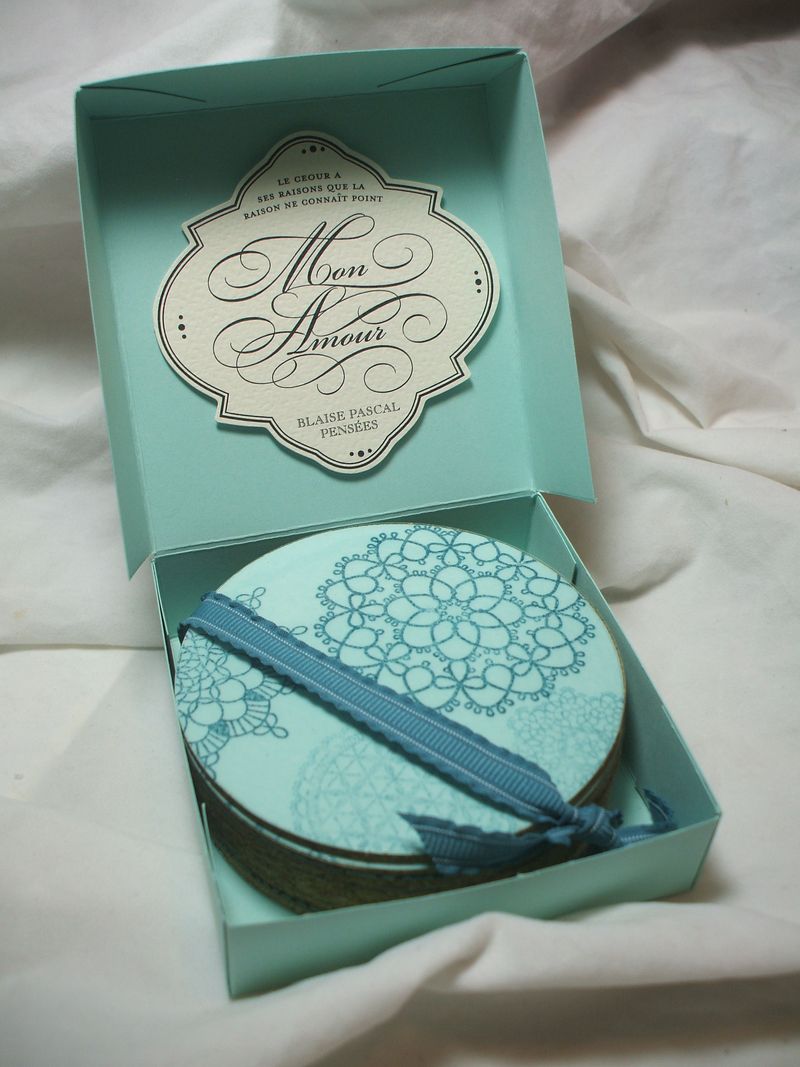
To start, you'll need a 10.5×5.5 sheet of cardstock, Sticky Strip, the Simply Scored board; and stamps, ink, punches, ribbon or what have you to embellish the box to match your coasters. I made my paper flower from First Edition specialty DSP (chopped to slivers with the super-sharp Paper Snips) and the French-inspired cardstock embellishment is the wonderful Side Notes in Bella Chateau, from page 190 of the 2011-12 Idea Book & Catalog. There is also a 3.5-inch circle etched from the Paper Doily Large Sizzlet that I got at Founder's Circle this past fall, a sneak peek from the Occasions Mini Catalog that goes live on January 5th!
I know it's pretty, but don't get distracted–we have work to do!
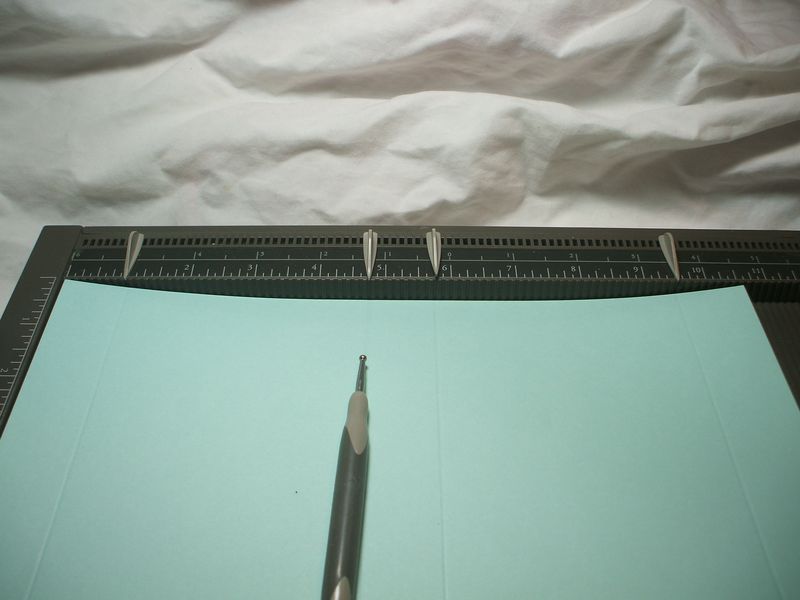
Score your cardstock at 1, 4.75, 5.75 and 9.5 on the long side, as shown by the place markers above (a Simply Scored exclusive feature). Score at 1 and 4.5 on the short side (not shown).
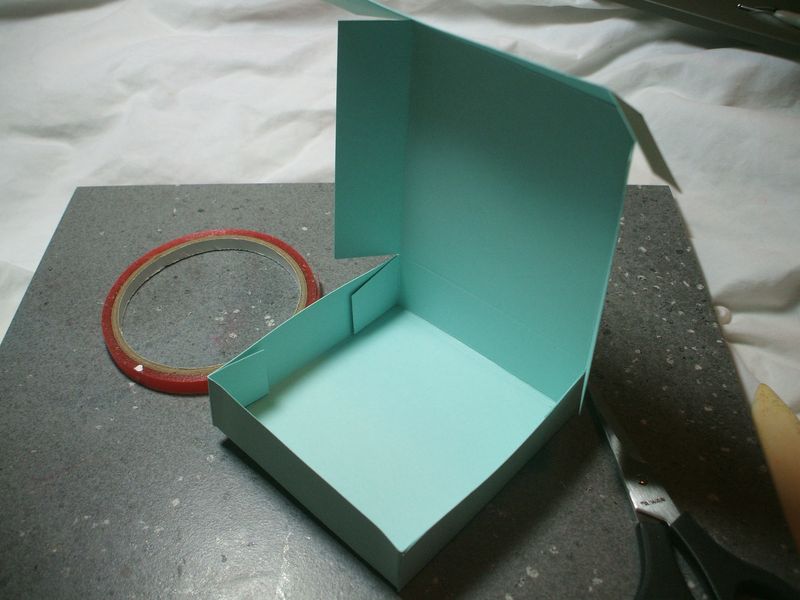
Snip up to the score lines as shown, like a tyical box. The difference is that this one is not two pieces, but has a hinged lid. So it's actually a little less work than a regular two-piece box and lid. You can find endless variations of the "clamshell" or "pizza box" style on the internet.
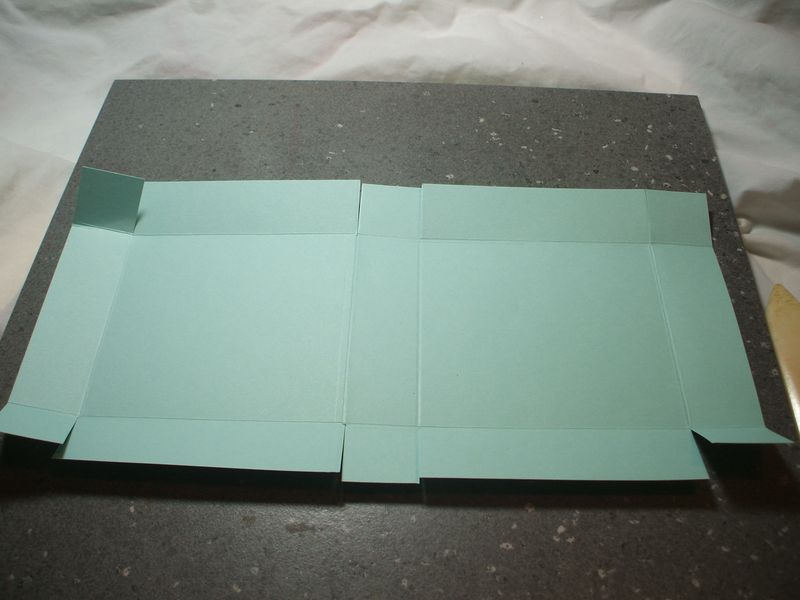
Use Sticky Strip to assemble the bottom part of the box first, then close the lid and assemble the remaining flaps while the box is closed. This ensures that you will get a lid that is not too tight for the box.
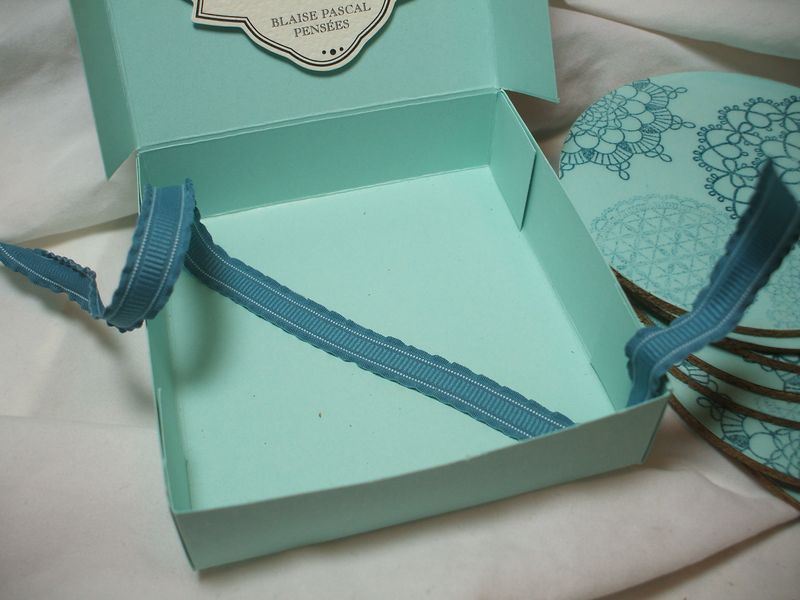
One last step before you're done–if you are indeed using the box for coasters, run a piece of Stick Strip from corner to corner diagonally across the bottom of the box, and adhere a ribbon tie to help keep the coasters stacked neatly. The box fits them so well, it is not really necessary, but stamping is all about those little touches, right?
Have fun with this project, and let me know if you need to order supplies for the coasters or anything else. There is STILL TIME TO ORDER BEFORE CHRISTMAS–both for your own projects, or for anyone on your list who loves papercrafting. I also have gift certificates, payable in any amount, which I can deliver right up to December 24th (secretly, if need be!).
AND I offer free gift wrap in December! How easy is that? Call me today and get that list checked off! And check back tomorrow for another fun scoring tutorial.

How are the coasters made? Did I miss a tutorial? Thanks for all you share!
I would also like to know how you made the coasters
Thank you for all the photo tutorials – Love them!
Found your tutoiral for the coaters on the 8/18/11 post. I put coasters in your search box and found them. I browsed around your site and found many many more great ideas. I am adding you to my check daily sites.
You are an inspiration to me
Thank you so much for sharing your talent and ideas.
OH MY!!! this is really BAD… Stampin up sent out there new mini catalog and I got it last night… I WANT everything in there!!! The stuff is gorgeous and love all the samples they have in there and all the stuff you can buy. I thought having a party I would be able to get some free stuff from the regular catalog but I doubt I will even order from that! Outstanding, best one ever!
Nice…vut in French heart is spelled coeur not ceour…but you’ve probable been corrected on that years ago… But if you know of any design companies who are in need for French or Spanish translators…am very crafty open to those opportunities. Hope you kepr crafting♡
I meany yo write *but … and *kept crafting