Here's a fun, vintage technique you can do with your Big Shot and any embossing folder with all that free time you have on your hands… Start by brayering ink directly onto your folder. If you don't own a brayer yet, do not pass Go, do not collect $200, call me right away and I'll see you up. it's only $12.95–so there's no good excuse for not owning this important tool!
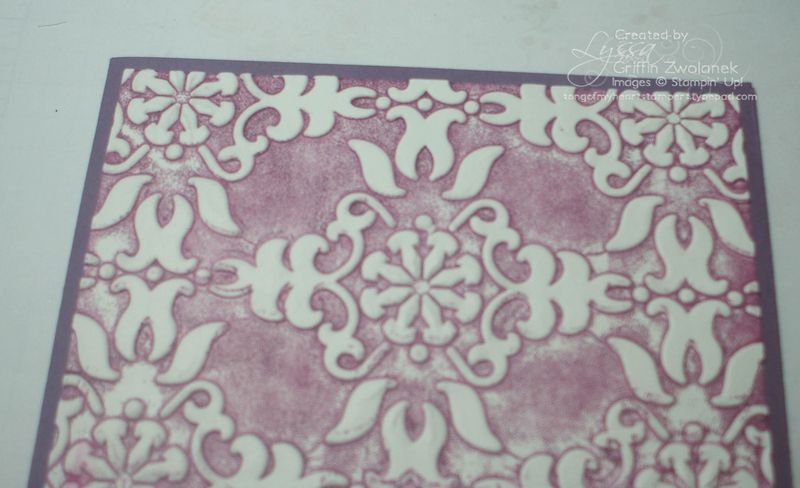
I used Rich Razzleberry ink and the Vintage Wallpaper folder. Insert your Whisper White cardstock into the folder and run it through. When it comes out, it should look like the photo above. You can stop there, like in this post, or continue on with the watercoloring.
Note: I stuck my embossed piece on a scrap of cardstock to help it dry flat when I added the water. The fibers of the paper are already quite broken down with the dry embossing, so adding water makes it just a little more fragile. Learned that one the hard way!
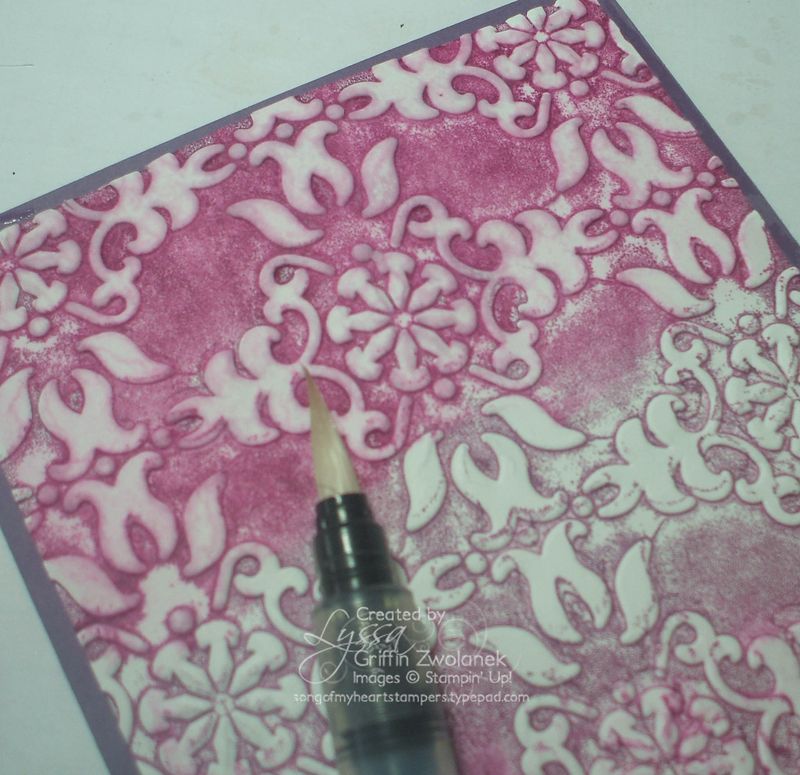
Then take your aquapainter pen, filled with plain water, and go over the whole embossed piece. As you can see, the ink begins to soften, darken and spread. It gives the look of being sanded and faded without any other distressing techniques. See the difference between the part where I added the water, and the part that is still dry?
Let your embossed piece air dry for at least a half hour to an hour before you attempt to cut or adhere it (ask me how I know!). Wet paper and SNAIL do not play well together.
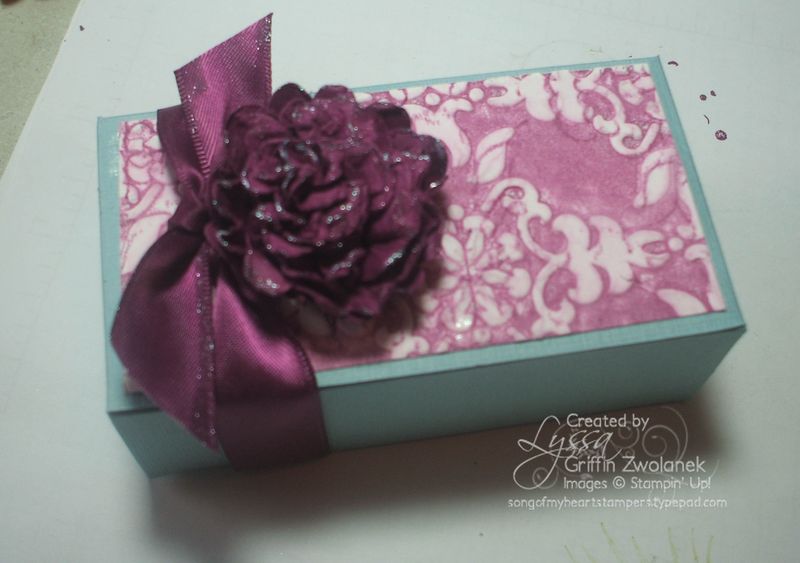
I'm sorry this photo is a little blurry. You can see how I used a piece of this watercolored embossed paper on the Box#2 die for the Big Shot, cut from Baja Breeze textured cardstock, topped with one of the oh-so-adorable "scrunch punch" flowers (tutorial here). I also used a dab of the Illuminate Top Coat Smooch Accent Ink to highlight the flower and the edges of the gorgeous Rich Razzleberry satin ribbon. Love that it comes in such an easy to use bottle and brush style.
As always, all of those products can be found on my shopping website, 24/7: www.lyssa.stampinup.net
Just click on Shop Now! While you're at it, be sure to check out the Clearance Rack for retired goodies, and don't forget that you can mix My Digital Studio downloads in with your regular order, too, and you won't have to pay shipping on those.





Lyssa, Great tutorial. I really like the extra step of watercoloring with the aquapainter. Your piece of card stock came out looking beautifully vintage.