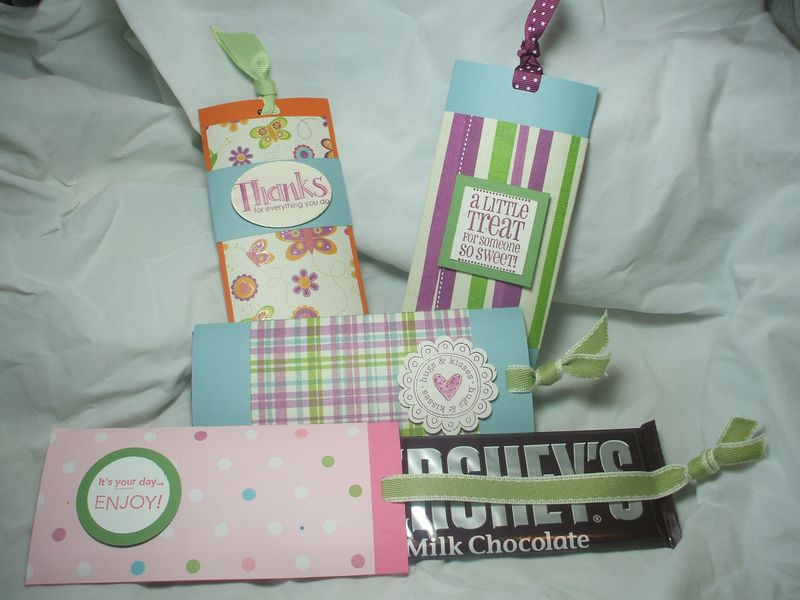
As soon as I saw these adorable candy bar covers, shared at the demonstrator meeting this month by my downline Karri, I wanted to make a bunch of them! And luckily, I have several craft fairs on my calendar, so I can justify a lot of time spenting creating in the stamp room these days.
In my quest for economy, I modified Karri's measurements a little so that you only need a piece of 6×6 cardstock, scored at 2.75 and 5.5 inches. Put Sticky Strip down the little flap that's created by the score marks, and fold into a flat pocket. This is just the right size for the regular Hershey's bars–you will need to alter the measurements if you want to use different candy bars.

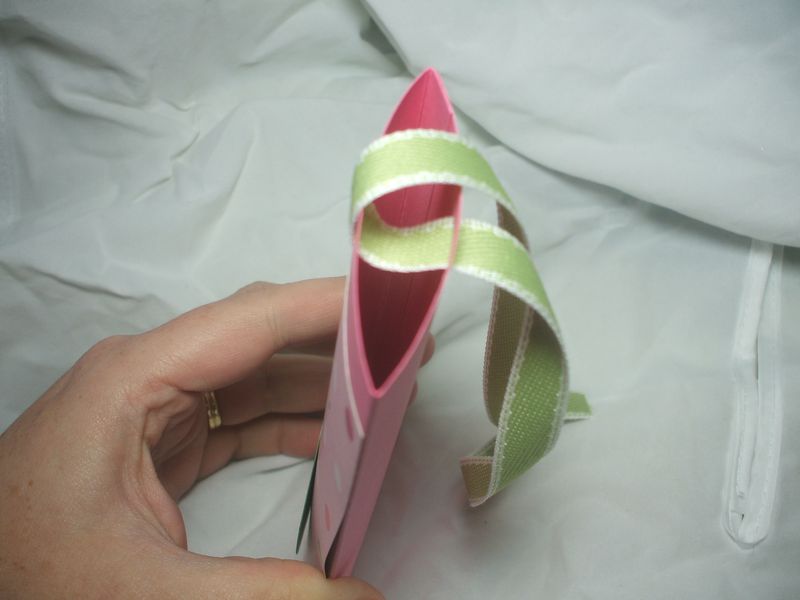
The only tricky part with these EASY covers is the ribbon–helps if you see it, so here's a photo. Punch your horizontal slot punch through both layers about 1/2-1/4 inch down from the top edge. Thread 20 inches of ribbon through, leaving equal amounts on both sides. Then, insert the candy bar and push it all the way down to the bottom of the pocket, taking the ribbon down with it as it goes.You should have about four inch ends sticking up out of the punched holes on both sides.
With the candy bar fully inserted, tie the ribbon in a knot and trim the ends at an angle so they don't unravel. To get the candy bar out, all they will have to do is pull the ribbon knot and the whole candy bar slides forward. Karri's version was a big improvement on some I have seen, because the punched part keeps the candy bar and ribbon securely in the holder, instead of allowing them to slide too far out of the pocket part.
Thanks for demoing this at the meeting, Karri, and everyone else, have fun making these treats for Halloween, your Sunday School class, your group meetings, or just for some lunchbox love for your little ones.


Hi Lyssa:
I don’t know if you realized it or not, but the slot punch is no longer current.
Sue Bishop