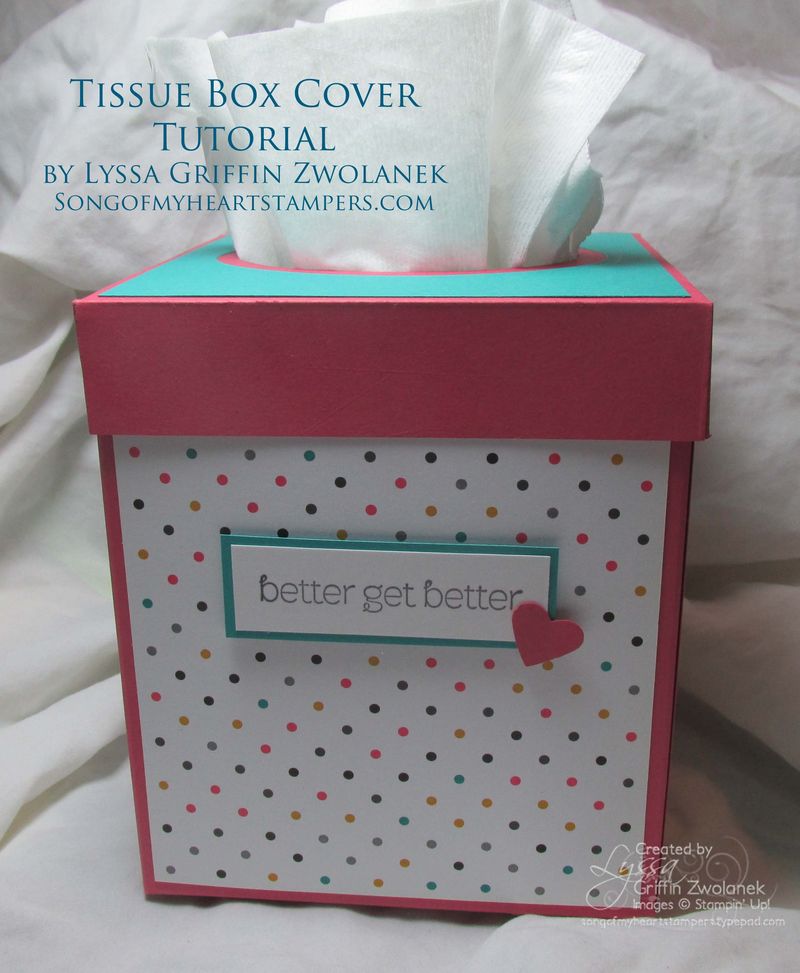
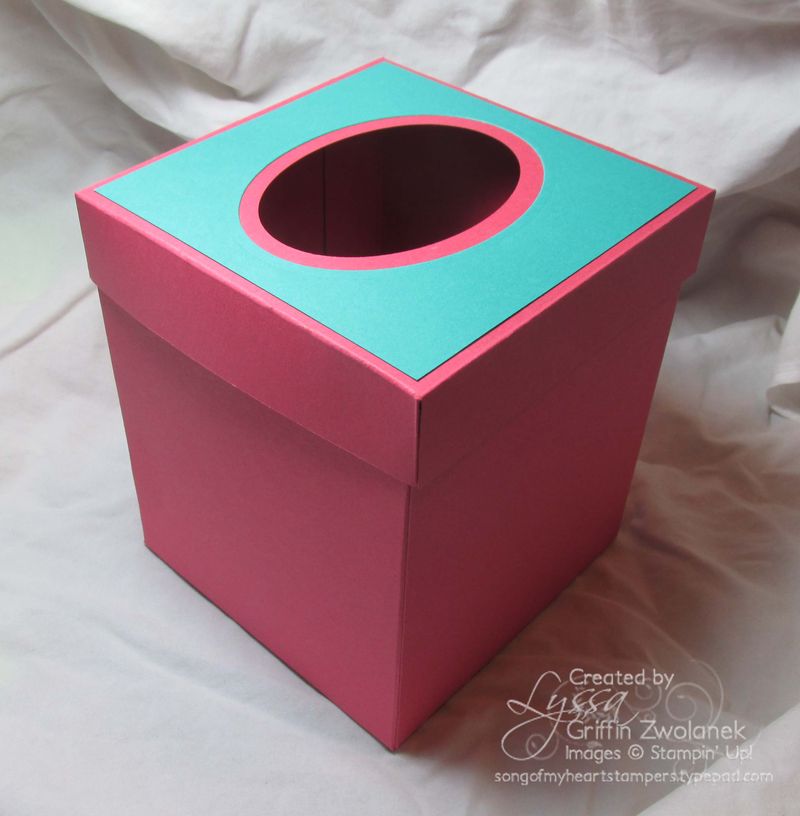
I snapped a pic of a cute covered Kleenex box in my friend Kim's house and posted it to the Song of My Heart Facebook page this week. Everyone agreed that we needed a photo tutorial and dimensions, STAT! What a fun way to spread cheer to a sick friend, or give as a back to school gift to a teacher. It would also be the perfect accompaniment to a card promising someone "a shoulder to cry on." I'm sure you'll be able to think of lots of cute ways to use this idea!
Free as always, here's easy instructions with pictures illustrating each step. Use it with my blessing–and if you don't have a Stampin' Up demonstrator, I would be pleased as punch to help you with all your papercrafting needs. Just email me at zwolaneks@att.net to get a free catalog!
To begin, you'll need two 9×10 inch sheets of cardstock for the sides, and one 6 and 5/8th inch square of the same or a coordinating color for the lid. If you want to add patterned paper panels like I did here with the sneak peek Kaleidescope Designer Series Papers, you'll need to cut four 4.25×5 inch panels for the sides. You'll also need a scoring board such as the Simply Scored, Sticky Strip or other strong adhesive, and something to make the opening in the top. I used the Ovals Collection Framelits for the Big Shot along with the Magnetic Platform. All the products I use in my tutorials can be found in my online shopping store.
You'll also need a tissue box (duh). I measured two different brands (Puffs Plus and Walmart Great Value) and they were very nearly identical, so this box fits either.
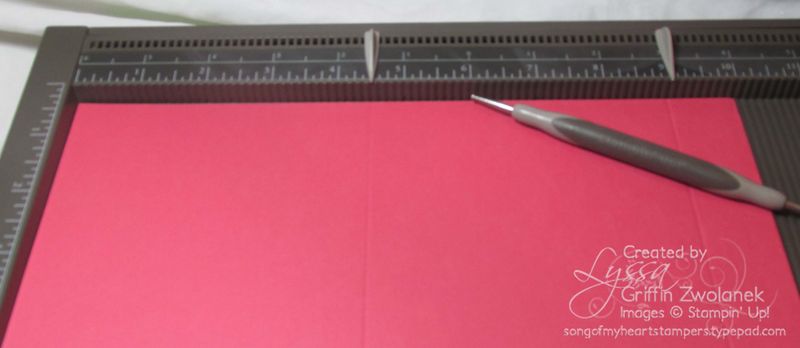
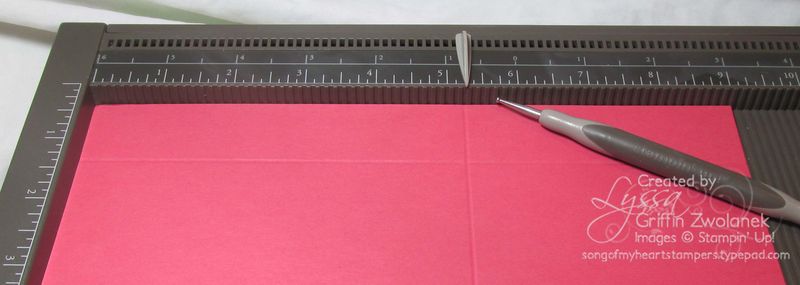
Start by scoring both of your 9×10 inch pieces at 4.5 and 9 inches on the long side (above), and then 5.25 inches on the shorter side (below). Aren't those place markers handy? They make it nice and obvious.
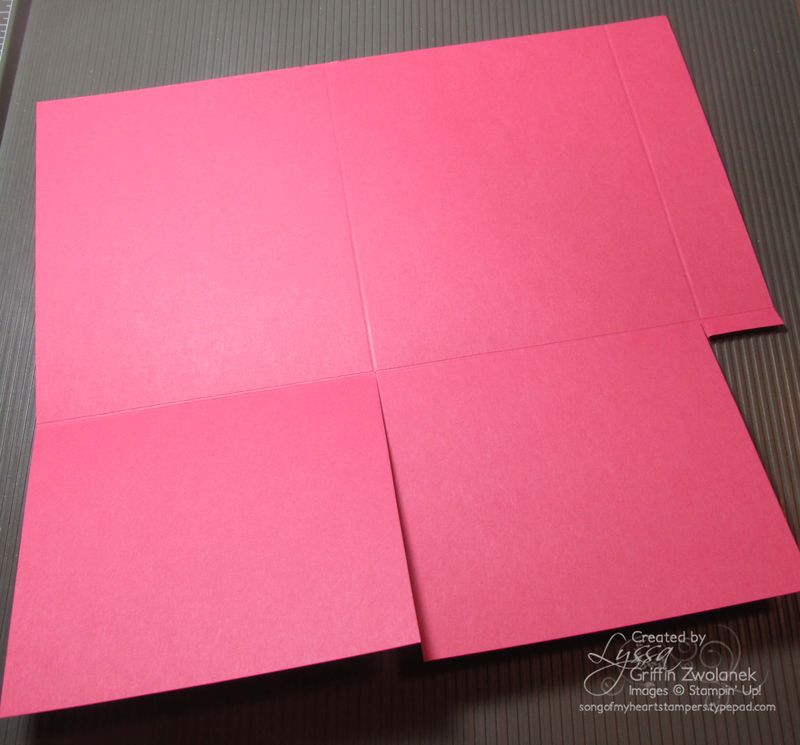
Trim each piece as shown below. You'll be creating two wide bottom flaps and one tall thin flap as a side seam. Add Sticky Strip down the side seam on both pieces, close to the score mark.
Adhere the two halves of the box together and use Sticky Strip to close up the bottom flaps.I forgot to take a photo of this part BUT IT WILL BE OK. I have every confidence in you. Once you have the box assembled, let's get to work on creating the lid.
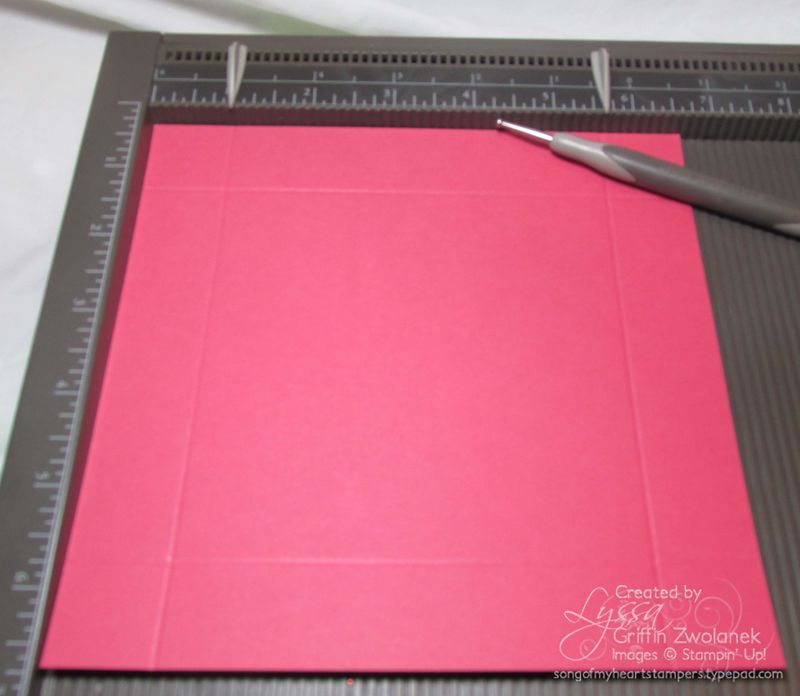
The lid is made from the 6 and 5/8 inch square. Score it at 1 inch and 5 and 5/8ths inch, as shown by the place markers below. I love how easy the Simply Scored makes it to do eigths. I used to hate that! But they are all marked and all have a groove on the Simply Scored. No more guessing!
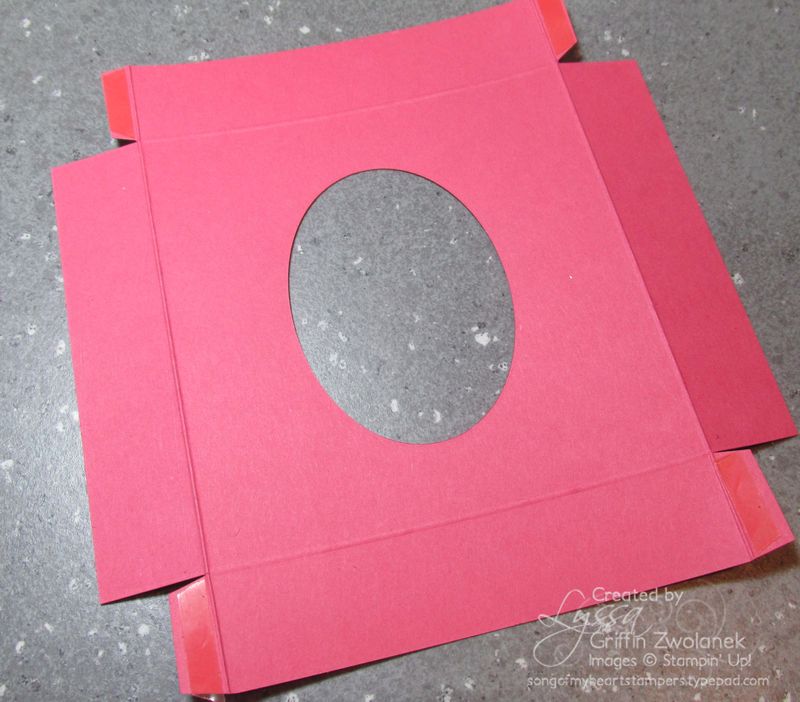
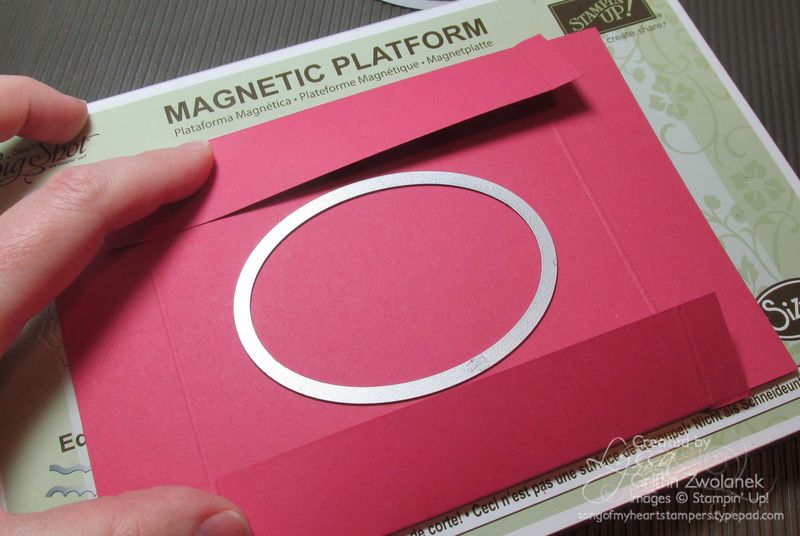
Then you're going to take that scored square and trim the corner bits into flaps, as shown above. Put Sticky Strip on each flap close to the scored line. But BEFORE YOU go to assemble the lid–let's talk about how you're going to get an oval cut into a piece of cardstock that is wider than your Big Shot!
You're going to have to fold two opposing flaps in towards the center to make your piece narrow enough to fit through the opening of the Big Shot, which is just over six inches wide (so close!) It won't hurt the lid at all, if you're using nice sturdy good quality cardstock, such as Stampin' Up. It also has the side benefit of making it easier to place your oval Framelit directly in the center of the lid.
Note: I used ovals for the opening, but I think the Window Frames Collection or Labels Collection Framelits would also be gorgeous. Just make sure your box cover opening is not so large that you can view the ugly store-bought tissue box underneath–that would totally defeat the purpose!
I pulled out the Framelits I used in the photo below, so you'd be sure to grab the correct ones. I used the third and fourth sizes out from the center.
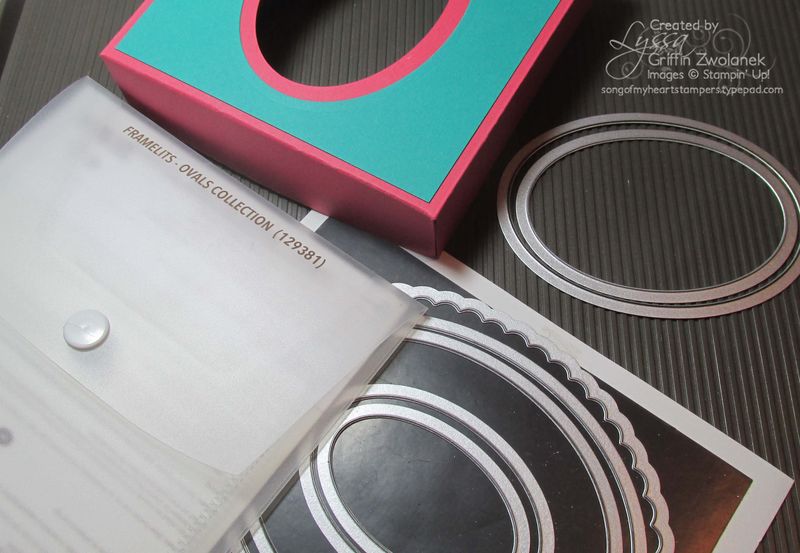
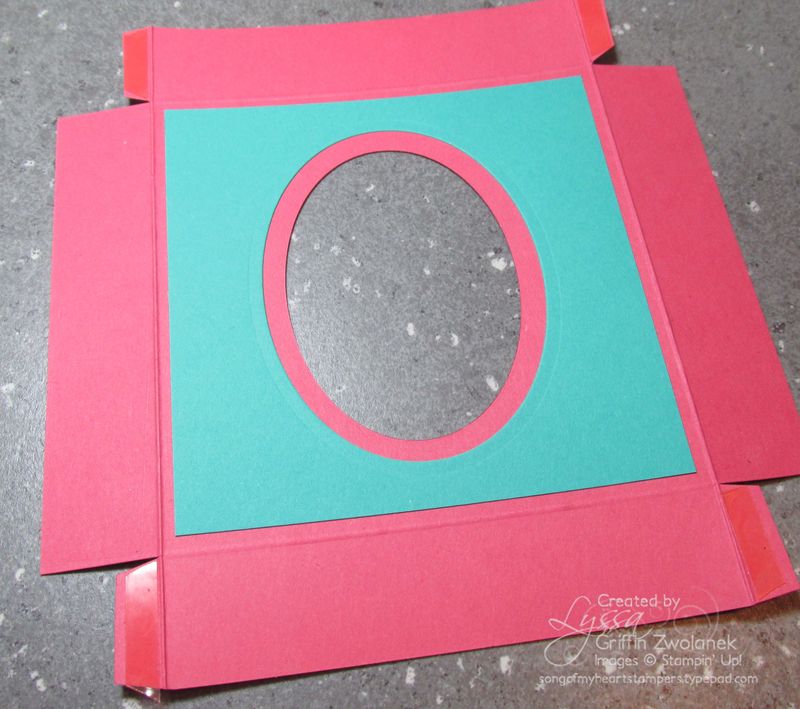 One more thing to do before finishing up the lid–if you want to add patterned paper or a coordinating color of cardstock to it, do so before assembling (ask me how I know). I used the next size up oval Framelit in the center of a piece of cardstock measuring 4.5 square to make a cute topper for my box.
Then go nuts! Put it together! and try the lid out on the box. Isn't that nifty?
I hope you've enjoyed this free tutorial from Song of My Heart. The only payment I ask is that you leave a comment–it totally makes my day!–and it only takes a second (I have disabled that crazy CAPTCHA nonsense). Thanks for stopping by!

This is so cute:) Great to dress up to bring to a friend or family member that is sick. Thank you for sharing!
Thank you so much for doing this, can’t wait to make one:)
This is so cute! I am definitely going to be making one of these. Thank you for sharing.
Hm-m-m..great idea — gotta try this and have a couple on hand for small gifts!!!
Too cute! I can’t wait to try it. 🙂
Boom! Just like that…your readers asked and you provided a step by step tutorial for us! Thank you for all you give to us.
Thanks for putting this tutorial together. I’ve made several of these for teachers gifts and for myself. I like to change them up based on whatever holiday is coming up.
thankyouthankyou! it’s cold and flu time in our family right now and special “just for you” boxes of tissues are perfect! I appreciate your tutorials and always find a way to use them ☺
You are the BEST! Thank you for sharing Lyssa. You’re so creative and generous.
Lyssa, thank you for sharing this tute for the adorable tissue box cover. Such an easy but cute gift at this very sneezy, cold time of year!!
Your tutorial is awesome!! Great job. Thanks so much!
Thanks for the tutorial! So cute!
I love this! Thank you for sharing. Am hoping a UK tissue box is the same size…if not, I’m sure I can adapt you lovely clear instructions.
…And our tissue boxes work beautifully with these measurements! It went together so quickly. Perfect!