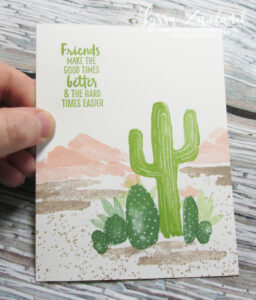
This holiday weekend I had a chance to have another go at the new Stampin' Up quick-dry embossing paste and Pattern Party decorative masks. As you remember from my Product Review, I was definitely a fan! I have collected a few more tips for you in addition to those shared last month–Enjoy!
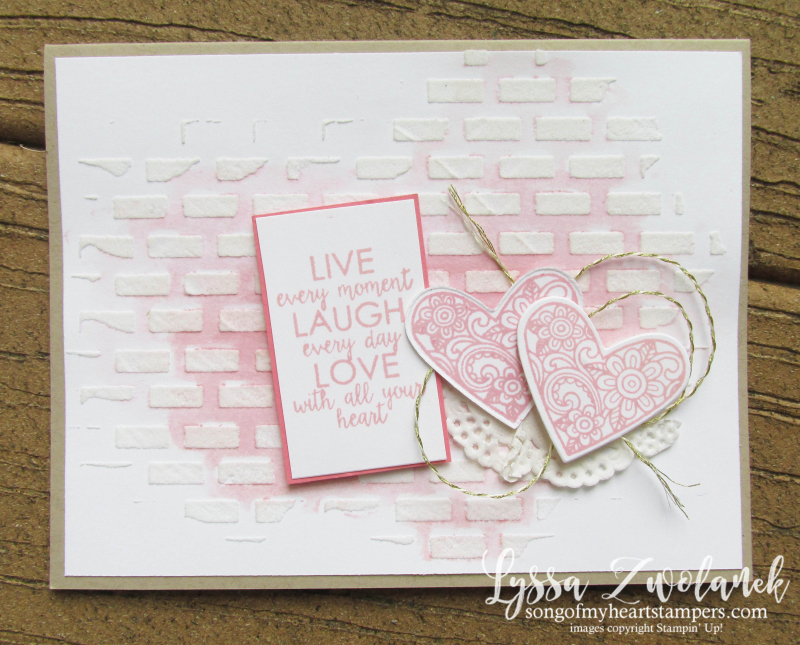
I was delighted to see that you can watercolor on your background after the fact, without ruining or dissolving the hardened paste. I used my Aqua Painter brush pens to add a pink wash on my brick wall for this wedding card.
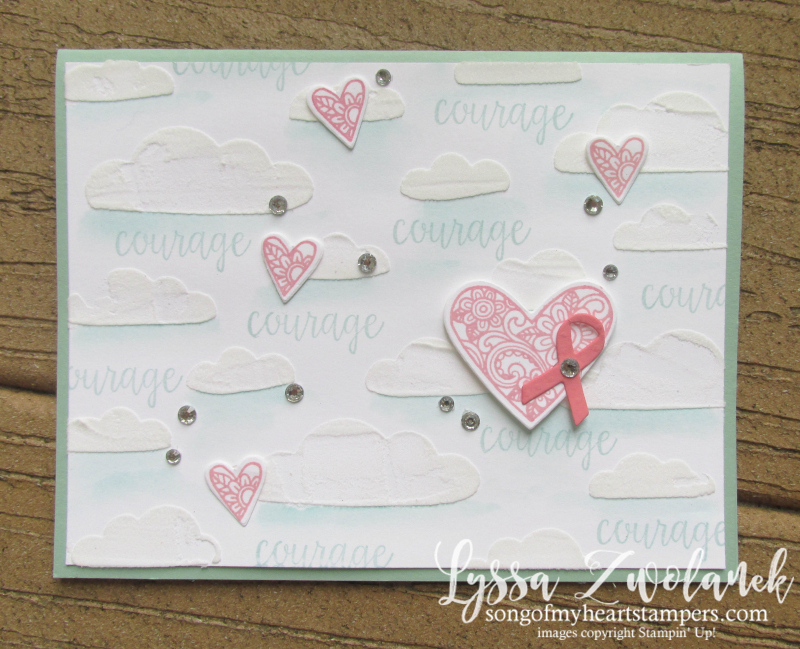
Below, I used it to add a little smudge of Pool Party below each cloud to help them stamp out even more. It's a great softer look than can be achieved by starting with a blue background, and saves time over watercoloring the whole background.
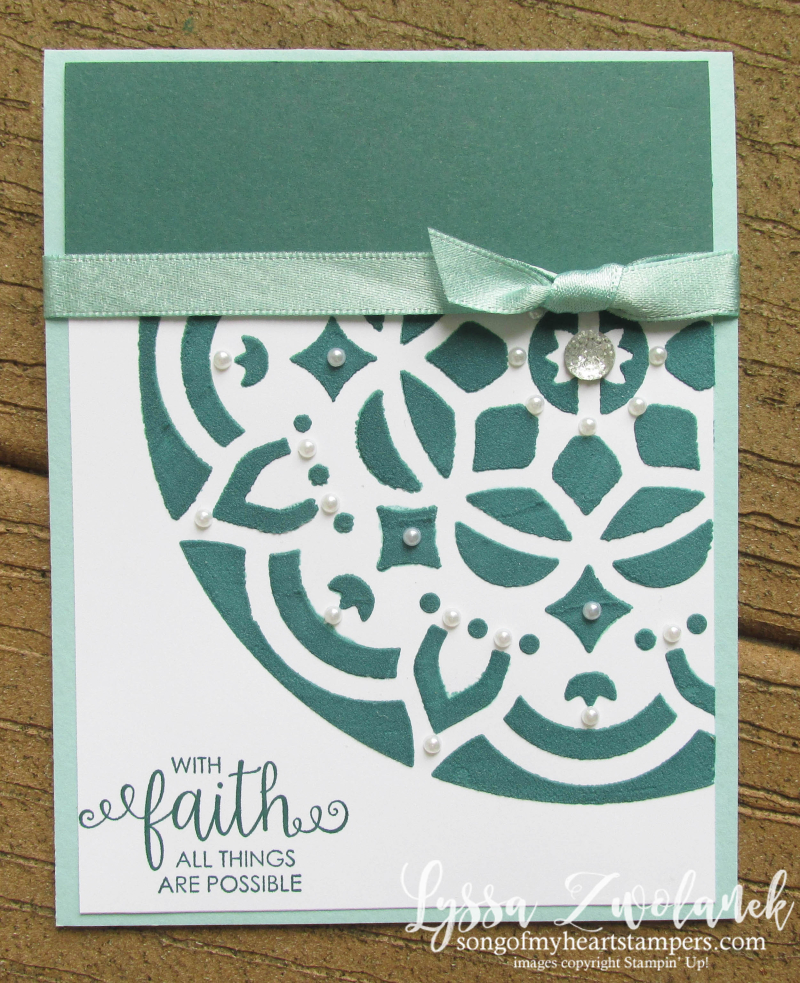
There are many ways to add color to the paste–the easiest being add a couple of drops of ink to the paste itself before you even apply it. That's what I did on this "faith" card, using Tranquil Tide (Rabbit Trail: look at how pretty TT is with Pool Party! Gorgeous!)
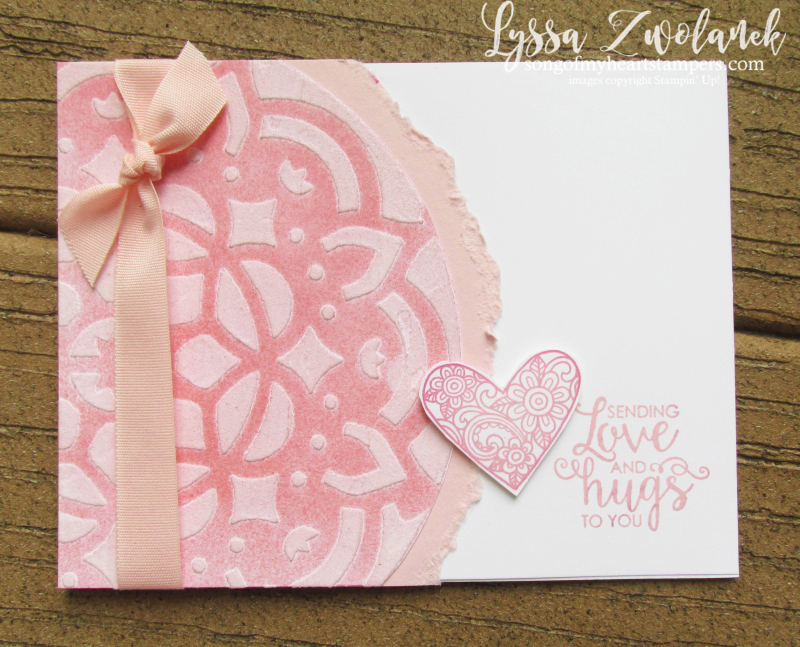
For vibrancy, I think drops of ink refill are the way to go. But you can also add color after the fact, with sponging, I discovered. I used the rolling sponge brayer on this medallion card and it tinted not only the background but also the hardened paste.The paste accepted less color than the cardstock did, so it still stands out nicely.
Two shades of pink, and both of them glittery, because you can use Wink of Stella clear glimmer brush on embossed backgrounds, too. Cool!
Ready to try it at home? Start your
embossing paste adventure with these tools:
click any photo to shop with Lyssa!
Here's some more things to know–and stuff to try!– with embossing paste.
- Your container may not appear full. The paste shifts and settles during shipment, expanding and contracting with heat and cold, so don't worry if you open your jar and it looks half empty. Also, some extra room was left intentionally to make it easy to use the palette knives to scrape off excess paste going to and from the jar.
- Make patterns in your paste before it sets. Drag a dry brush over it for lines. Pat bubble wrap into it for polka dots. Press a piece of open-weave mesh or burlap into it. You haven't had this much fun since the play-doh table in kindergarten!
- Press things into the paste before it sets. Sequins, glitter, tiny punches, confetti, dried flower petals, sand, pretty leaves–anything that is small and lightweight, and not too thick, can be set into the paste and will stay when it hardens.
- Scent your embossing paste if you like! One drop of essential oil mixed thoroughly in a blop of paste before spreading will leave a nice light scent. Don't overdo it, though–the oil needs to be very tiny in ratio to the paste, and you don't want to give anyone a headache.
- EMBOSS your embossing paste, if you want! Spread your paste and then sprinkle any dry embossing powder onto it. Heat emboss as usual with your Heat Tool, and then don't touch it for another 30 minutes to make sure the paste underneath also has time to set.
Isn't this fun? Stay tuned for more posts on this new paste. I think I've barely scratched the surface of this fun new cardmaking medium! Have you tried it yet? Tried any of these variations? Leave a comment below with any tips you learned!




Love your ideas! Thanks for sharing.
Très belles idées, j’aime beaucoup. Merci
OMGH love love love the ideas and the wedding card. Thank you for sharing.
Oh for cryin’ out sideways… just can’t say thanks enough for all your wealth of information. Such fun! I’ve got a shipment coming & can’t wait to try all these super-cool techniques. Have you tried misting a little color on the paste before the mask is pulled-off? Thanks again for sharing…
You totally rock, Lyssa!
Lyssa, what beautiful cards!! I have not had a chance to use my paste or my Ribbon of Courage set yet. You have made me want to get it out and start playing. Thanks for the fabulous information.