Howdy! Welcome to my summer blog series, the 31 Days of Doilies! We're almost done–can't believe how the month has flown by. Hope you've been enjoying the ideas and inspiration for projects using the adorable products from the Flirtatious Suite in Stampin' Up's new Idea Book & Catalog.
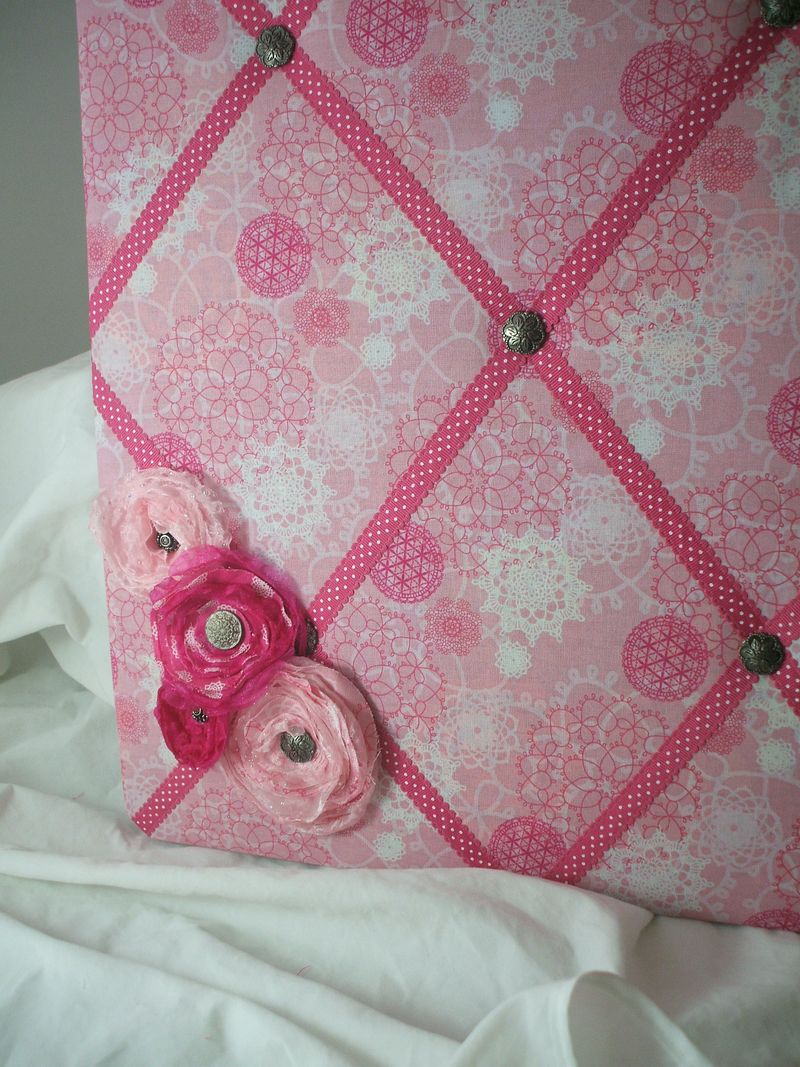
Today's doilies once again come from the Flirtatious Designer Series Fabric line, and once again I have two projects to show you (told you I have been waiting a long time for a decent sewing machine, and look out world, because I finally invested in a great one!). The pattern I used to cover this French-style memo board is my favorite of the three that come in the package. You could easily duplicate this with the Delicate Doilies stamp set for a "One Sheet Wonder" set of cards.
The board was easy to cover, using a staple gun. You can use any canvas stretcher frame or old bulletin board, with a layer of batting over it. I used the cute Scallop Dotted Melon Mambo ribbon and added Antique Brads to cover the staples where the ribbons crossed. I even remembered to back it with brown paper so the backside looks nice, too!
Last, I added several different melted-circle flowers made from layers and layers and LAYERS of Flirtatious fabric, interspersed with layers of synthetic chiffon, which melts and curls up when you heat it with the embossing gun. They are very fun to make–you will find yourself looking around for more fabric to run through the Big Shot with the Circles #2 die so you can make more of these little cuties.
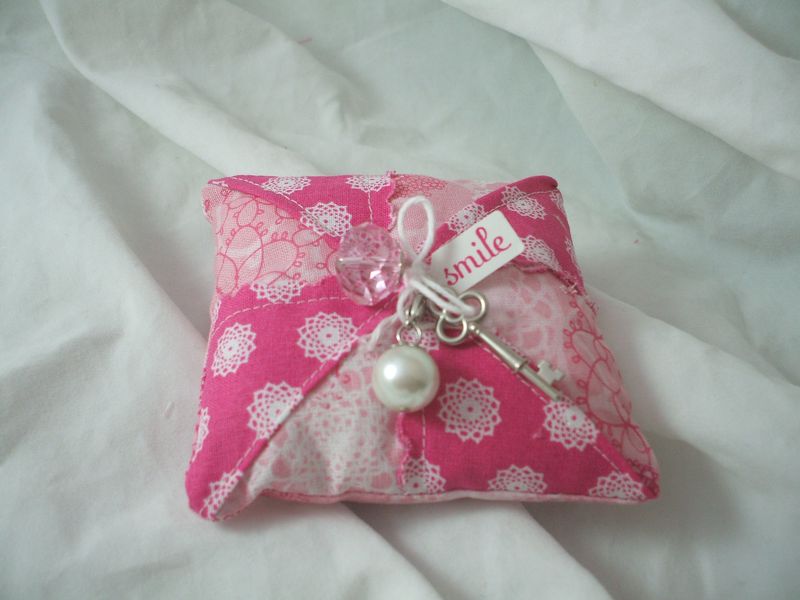
I had some teeny-tiny scraps left of fabric, just enough to cut four of the Scallop Squares Duo die on the Big Shot to make this pinwheel pincushion. Isn't it cute? I cut a square of the lighter pink fabric and folded each scallop square in half and sewed them down in a pinwheel pattern. Then you just turn that piece into the front of a little pillow, stuffed with batting. I had a little too much fun with the embellishments on this little guy, digging into my Simply Adorned jewelry charms in pearl and pink rhinestone, and adding a Vintage Key and a Jewelry Tag Punch tied on with Baker's Twine.
Ok! Three days left! What could I have saved for the end, you say? We've covered all the products in the suite rather completely! Well, I promised you more Blossom Boxes, and I also have two photo tutorials planned for the two most asked-after projects I shared in my presentation at Convention 2011. I also will be randomly selecting the Blog Candy winners and five lucky ladies will win a ten-yard sampler pack of my favorite Scallop Dotted ribbon! So hold onto your hats, my fine friends, for a flashy finish to the fabulous finale!


WOW!! So Gorgeous!! Love the blossoms too!!