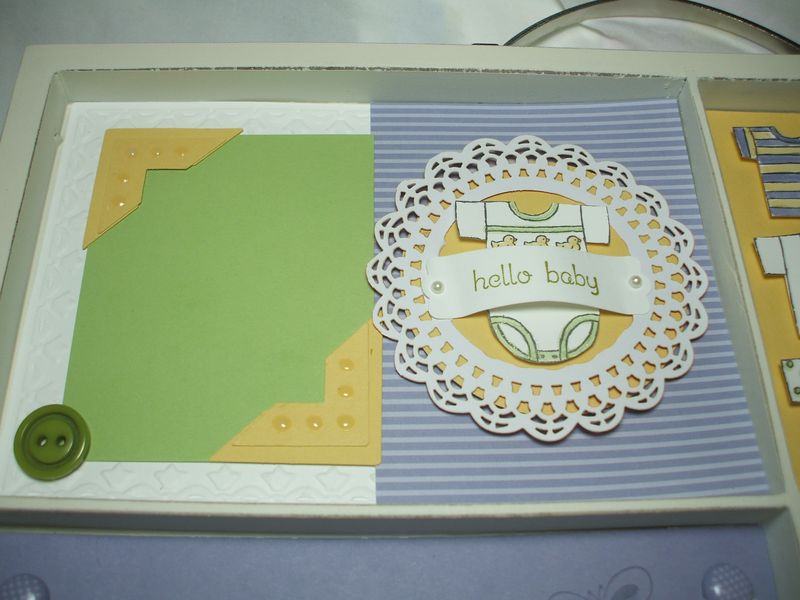
Today's doily project for my "31 Days of Doilies" blog series is not a card! It is a photo tray that you hang on the wall, based on the one I took a class on at Convention 2011. I had the delightful pleasure of sitting down and making a gift for my friend and fellow stamp-lover Theresa O this past week. She and her husband are expecting a little pumpkin this fall, gender as yet unannounced, so I kept it neutral with Wisteria Wonder, Certainly Celery, So Saffron, Whisper White, and some accents in Old Olive. It was super fun to make!
For the first opening, I used the white backside of one of the doilies cut from the 12×12 sheets of laser-cut doilies that comes in the Flirtatious specialty DSP pack. I punched out the center with the 1 3/4 inch circle punch to form a cute little frame for one of the onesies cut from a sheet rolled with the Baby Tees jumbo Stampin' Around wheel. I love that wheel because you can roll a whole bunch and just cut one or three of them off as you need them, color them the appropriate colors and you're ready to go!
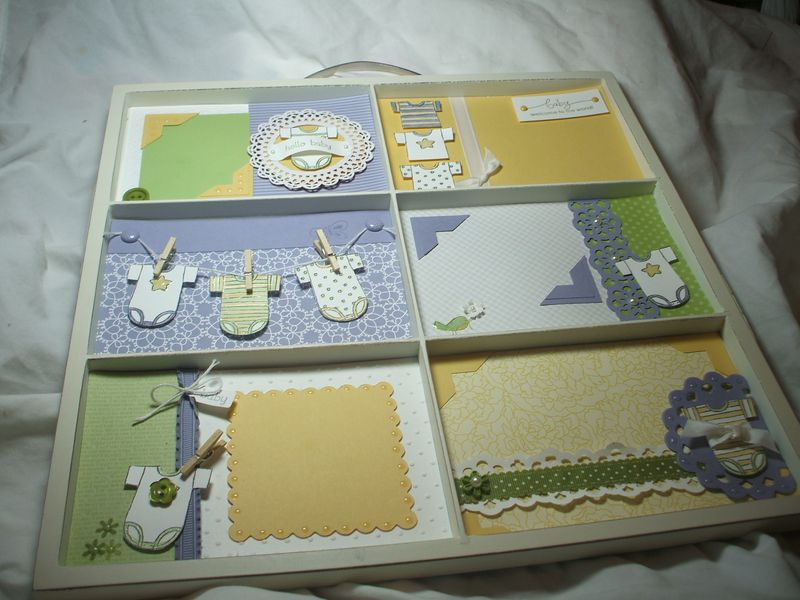
Here's a picture of the whole thing so you can kind of get the feel of it. The individual rectangles are stuck in with glue dots, so if any of them fade or are damaged, Theresa can just change them out. Or when Baby O becomes Little O and his/her nursery theme changes, she can redo the whole tray to match!
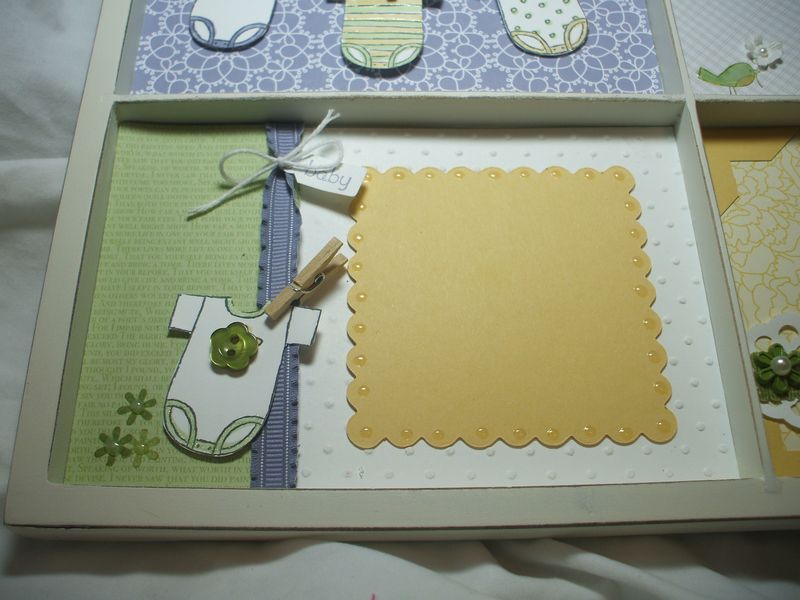
There are five places for photos. If one was in a hurry, you could also leave an opening or two totally blank, as these are sized for 4×6 photos. One tip for you on a project like this is to make sure each rectangle has some of each color in your color scheme. That will draw all the diseparate elements together as a whole visually. No one rectangle should draw the eye a lot more than the others. You want the baby photos to shine here!
I used all kinds of new products here–mini clothespins, Baker's twine, In Color Printed Brads, In Color ruffled ribbon, Scallop Dotted ribbon, Old Olive buttons, the Lace Ribbon punch, Paper Daisies, Crystal Effects, Basic Pearls, Subtles brads–lots of texture and detail in this project.
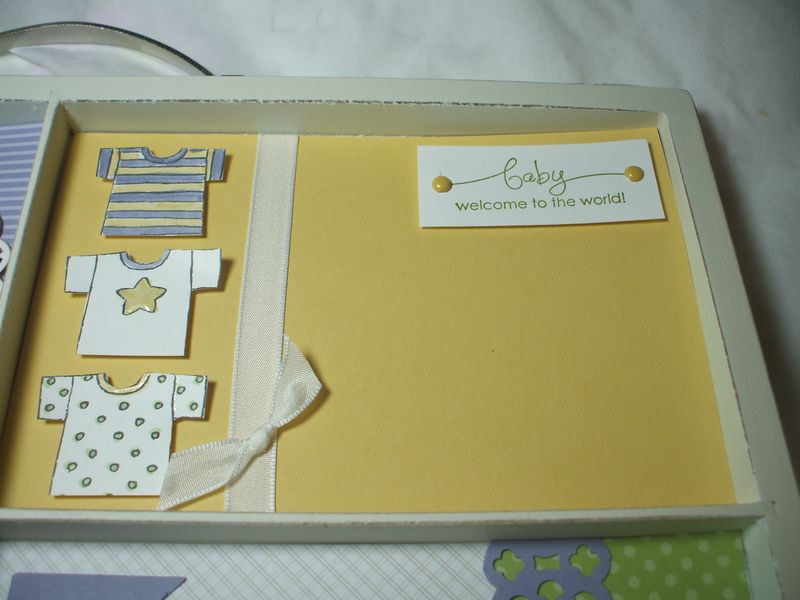
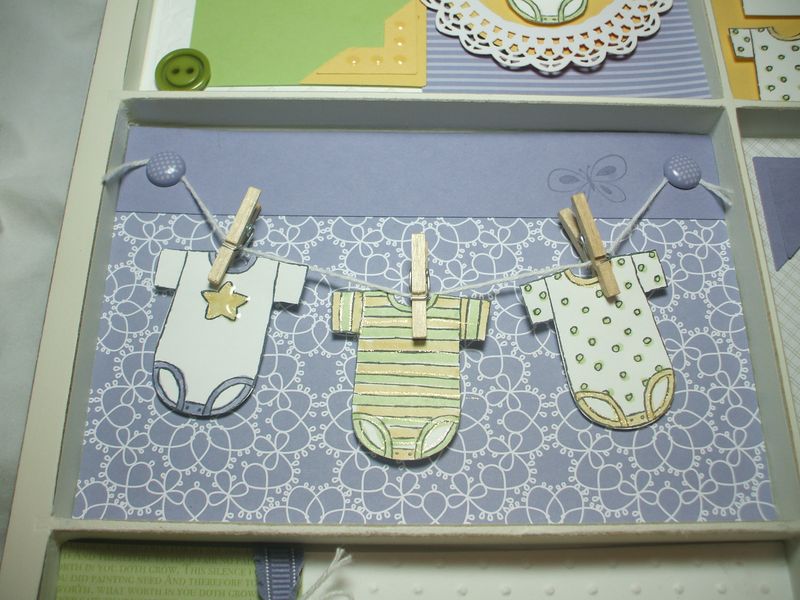
You can also cut off the bottoms of the baby onesies and have little t-shirts, as shown above.
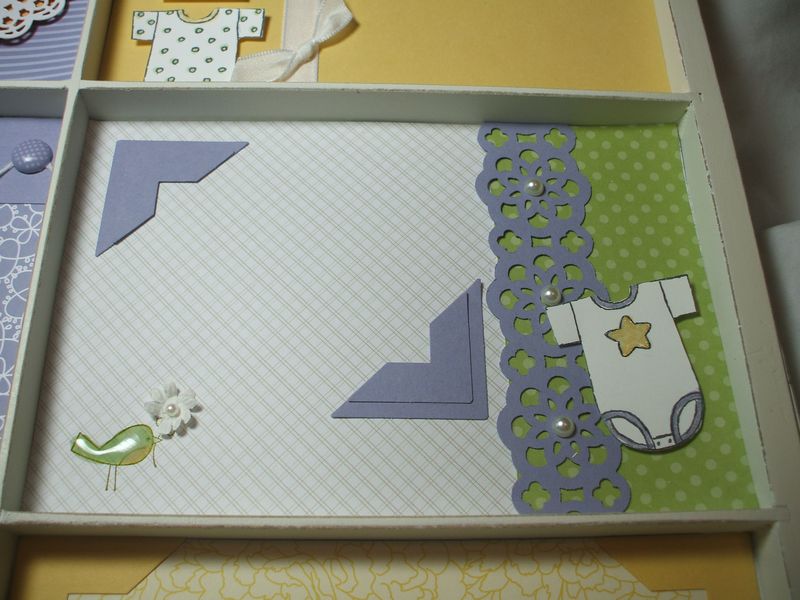
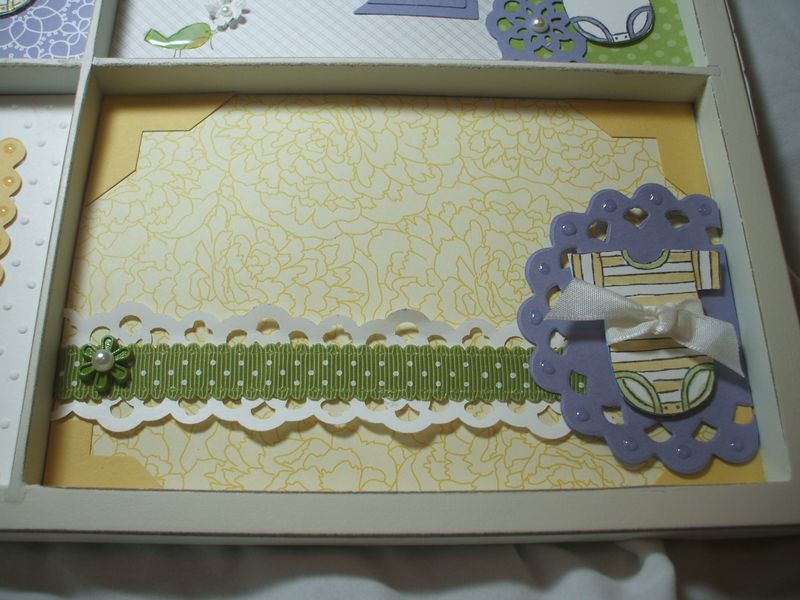
And here's one last doily for you–underneath this little striped onesie is a die-cut doily piece from the Perfect Pennants die for the Big Shot. This medallion-style doily is meant for layering with punches, so the center is solid. I am finding it endlessly useful!
All right! How's that for Day 11? Wait until you see Day 12! Check back tomorrow for another post in the series. Happy Stamping!


How did I miss this at convention!!!??
This is absolutely beautiful… nice job!
Oh, this one wasn’t at convention. I just made this last week.
Darling!!! 🙂
Too cute Lyssa! Did you use the photo tray from convention or have you found them around town?
Not in town, Cristy. They are by The Paper Studio brand.
I was so thrilled to receive this as a gift at my shower. It was definitely a hit with everyone! I so appreciate the time and talent you put into this, Lyssa. It will look fabulous in the nursery with all little Baby O pics in it. Thank you so much for your thoughtfulness!
That is so cute! I have 4 gifts to make for girls at work who have just had babies/are expecting – thanks for the inspiration! What a great project!
Paper STudio online or in stores?? Love to find one of the trays/frames
Either, Ilene. Hobby Lobby was where I bought mine.